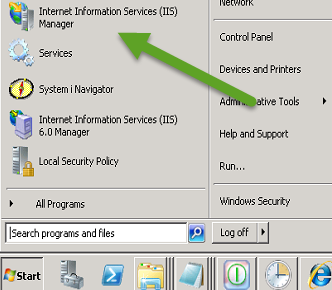
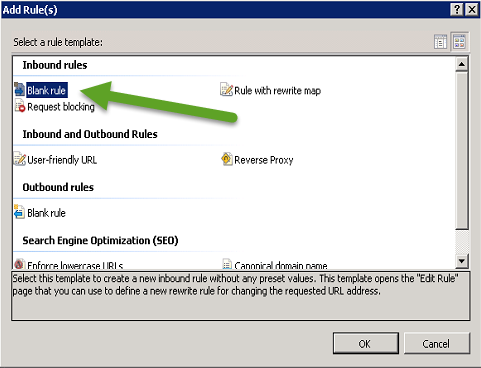
PBCS Data Loading Glitch
While building out data load automations for PBCS and FCCS recently, I ran into a somewhat annoying issue when loading data to PBCS. Even more surprising is that Oracle claims it works as expected….. This post will explain the issue and provide a really simple work around until this gets properly addressed.
The Problem
Anyone who has worked with FDM Classic, FDMEE, or Data Management for any amount of time has run into at least one failed data load due to invalid dimension member(s) in their exported data. While the data load process should ensure that the target application metadata is current before loading data, this doesn’t always happen. (e.g. last minute source ERP updates that do not get properly communicated to the EPM team)
While a data load failure isn’t optimal, typically this failure is easy enough to identify and fix based off of the feedback provided from FDM/FDMEE/Data Management and the target application.
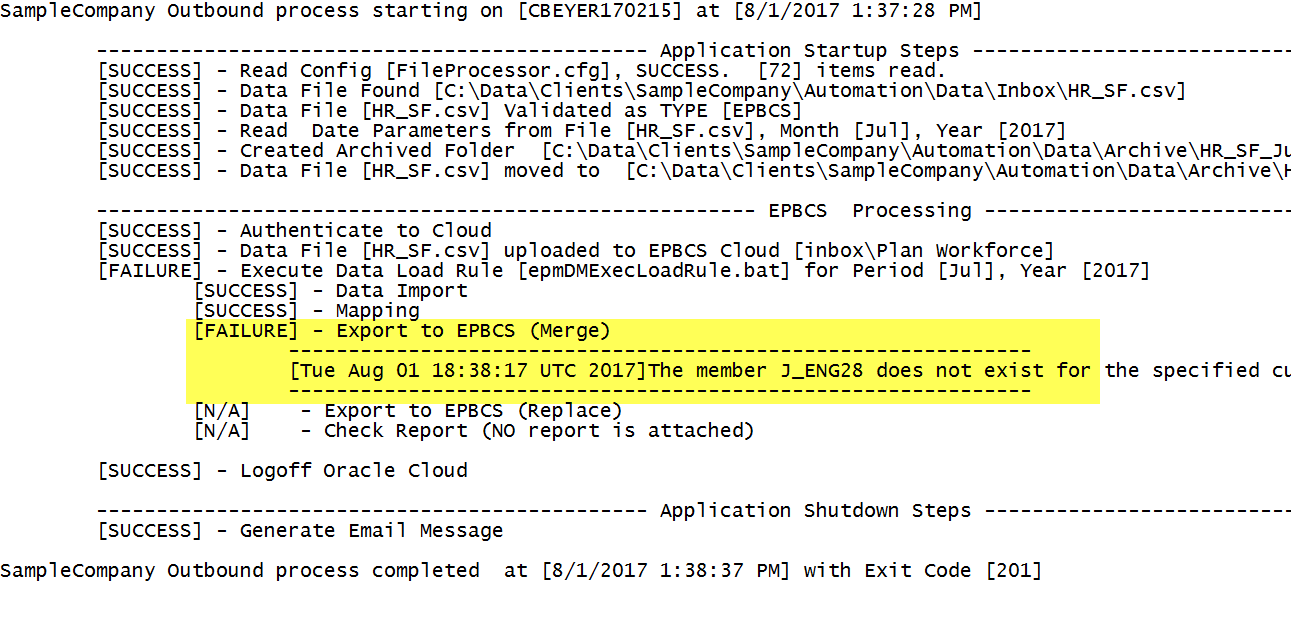
FDMEE / PBCS Merge Load Failure

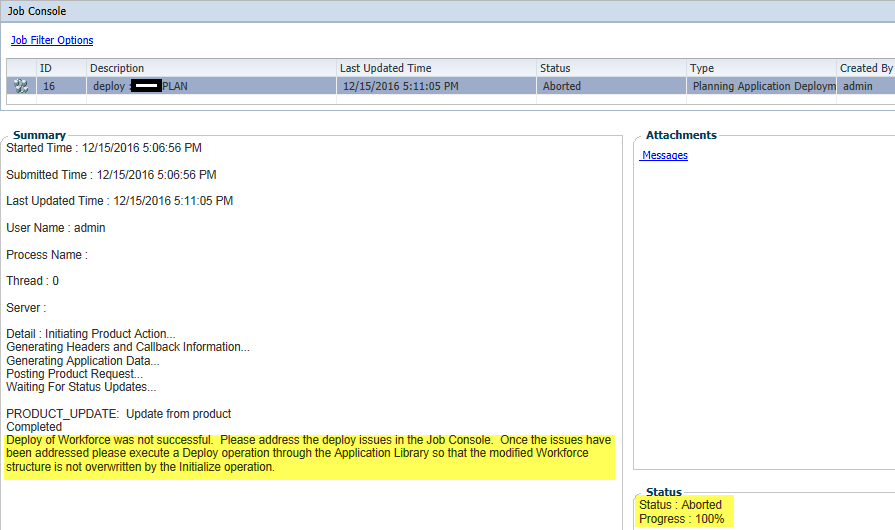
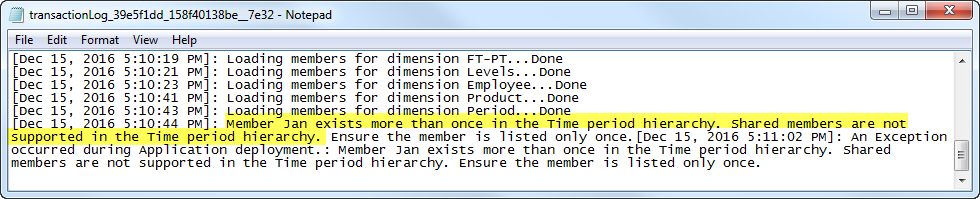
FDMEE / Planning Merge Load Failure

Data Management / FCCS Merge Load Failure

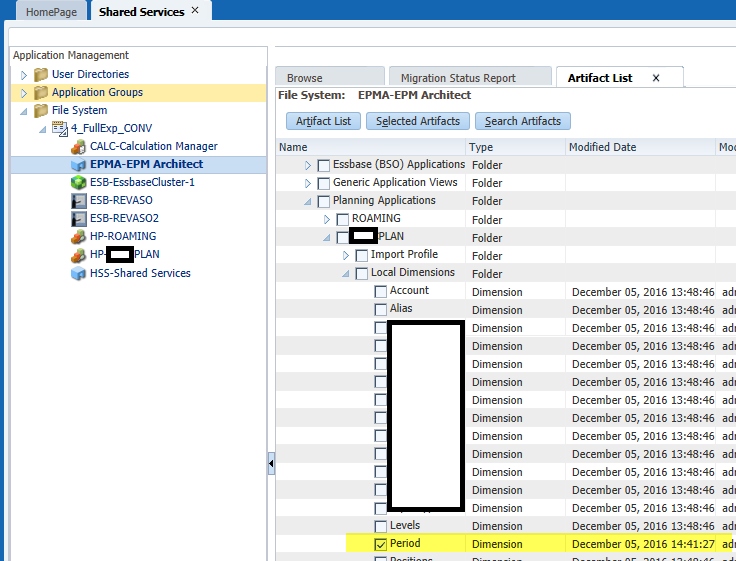
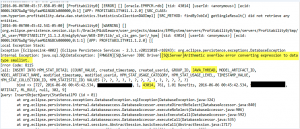
Unfortunately, when you perform a Replace export to a PBCS target application, under some circumstances you will get a quite unhelpful response:
Data Management / PBCS Replace Load Failure
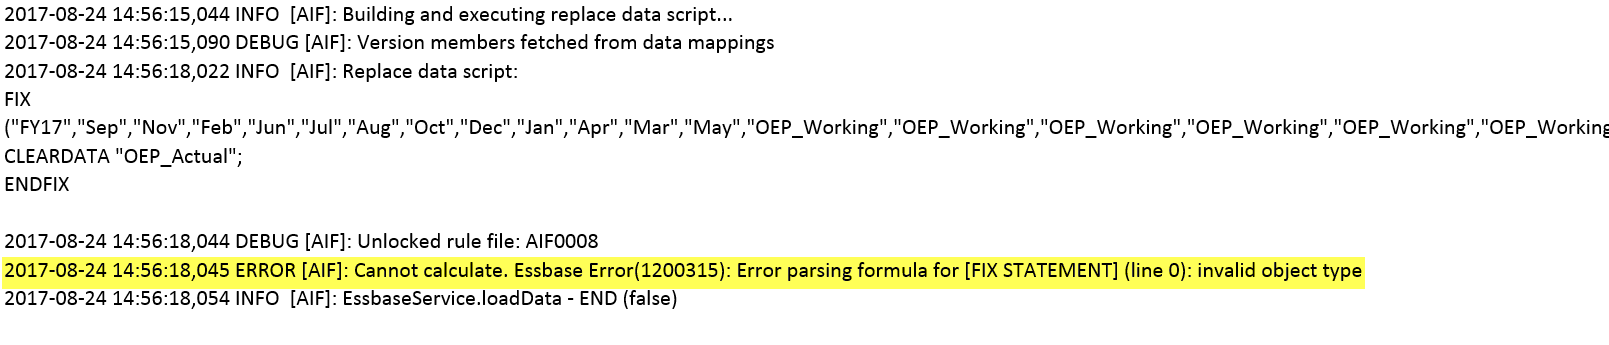
What Happened?
When performing a Merge export, FDMEE/Data Management simply passes the generated data file to the target application for loading without any pre-processing. When performing a Replace export, a data clear script is dynamically generated based on the members contained in the export data.
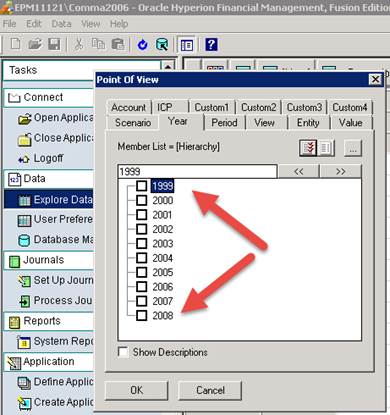
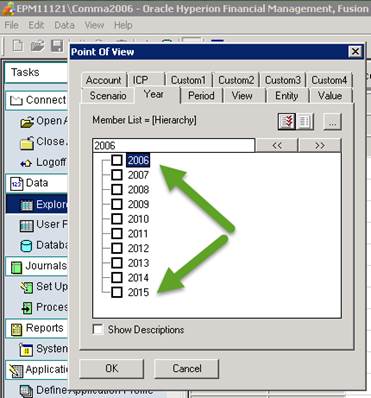
The script will clear data for every intersection of Scenario, Year, Period, Entity, and Value dimensions. In the event that one of those members is missing in the target application, the dynamic clear script will contain an invalid member resulting in the error shown above. While the error shown above is completely legitimate, it isn’t meaningful enough to allow you to locate the member easily.
Oddly, if you recreate this scenario when loading to FCCS, you will have a much different result! When performing a replace load to FCCS, invalid members will result in meaningful errors that include the invalid member name(s)! Even more odd, Oracle Support will tell you that both are working as designed. It would seem that PBCS should behave similarly to FCCS to simplify troubleshooting efforts. (Perhaps if enough people raise this as an issue, they will address it?)
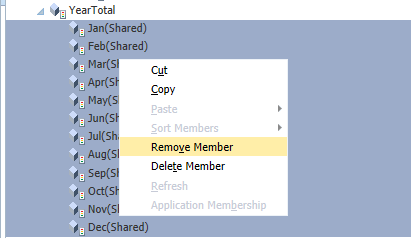
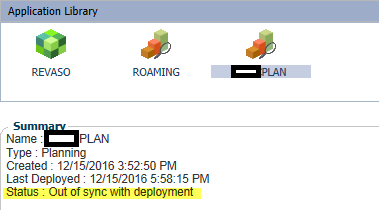
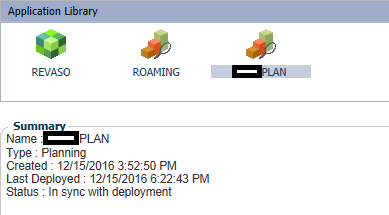
Work Around
The easiest way to work around this issue is to perform two data exports to PBCS for Replace operations. The first export should be a Merge load. As the dynamic clear script will not be generated for a Merge, this will result allow you to receive specific errors in the event that there is a data load failure. After have a successful Merge load, then perform the Replace load to ensure that all data gets cleared, etc.
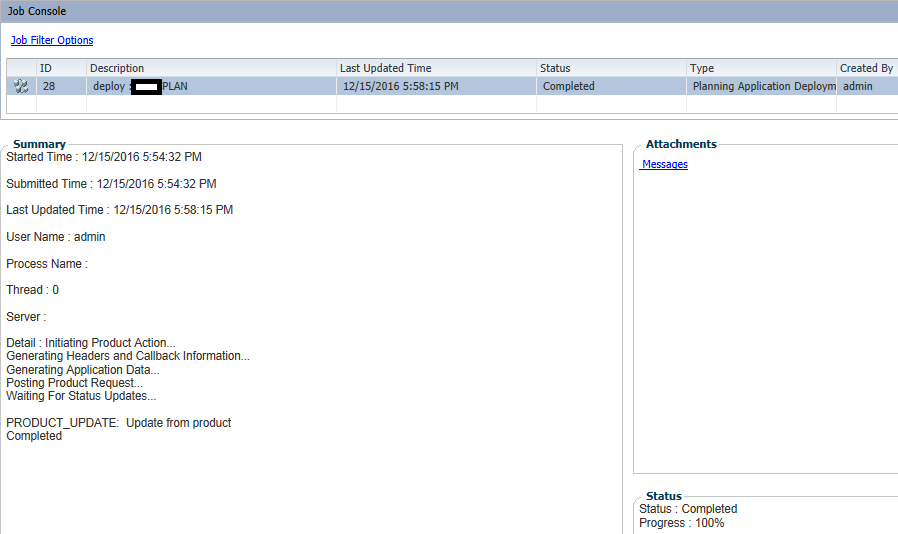
Job Output from Merge/Replace Load Automation Process


