Browse Tag

Reverse Engineering

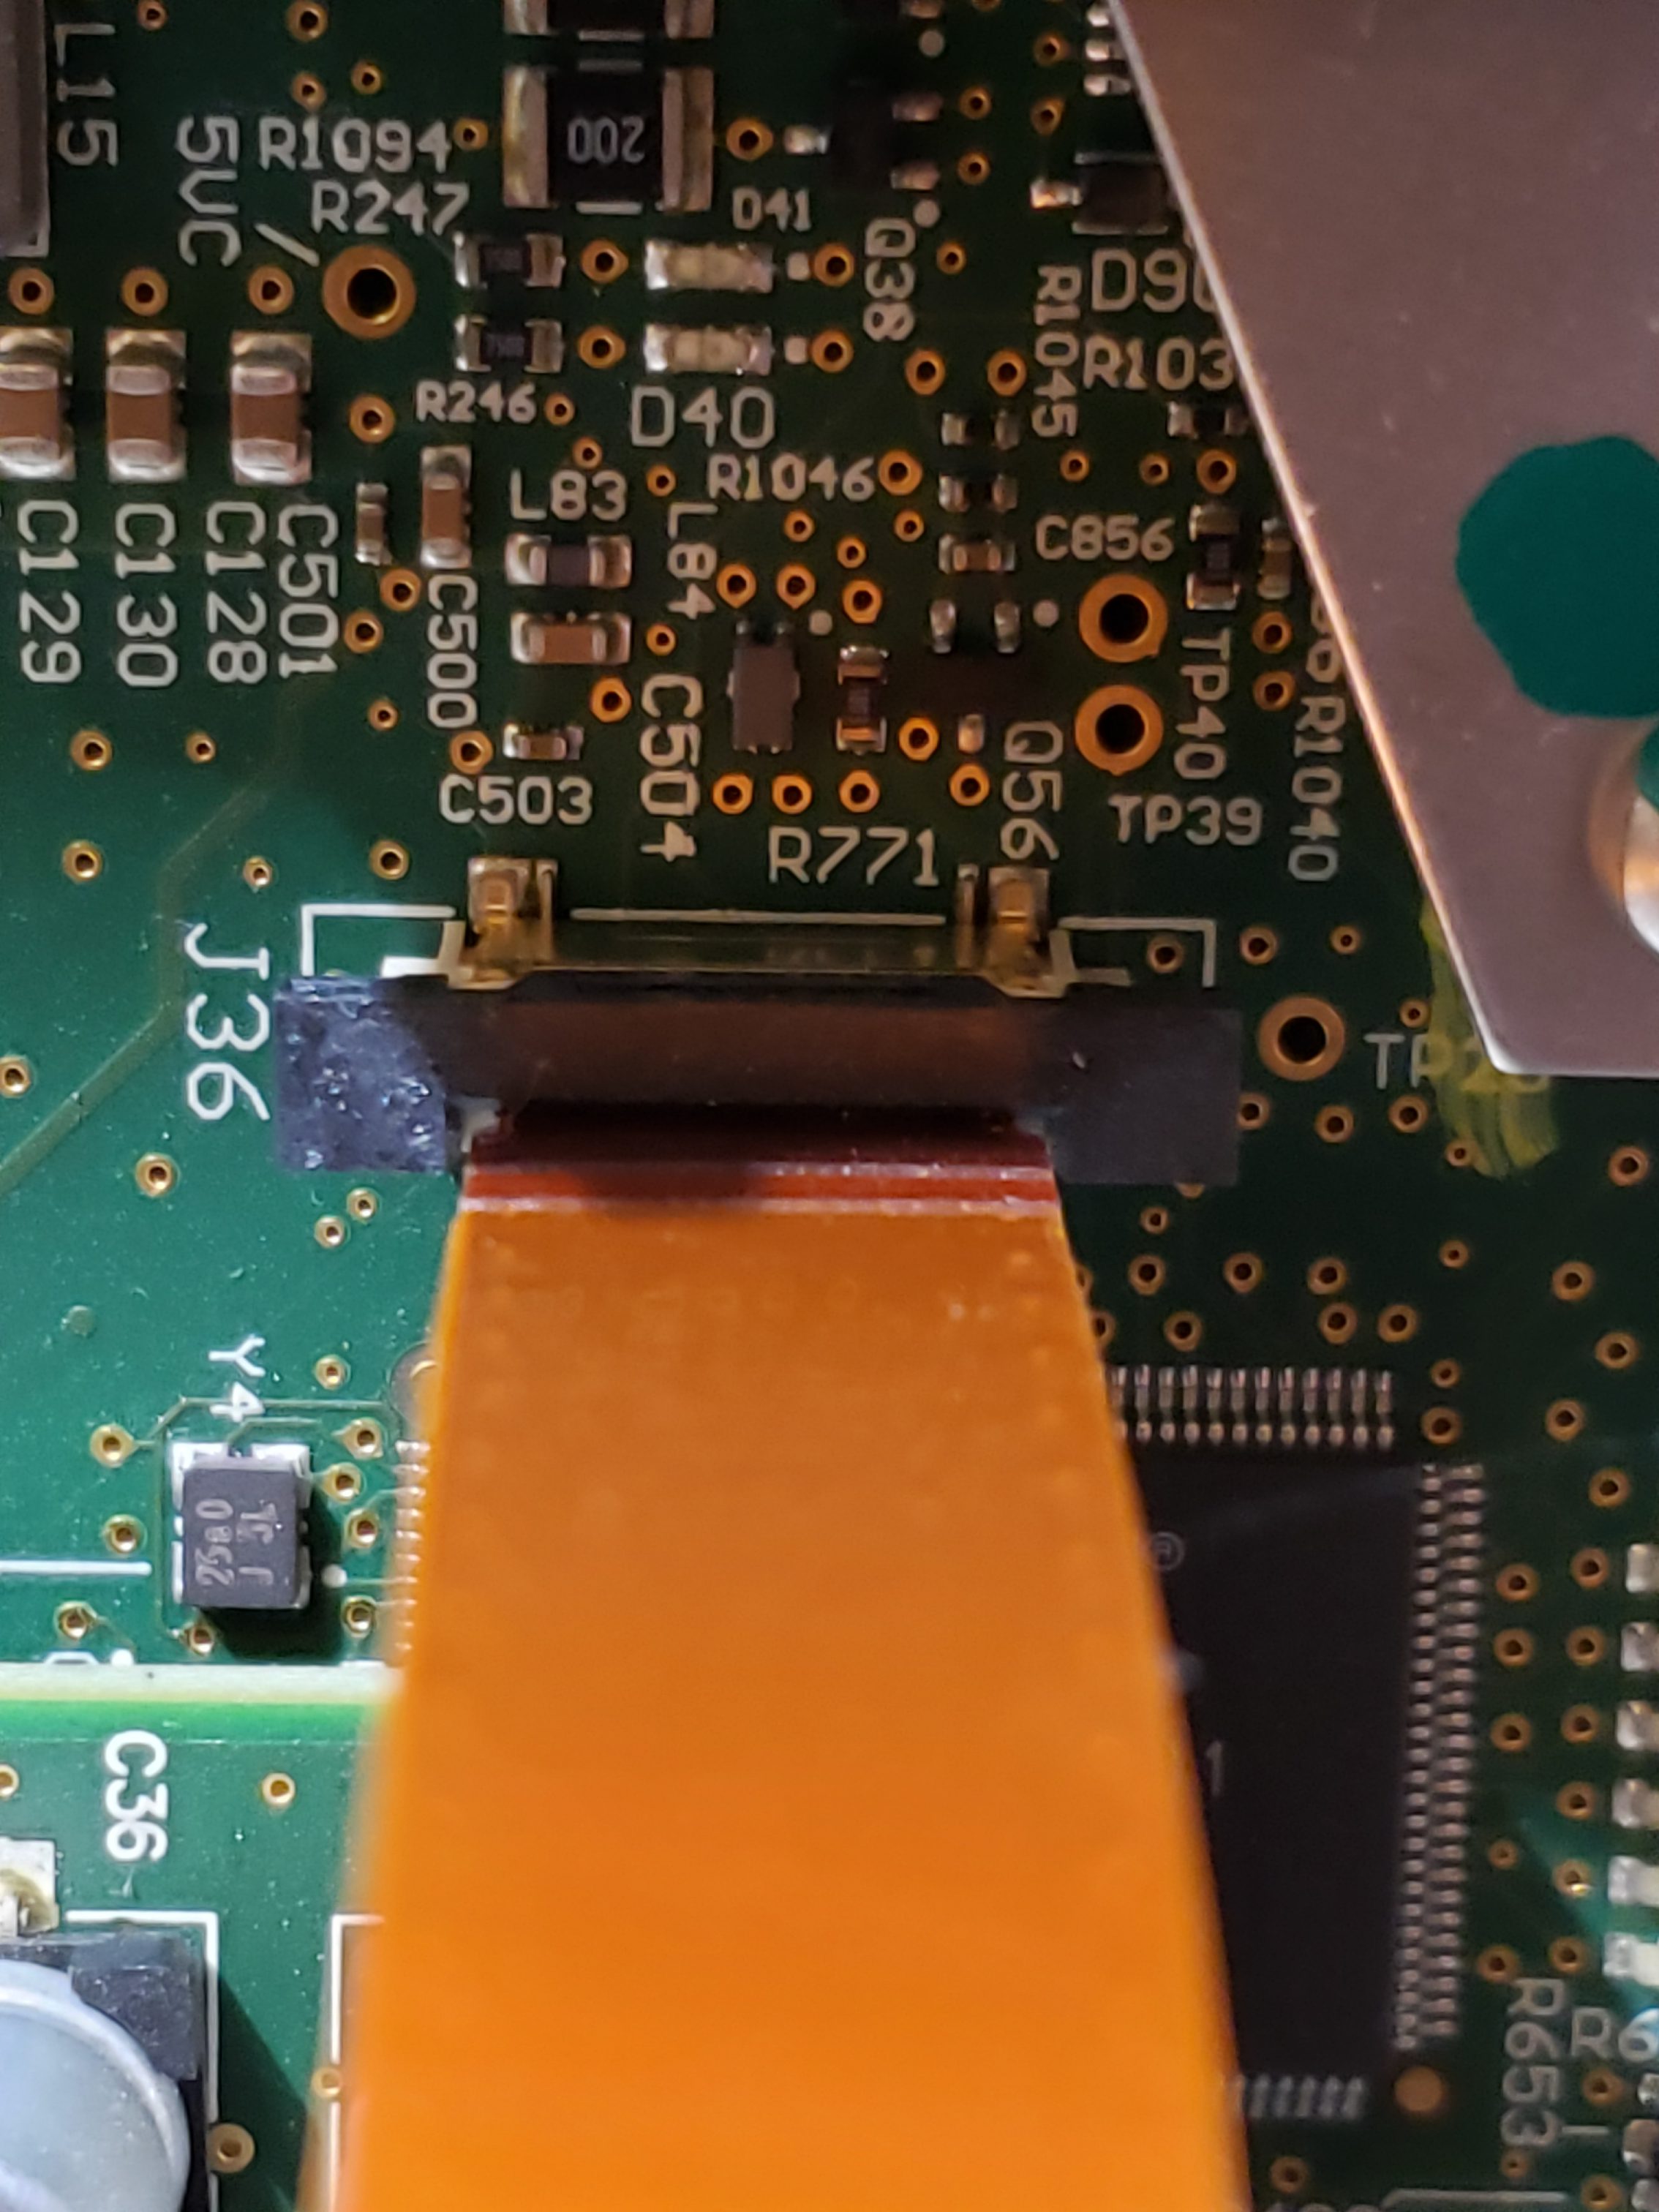
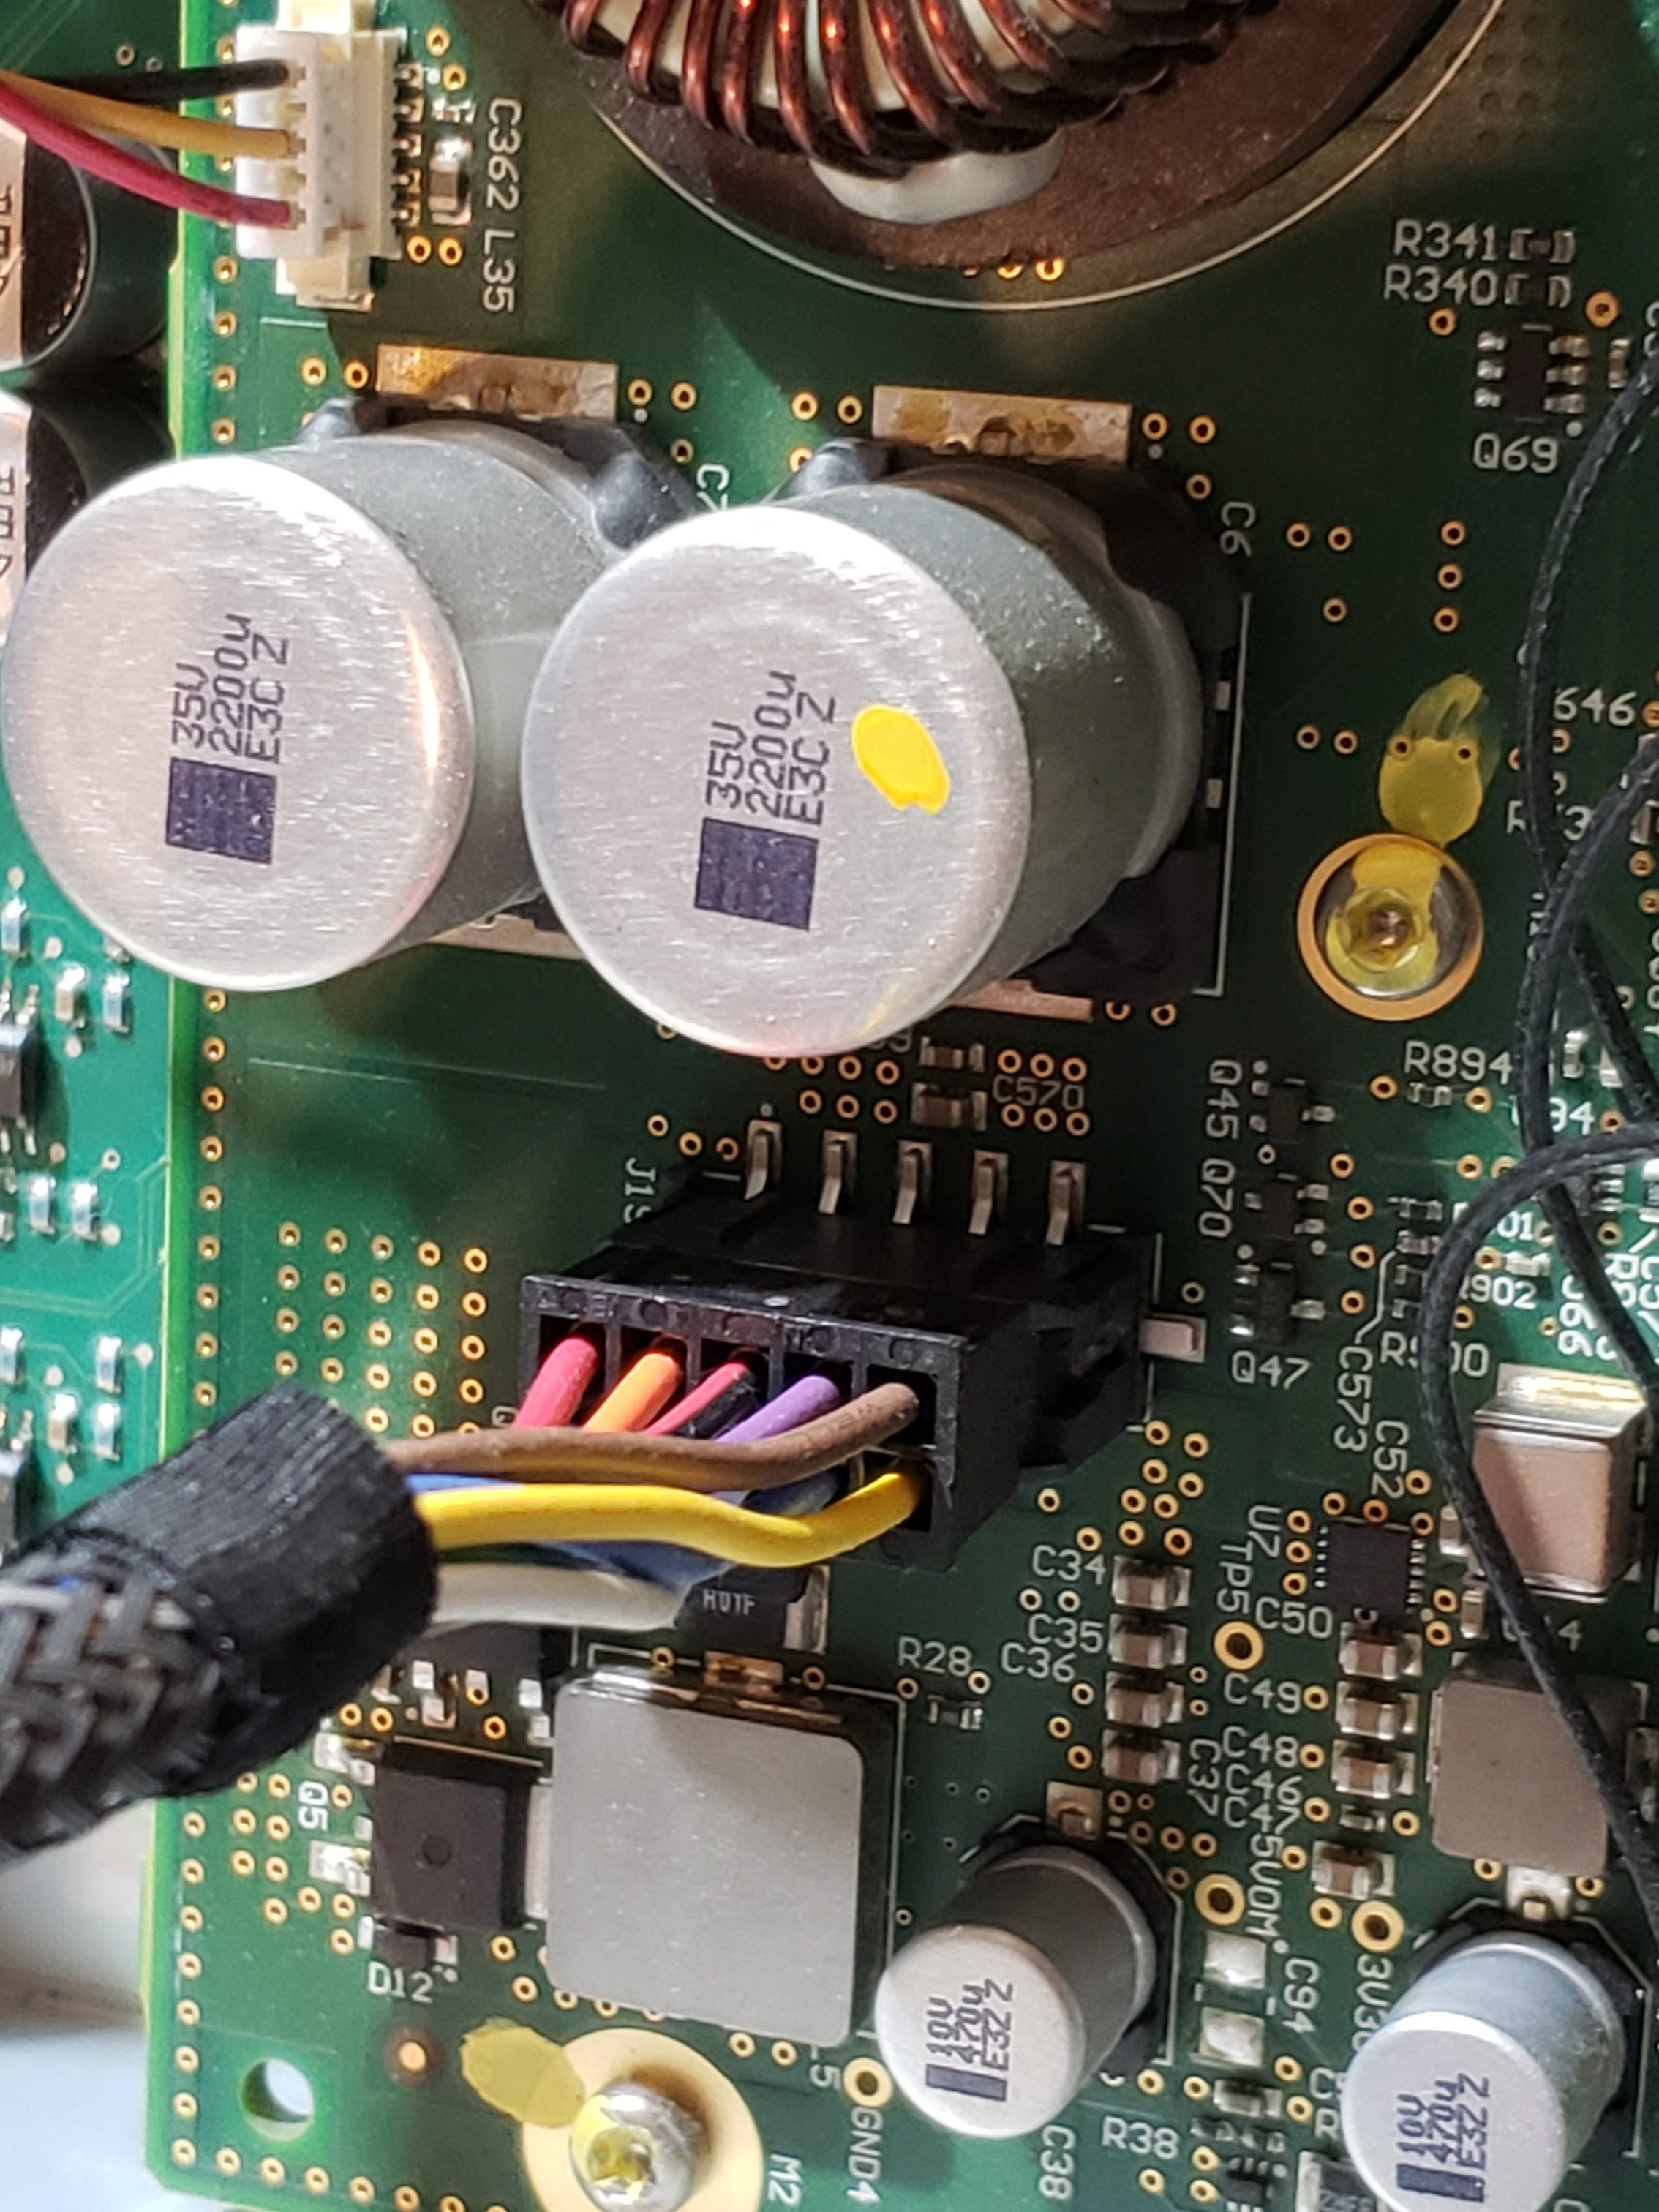
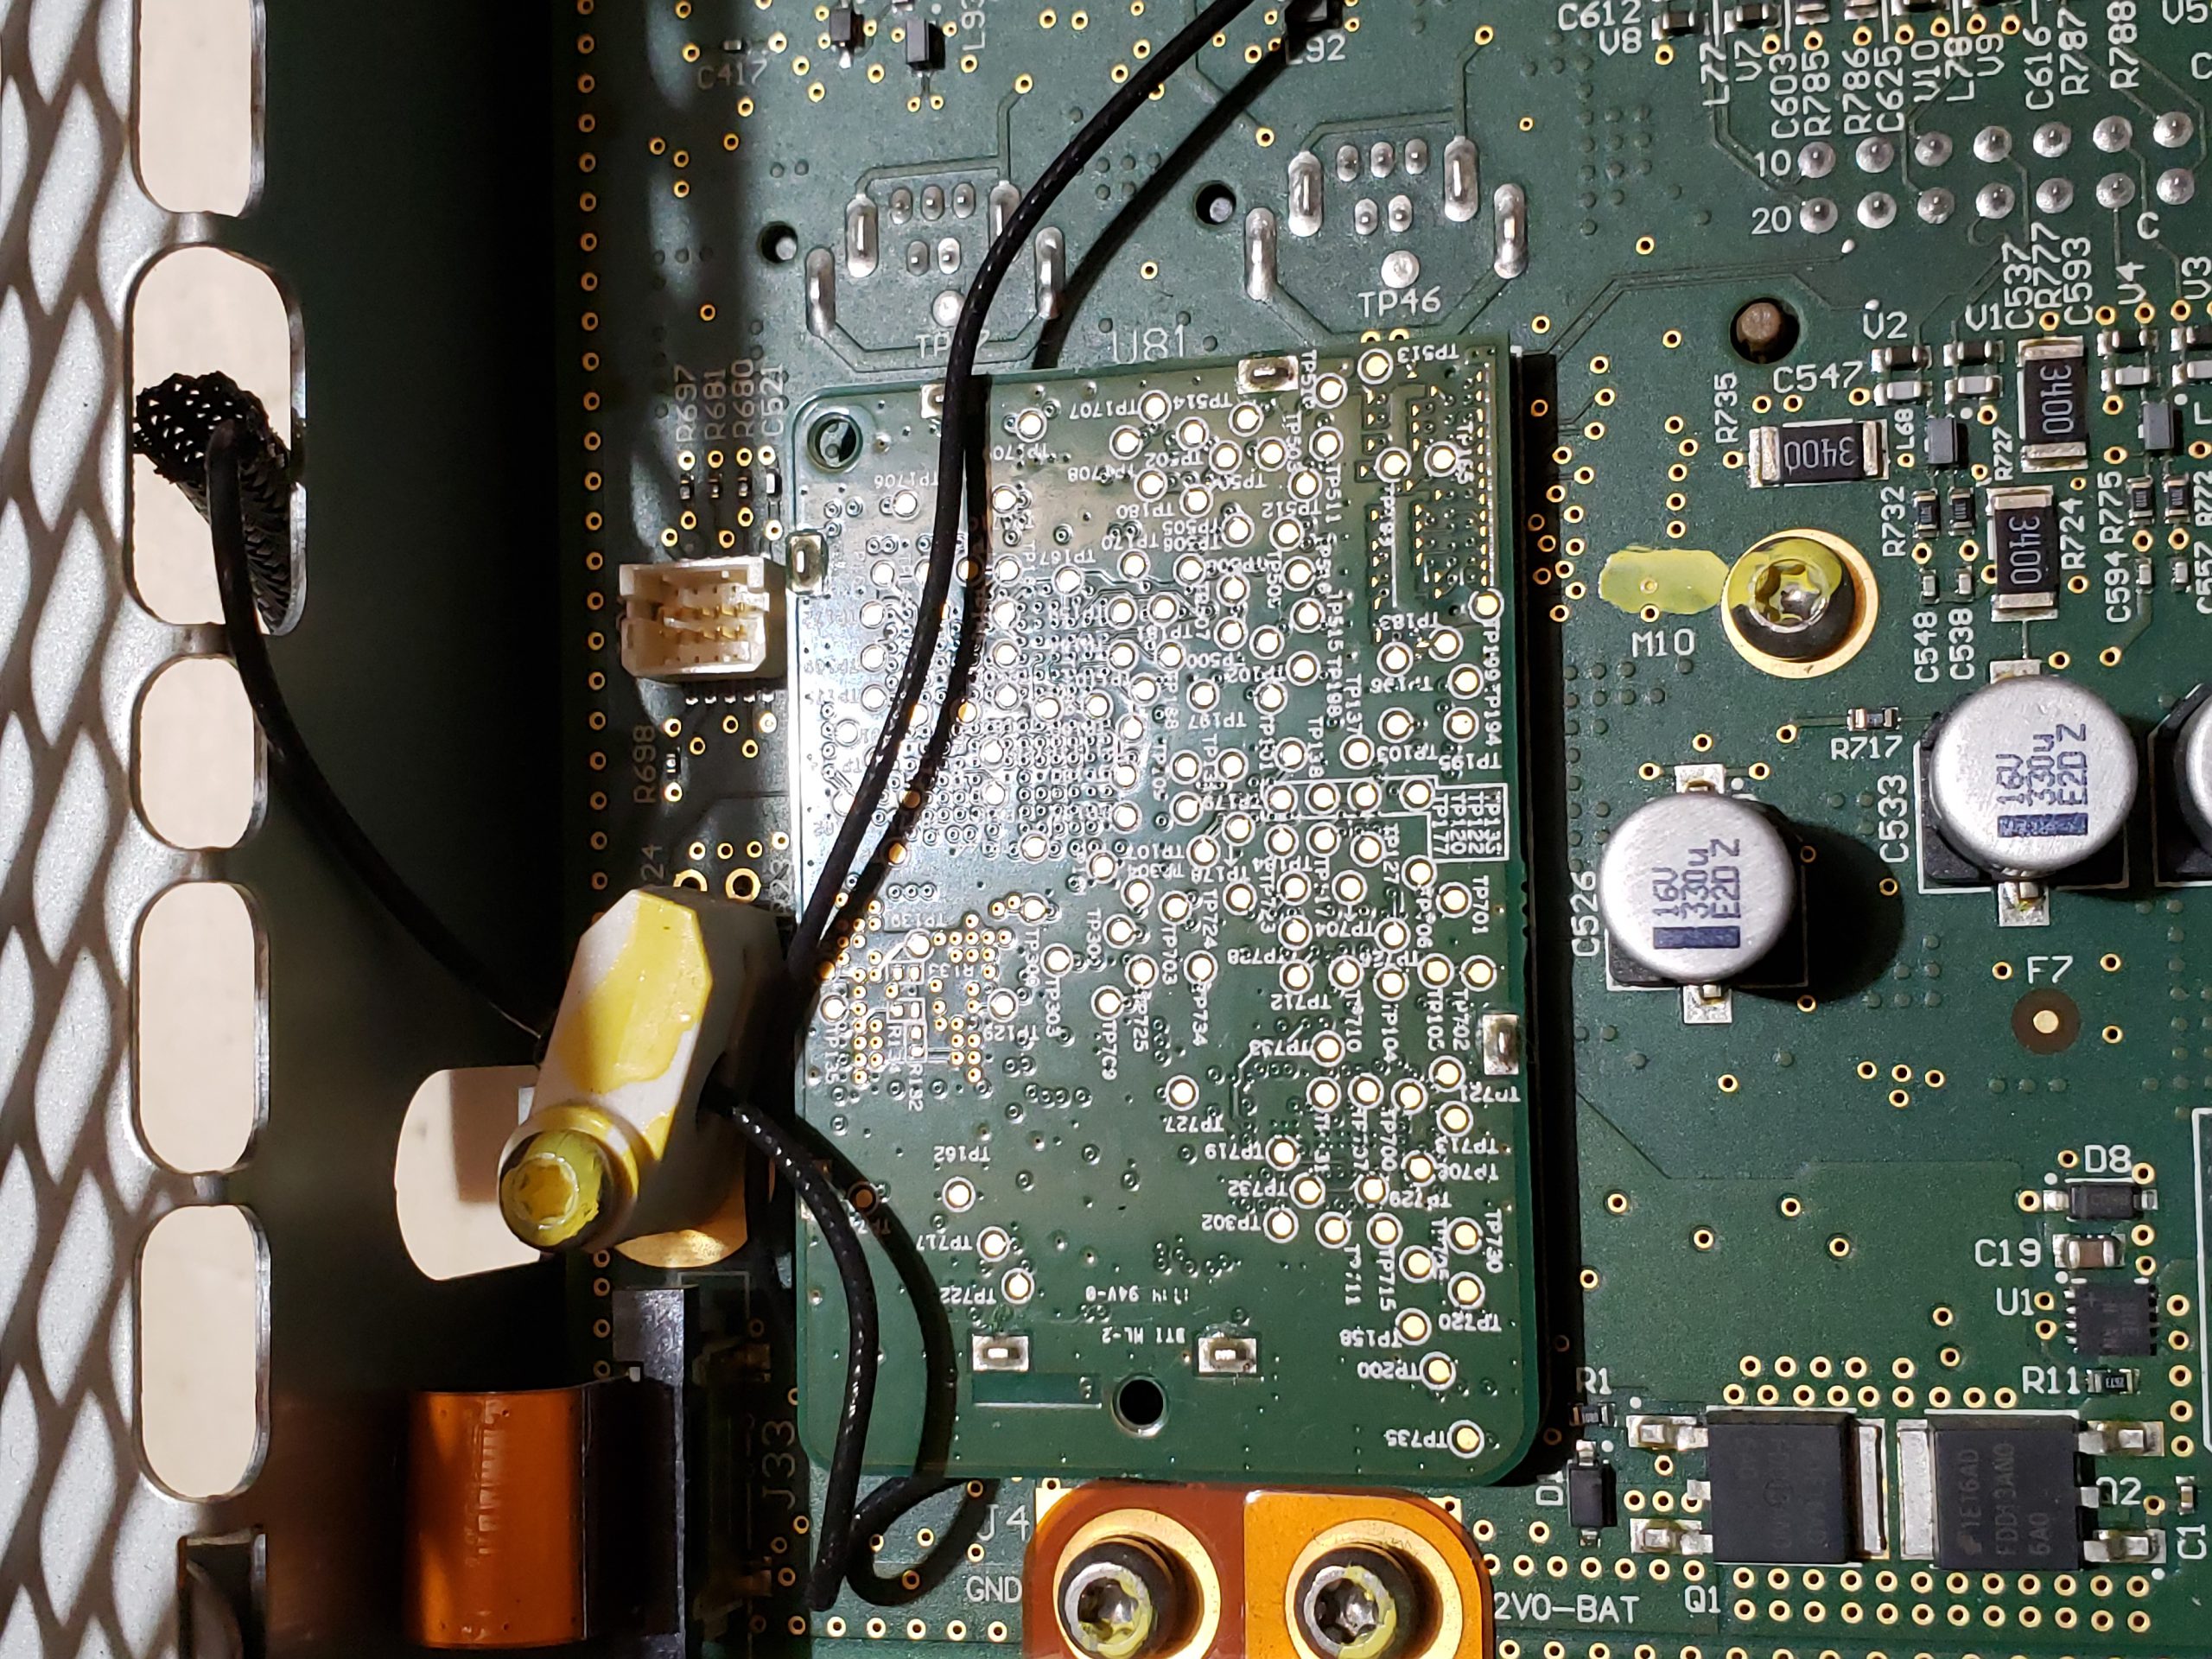
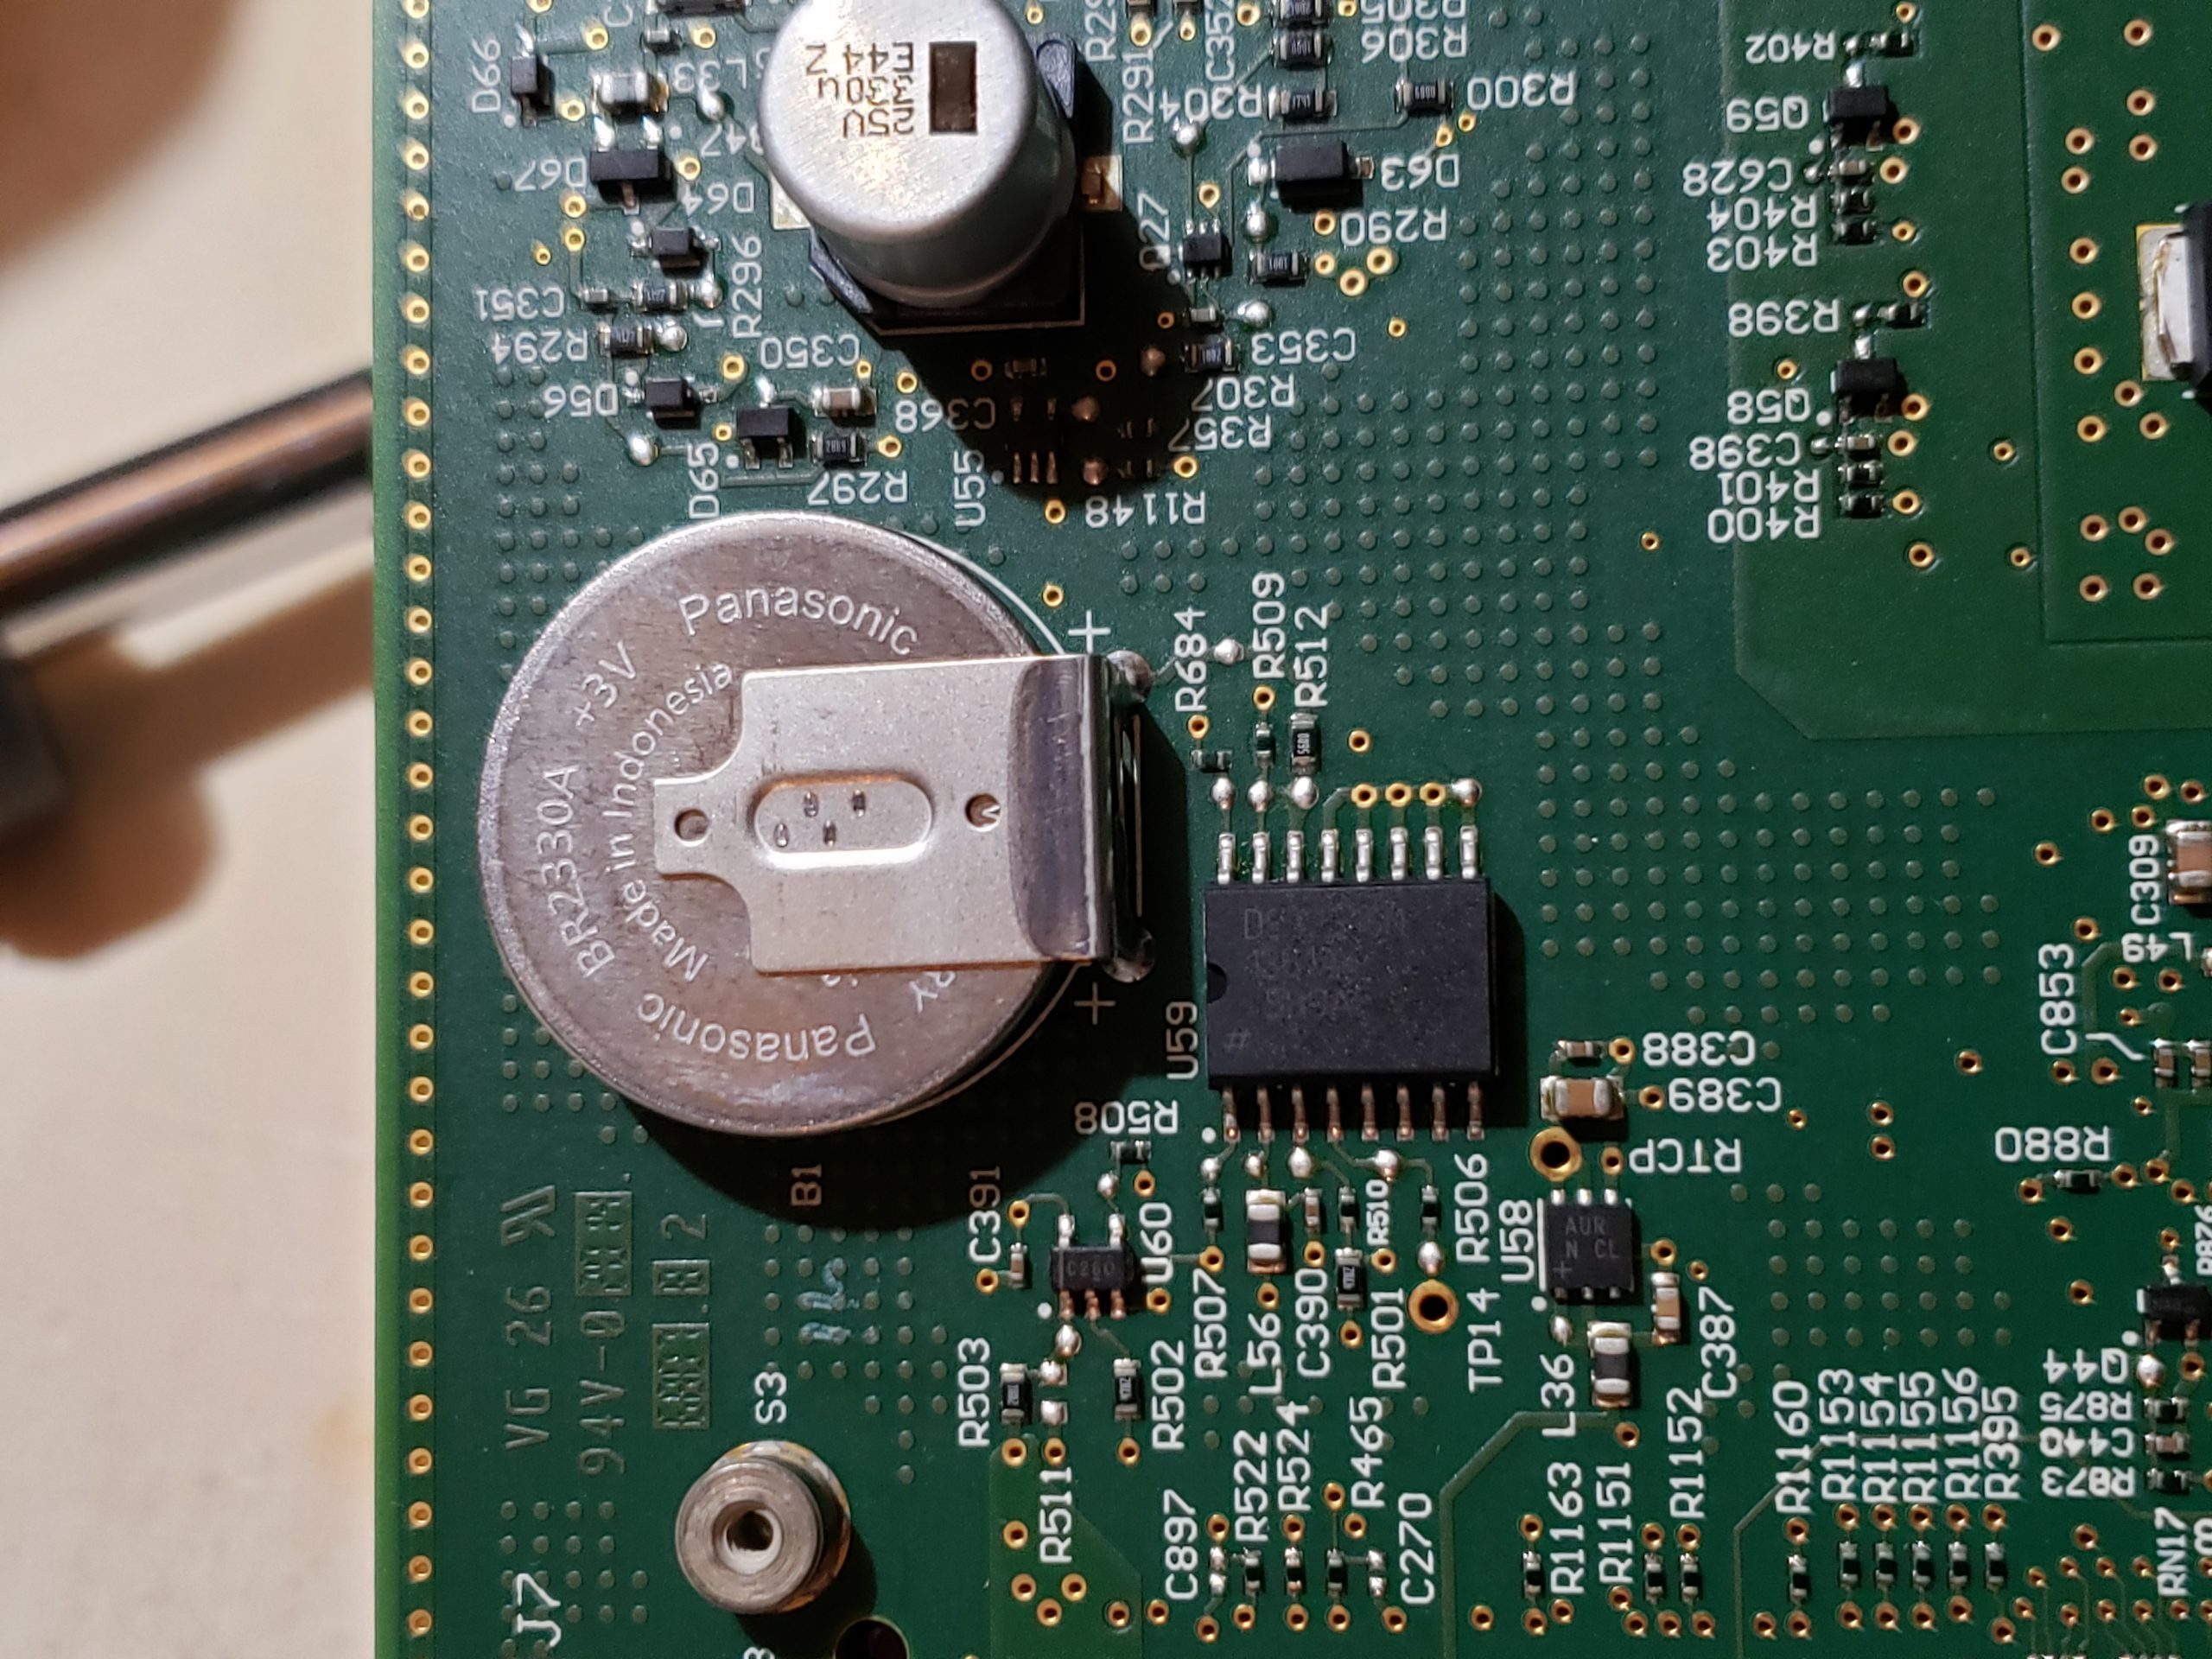
Tesla Reverse Engineering: MCU Teardown

Overview

When reverse engineering an important, and rather fun, step is disassembly. Digging into the internals of hardware & software typically provides many clues as to how you can exploit a system. If you know what technologies are being utilized, this will make it easier to understand how the product works and how to exploit it. Additionally, by knowing what key components / technologies are in use will give you a starting point for finding attack vectors. (E.g. known vulnerabilities) Additionally, in many cases, an analysis of the hardware will result in the discovery of diagnostic/debug access to the system. This is especially true for the Tesla Media Control Unit (MCU)

The MCU, which has numerous implementations, is a complex device which is critical to the operation of the Tesla vehicle. The MCU serves as the primary user interface for vehicle control/configuration, navigation, radio, entertainment, communication & coordination w/ other vehicle modules, diagnostics, and remote communication w/ Tesla HQ. Given the complexity of this unit, any/all clues to its operation will be extremely helpful in understanding how it operates. A full tear down & inventory of key components is ONE method to increase our knowledge.

The MCU consists of the key sub-assemblies:

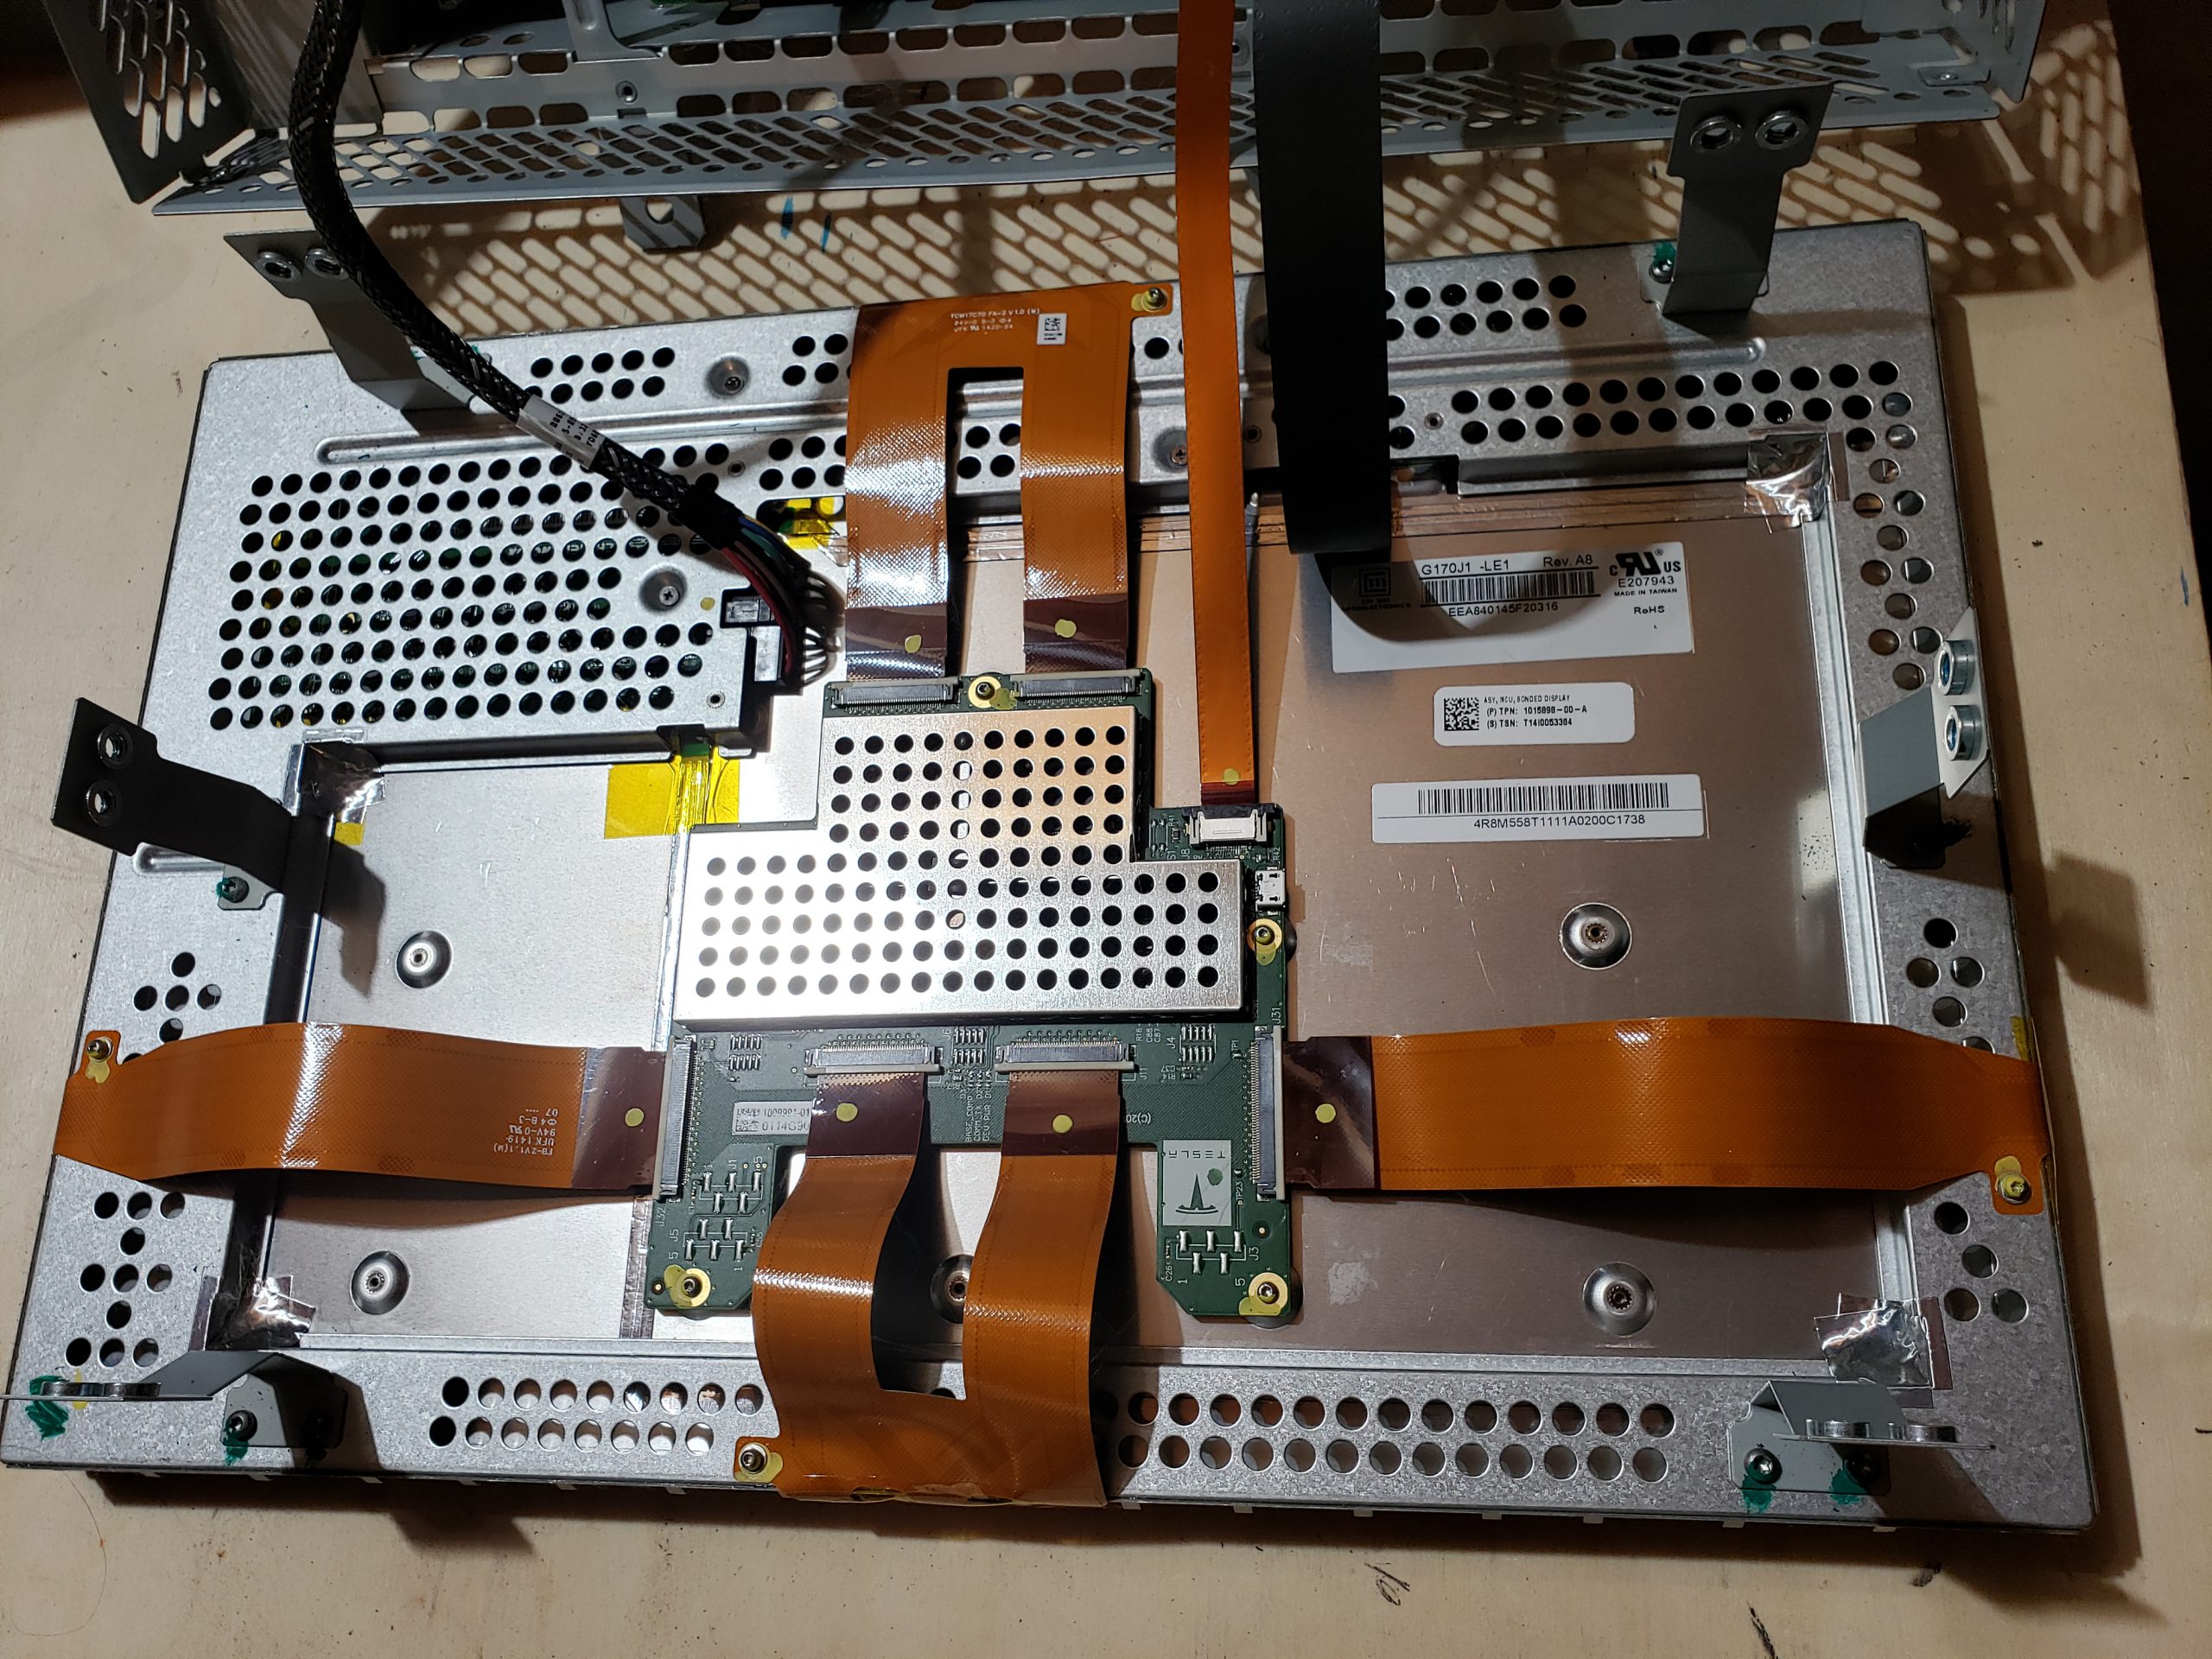
  • Bonded Display – For most people, this is the only assembly that matters as it collects user input and provides visual feedback.
  • Amplifier Assembly – Audio amplifier module which drives speakers, etc.
  • Cellular Communications – This sub-assembly is responsible for cellular communications. Early MCUs supported 3G while newer sub-assemblies support 4G/5G.
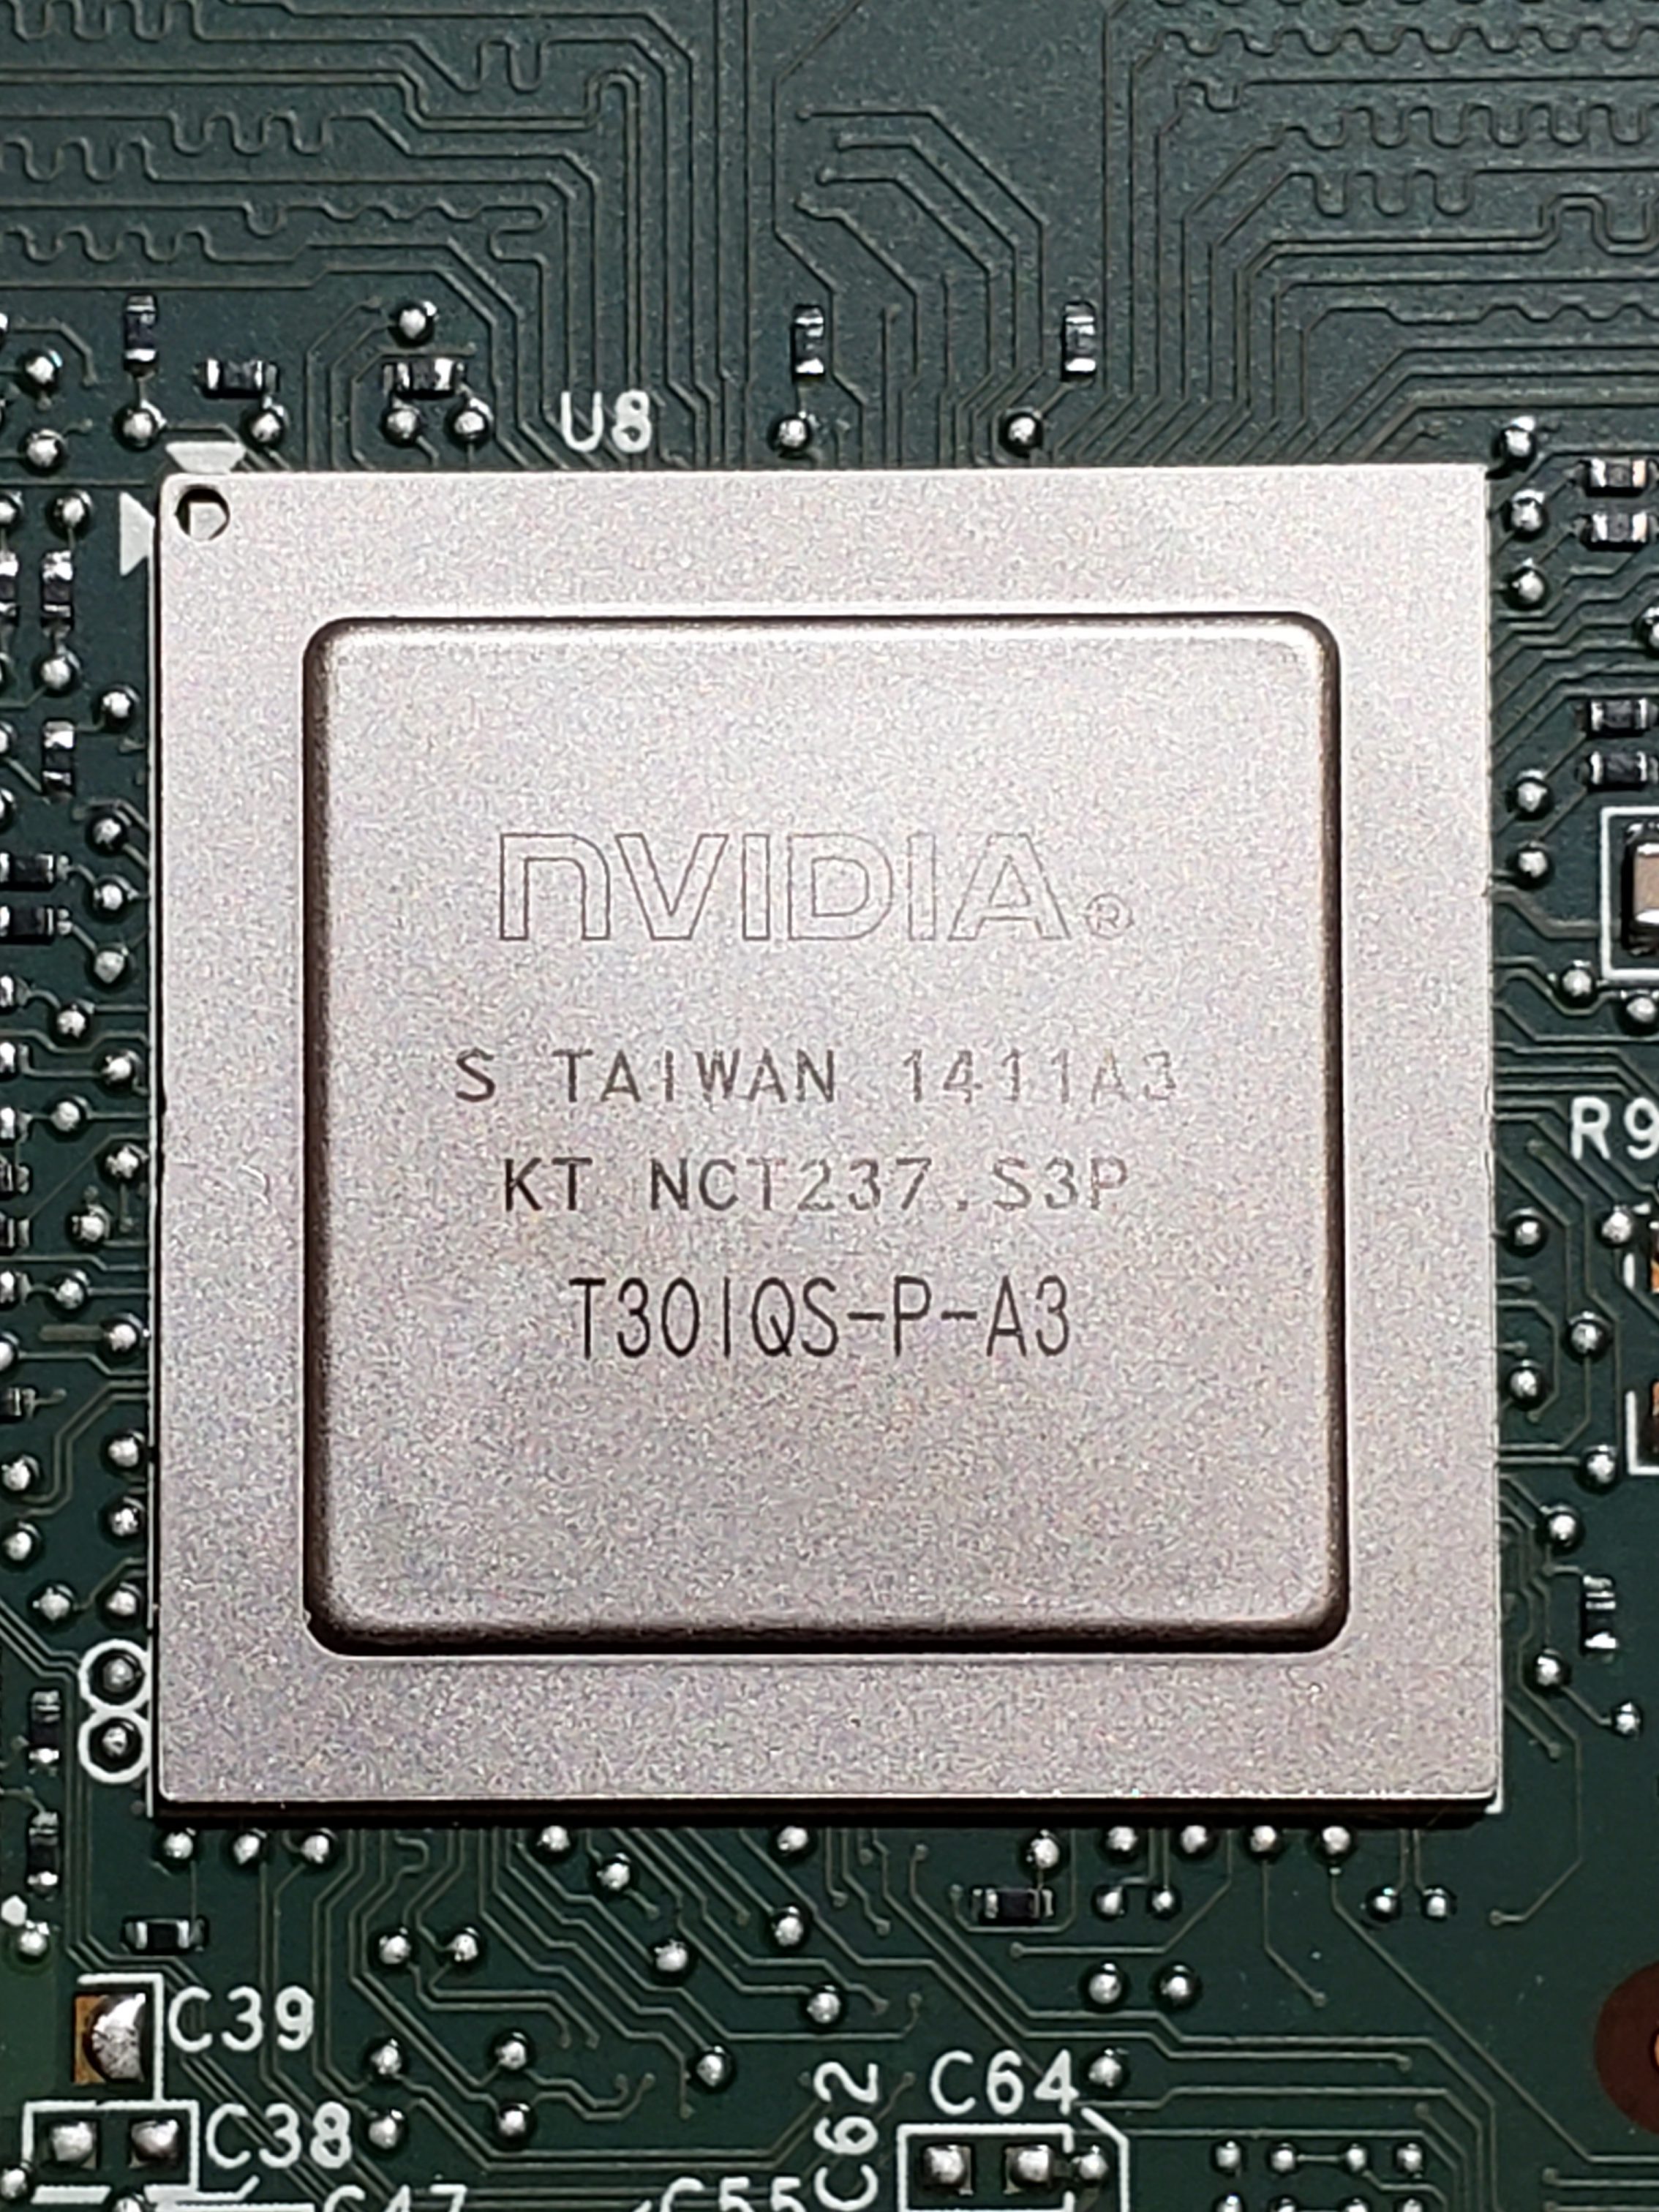
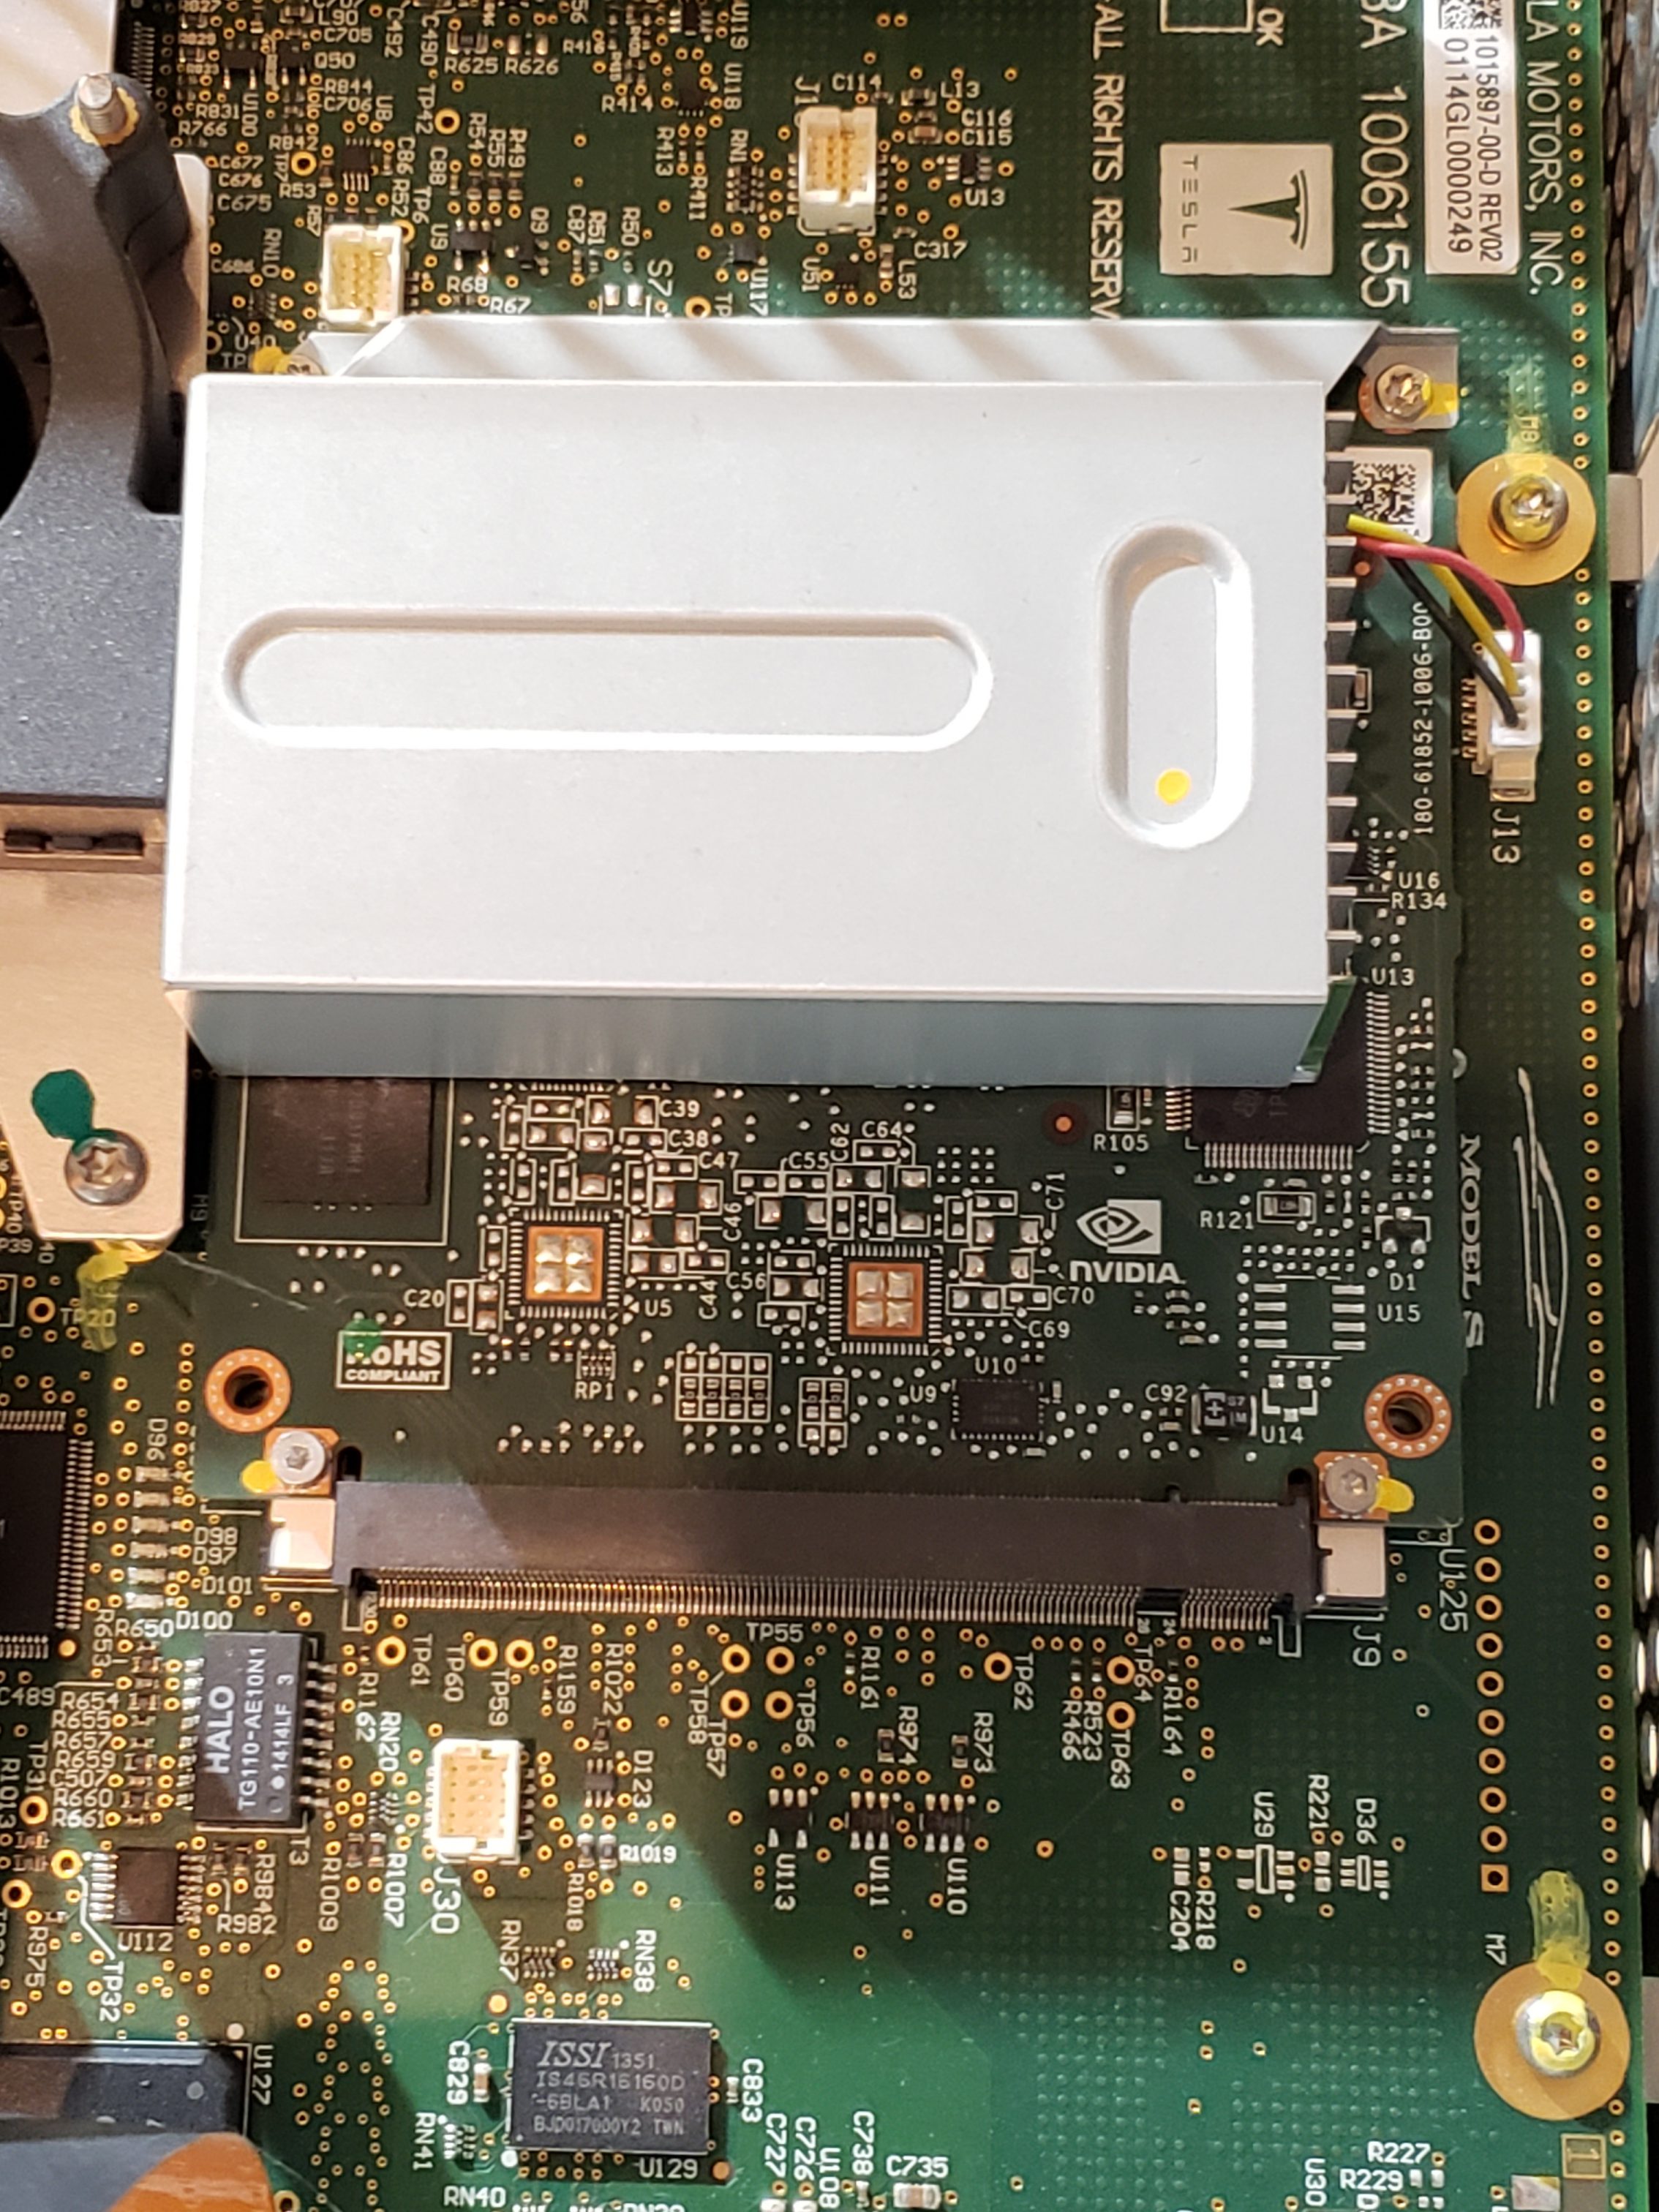
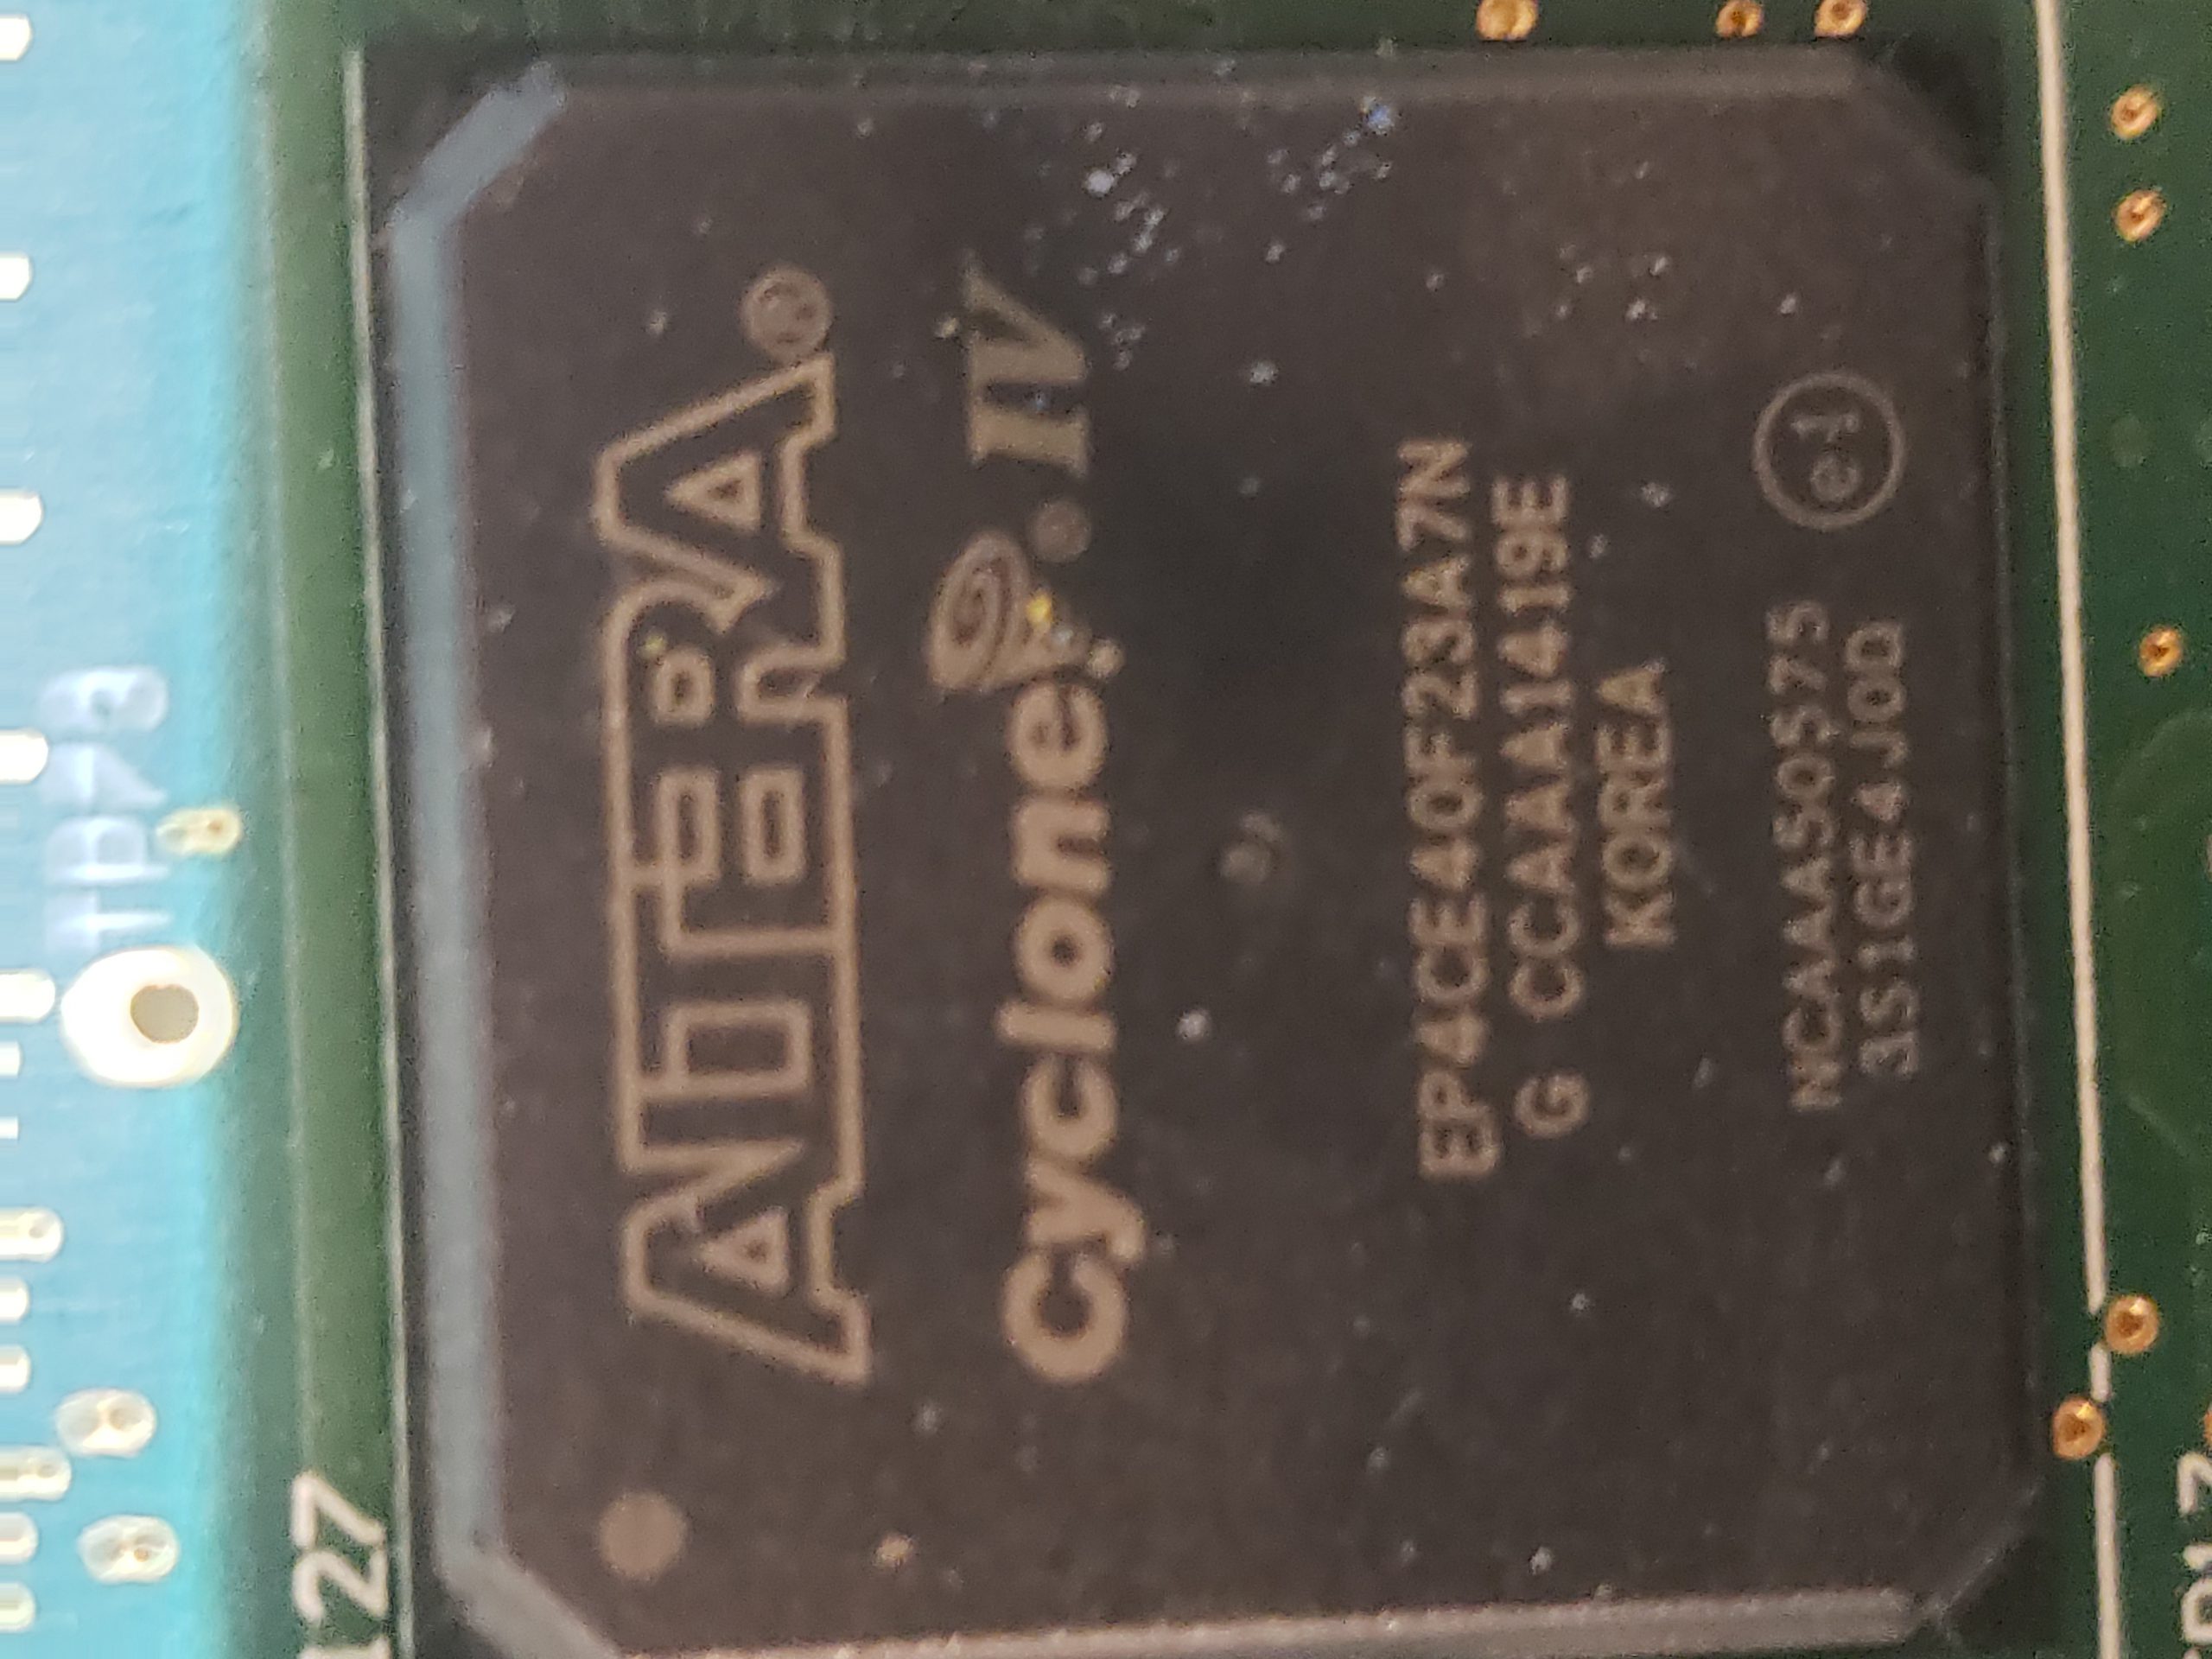
  • Infotainment Processor – This sub-assembly provides the main processing power for the MCU. For the MCU 1, this is powered by NVidia while MCU 2 utilizes Intel Atom, and MCU 3 contains an AMD Ryzen processor.
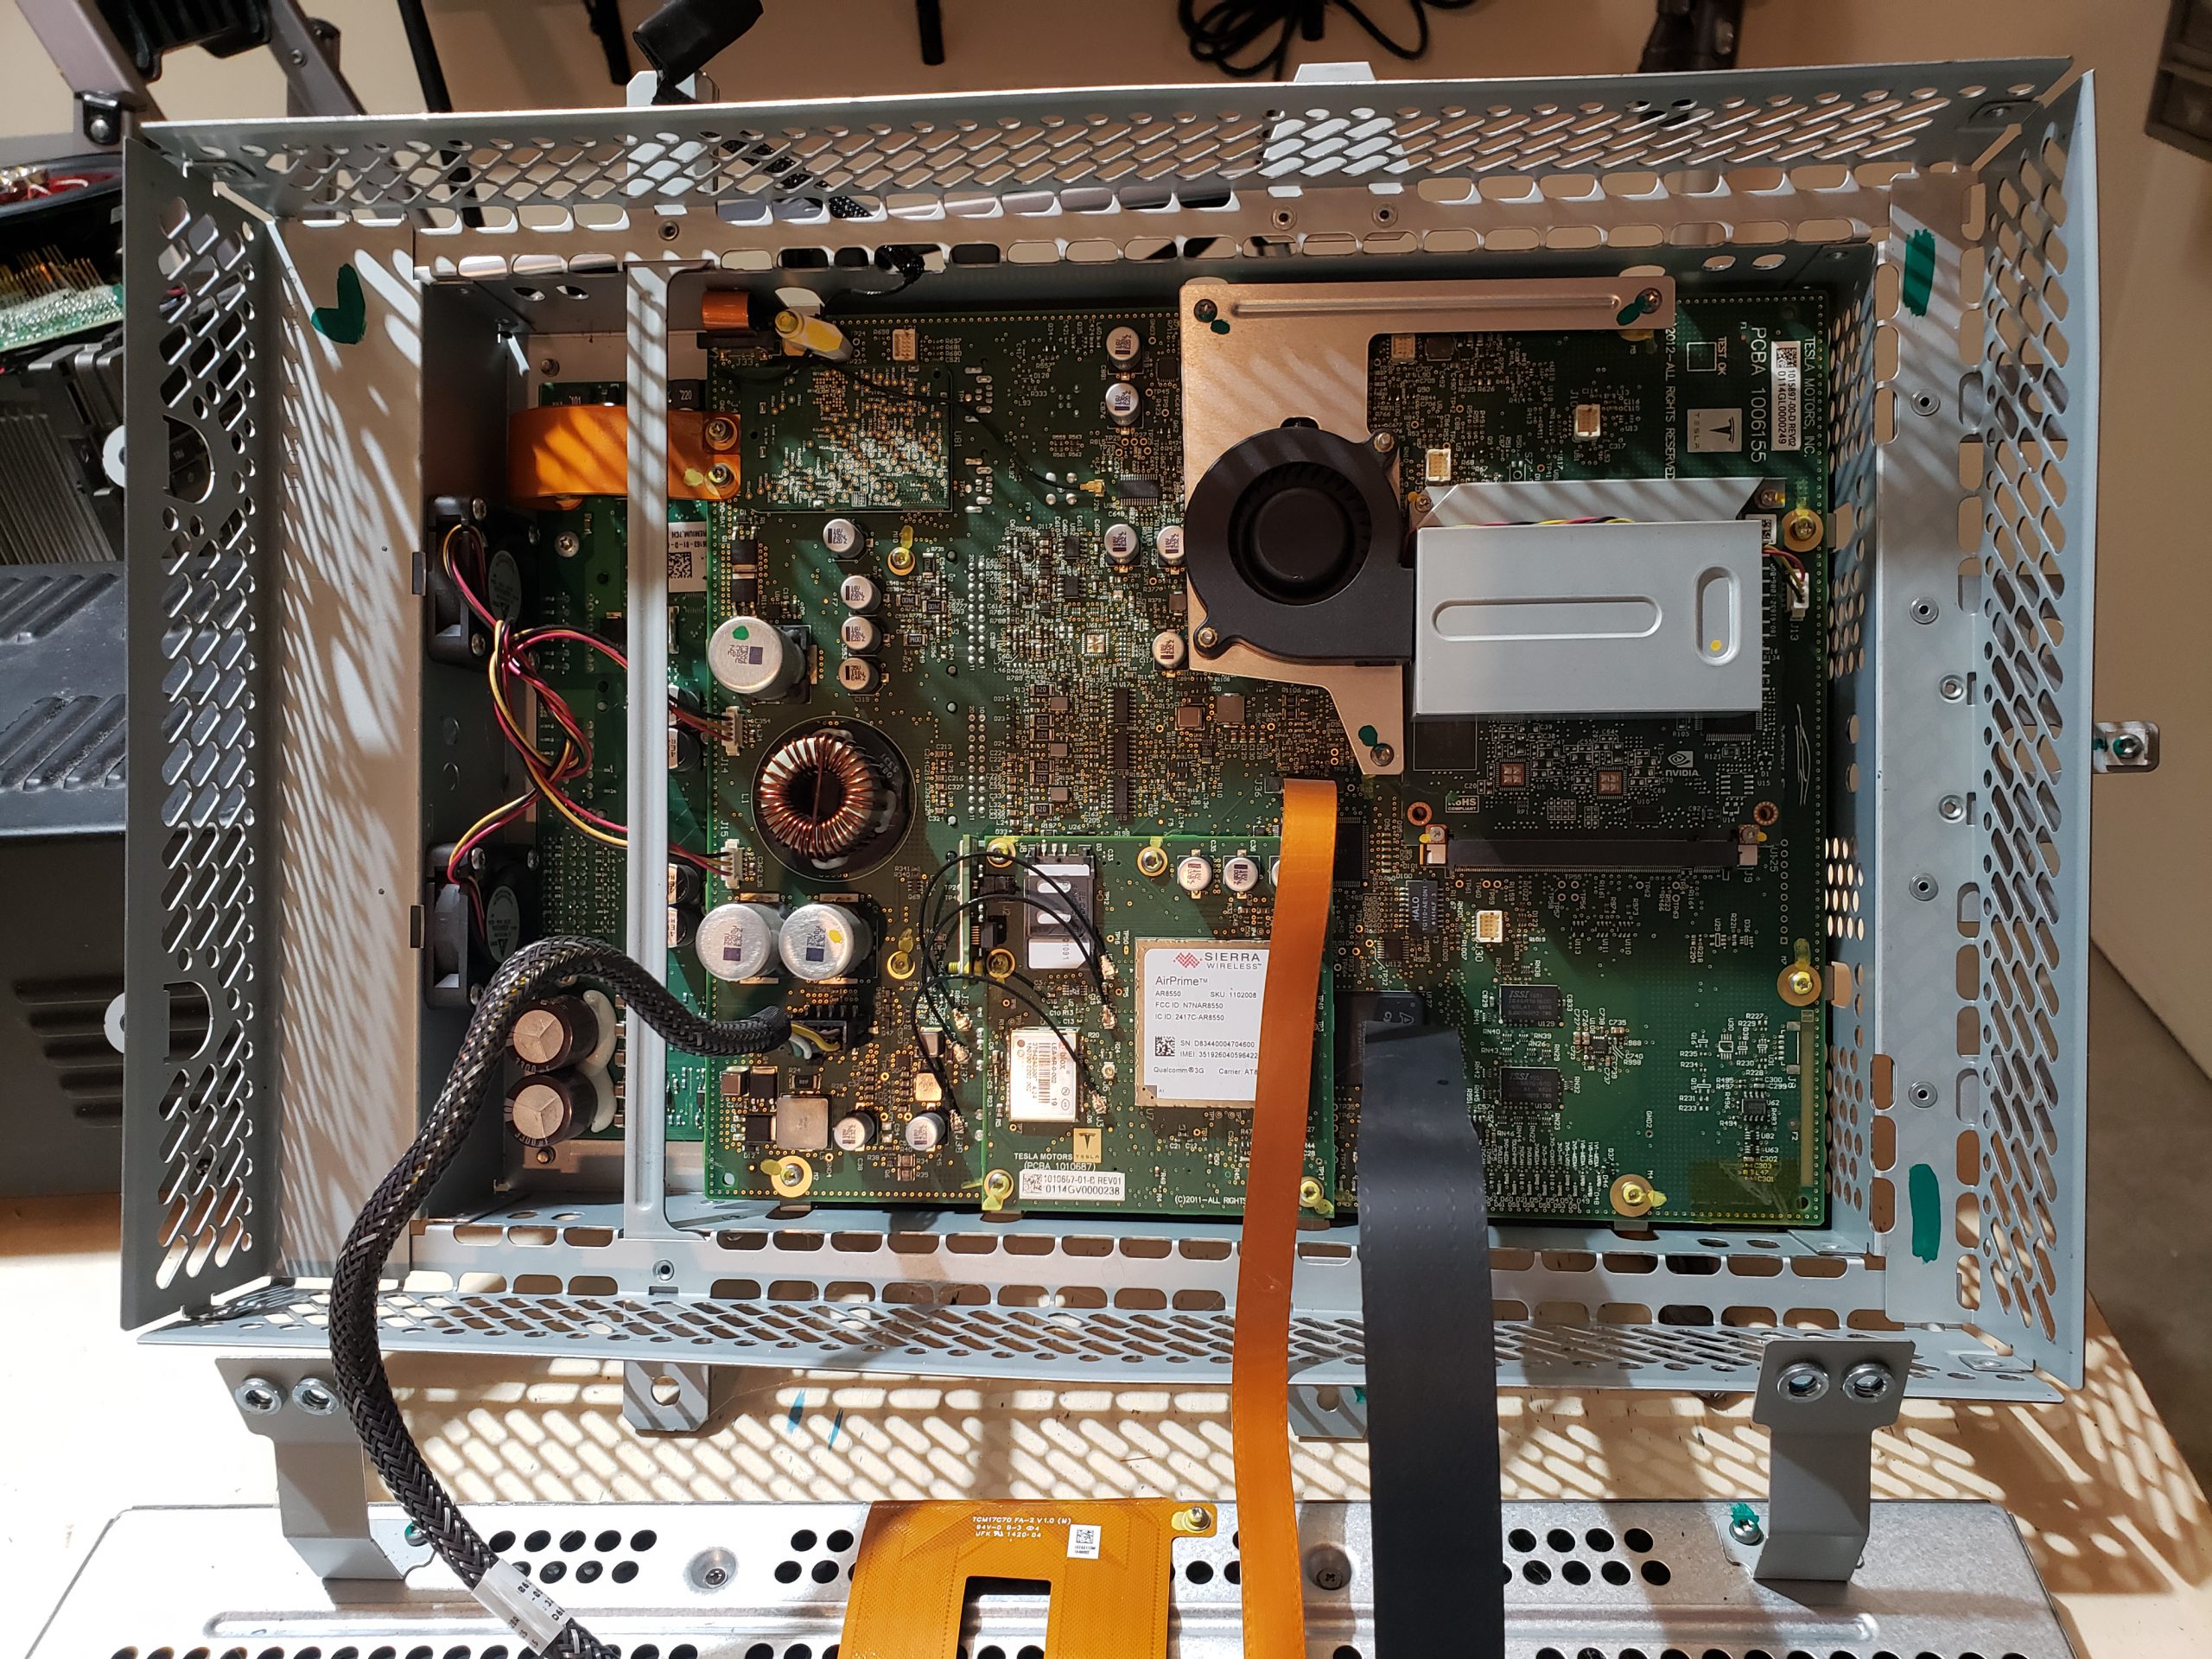
  • Main Board – This is the largest assembly and serves as the hub for all of the other sub-assemblies.

Bonded Display

From a reverse engineering perspective, this is probably the least interesting sub-assembly. The electronics are relatively minimal and single purposed. I don’t expect there to be much value in focusing on this assembly. With that said, there is a USB port on the control board. I suspect this is probably used for pushing firmware in the factory.

Amplifier Assembly

Similar to the display, this assembly is also very single purposed and I don’t see any obvious value in focusing too much time here. A quick review of the circuit board does not find anything remarkably useful for reverse engineering purposes.

Cellular Communications

This module is far more interesting as it is responsible for remote communication, which is quite valuable. There are multiple prominently displayed components on this board of note. Additionally, you’ll see that this contains a removable SIM card. As the older modules came with “unlimited data”, perhaps you can repurpose this? ☺ It would additionally be curious to see if any data is on this card.

Infotainment Processor

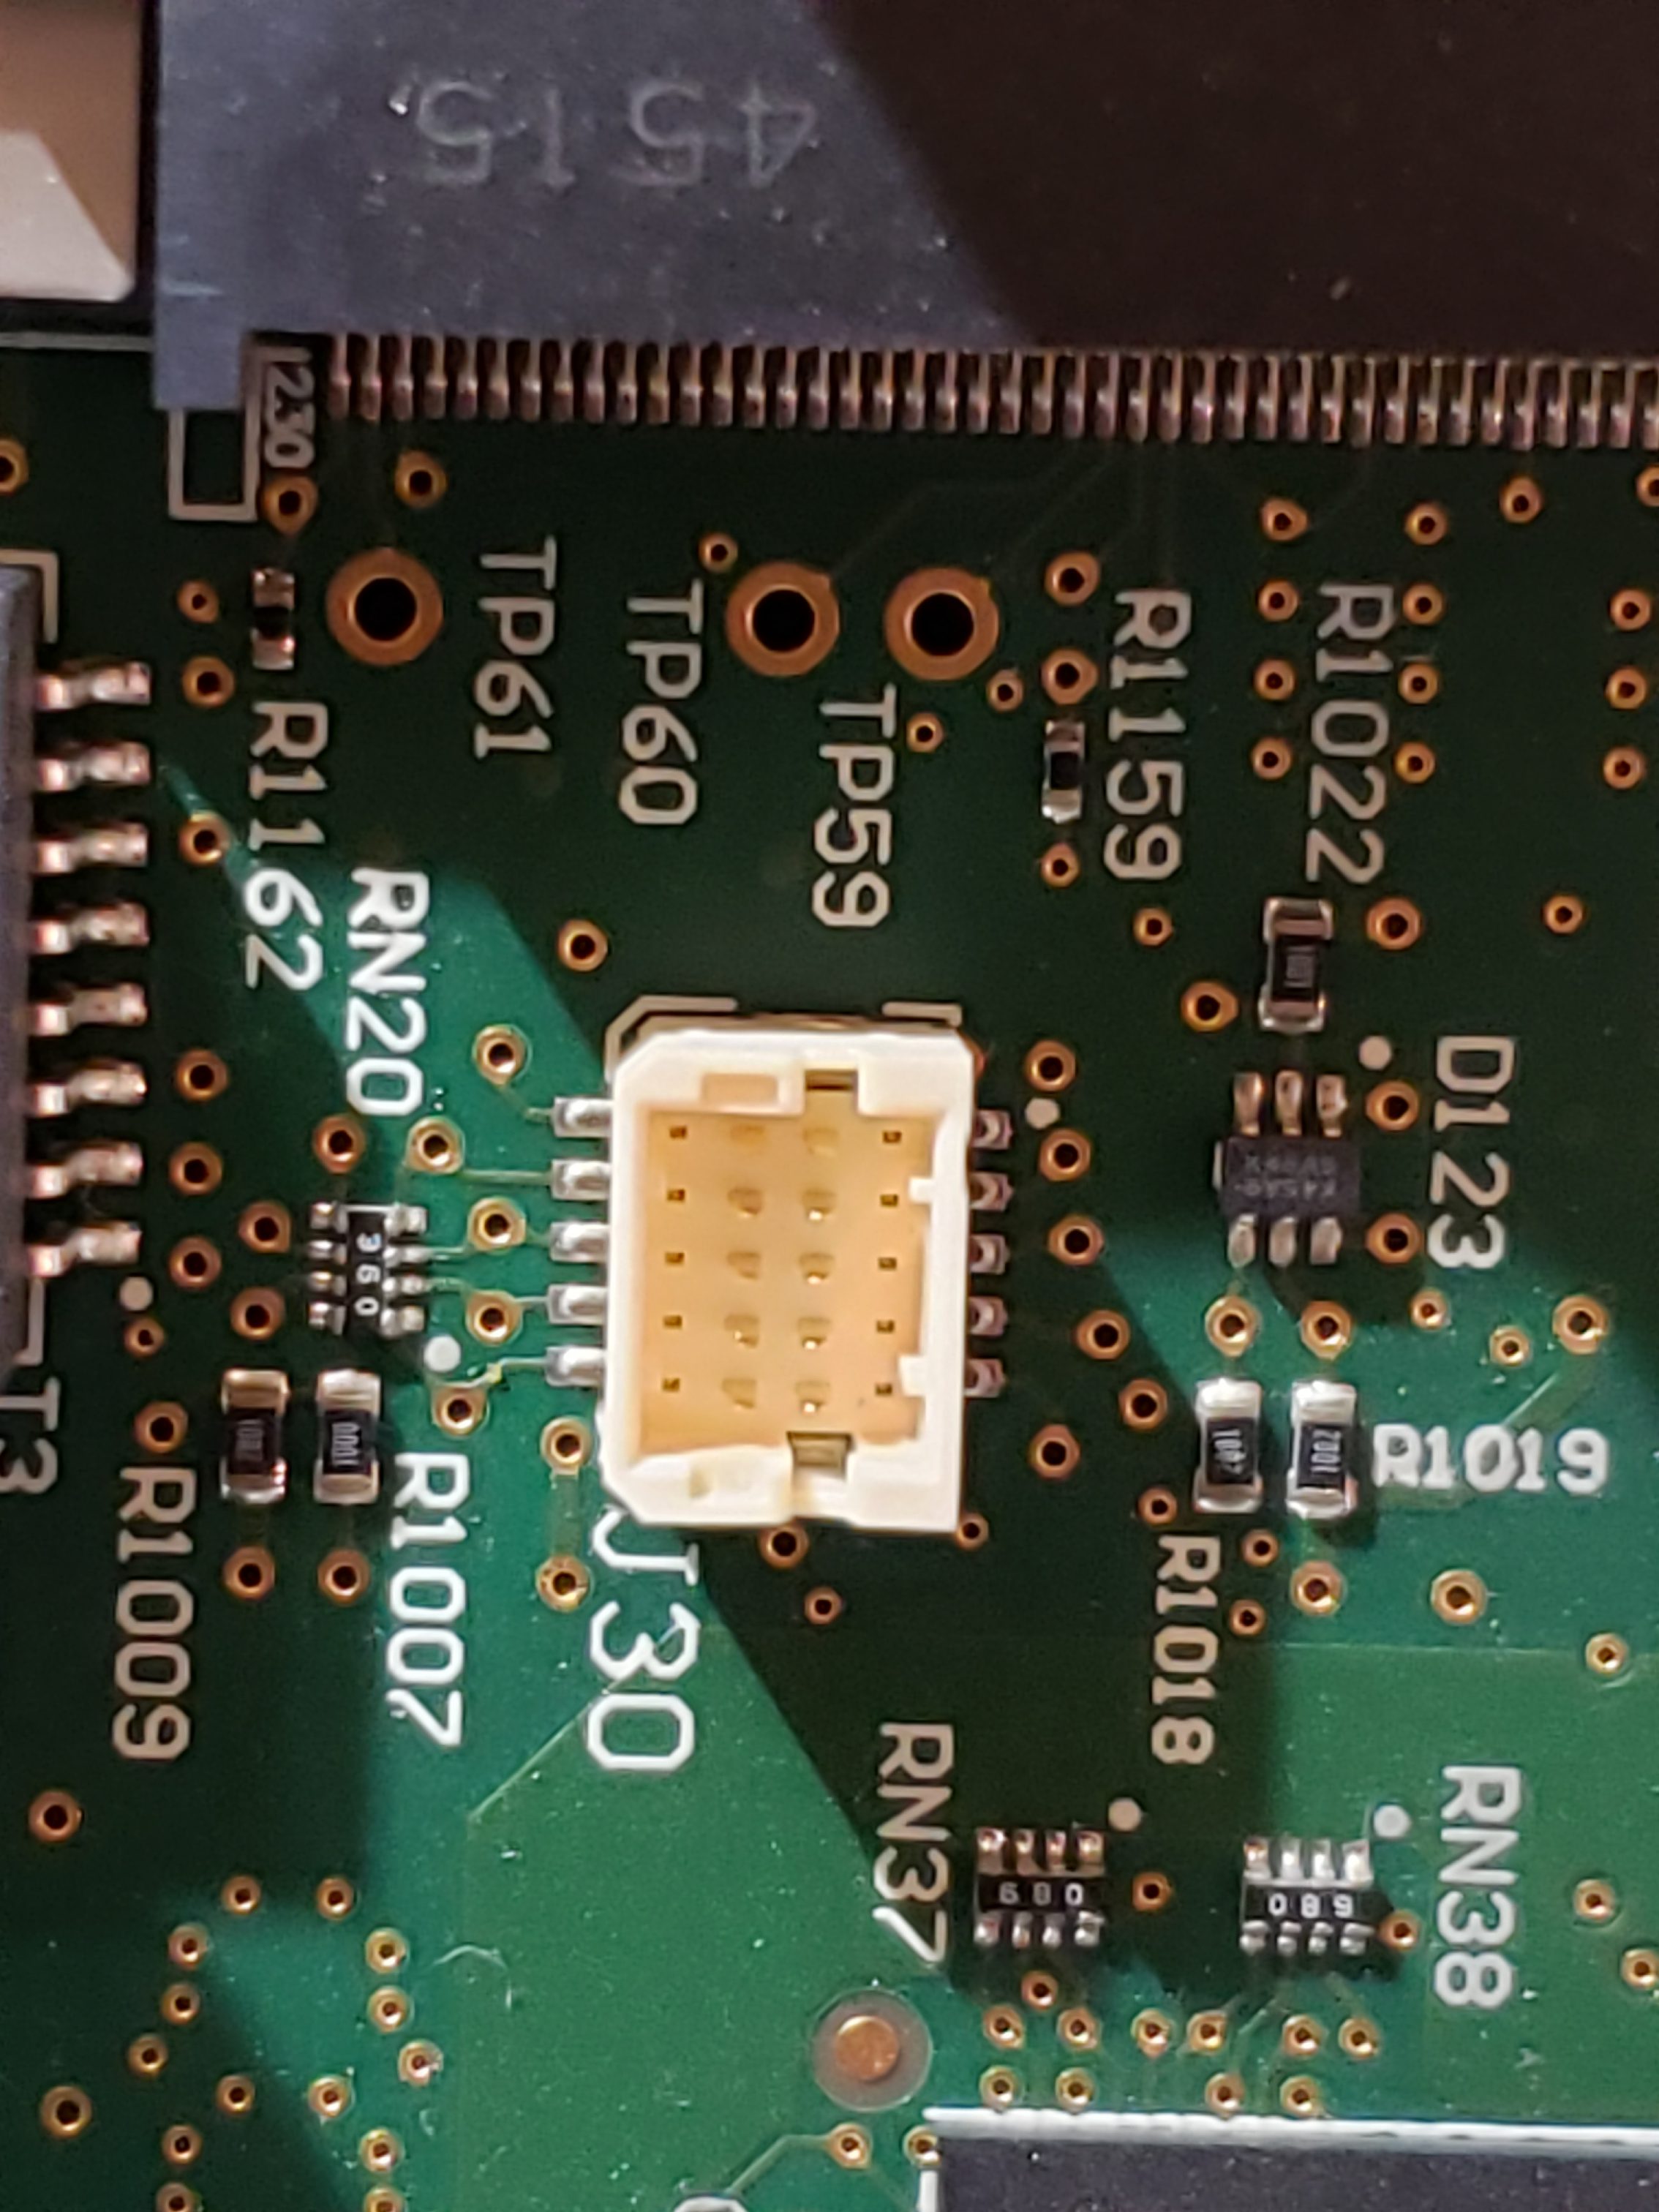
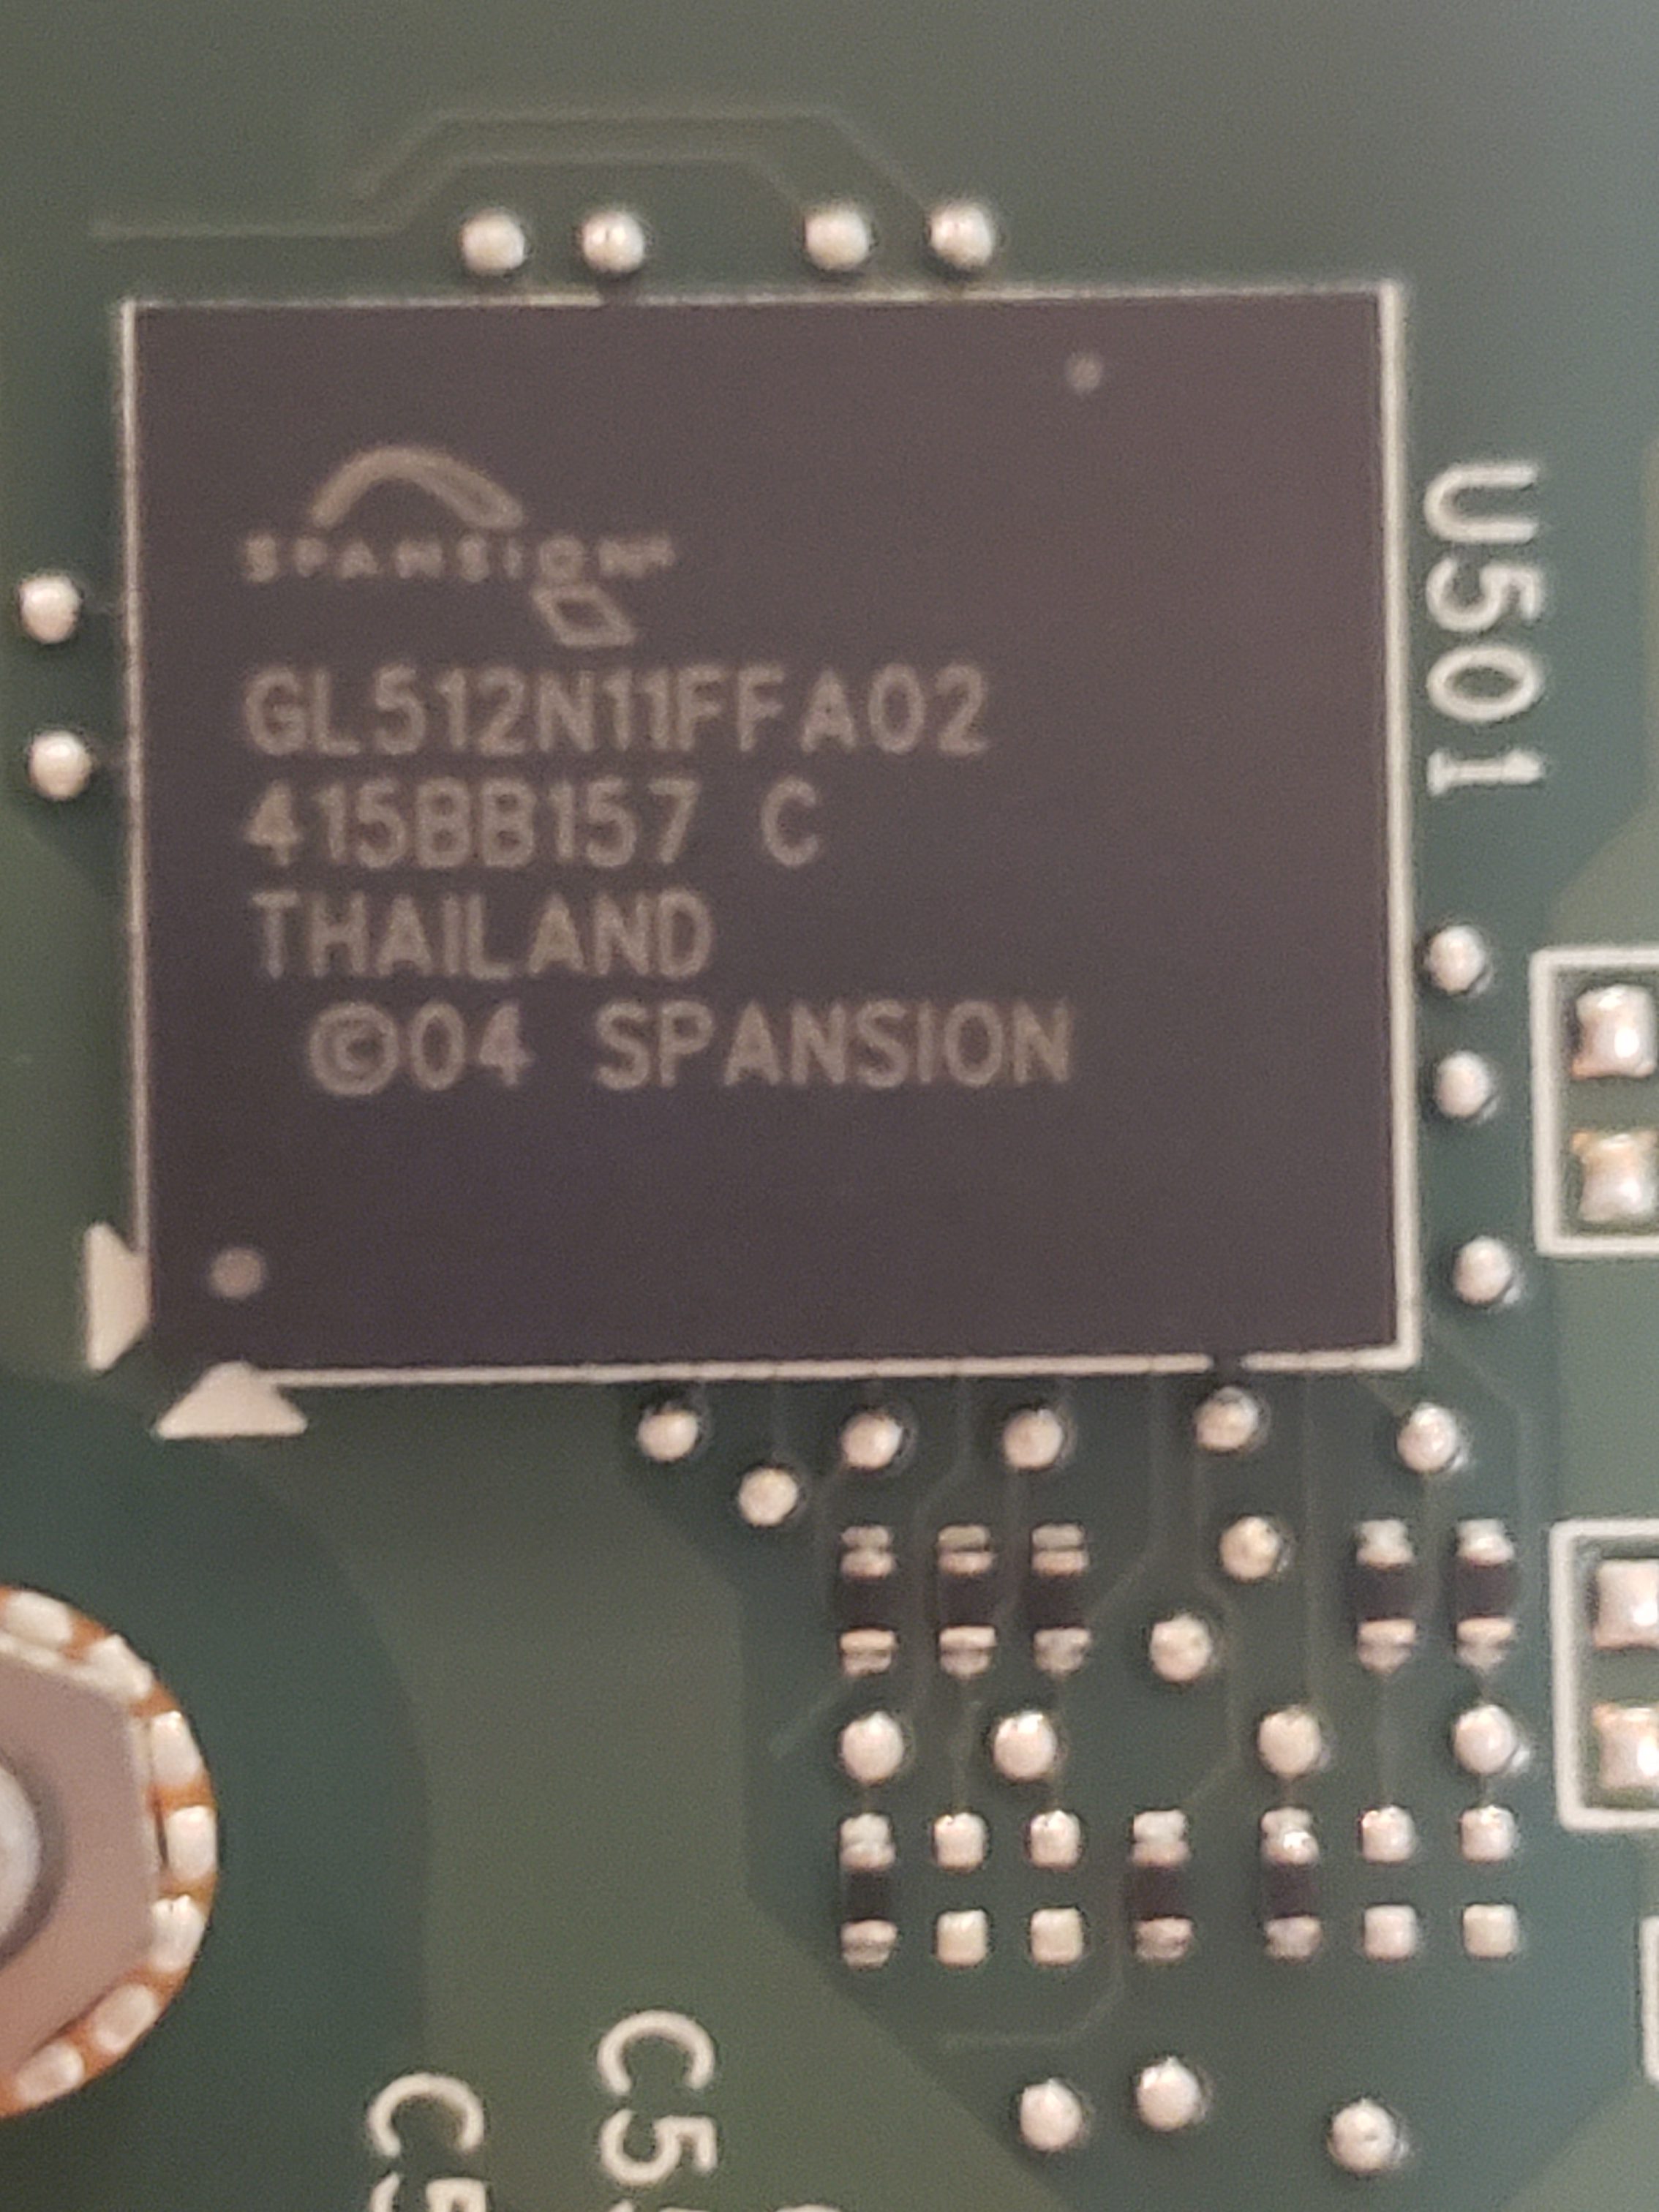
The infotainment process assembly is another “high value target” as this is the primary “brains” of the MCU. In addition to the NVIDIA processor, this board contains SDRAM, e-NAND Flash Drive*, a USB Hub, Ethernet controller, and an IC flash device. In additional to the components, on the board, there are a couple of unpopulated pads. Perhaps these pads are simply for optional components or perhaps they are for diagnostic purposes. More investigation is required to determine if they are of any value.

* – Due to how the Flash Drive has been utilized by Tesla, these devices are beginning to fail in older MCU 1 vehicles. When they fail, the MCU will operate erratically eventually resulting in the “black screen of death”. There is a recall and Tesla will replace these sub-assemblies with a newer/higher capacity flash memory. If you are skilled, you can repair this yourself. ☺

Main Board

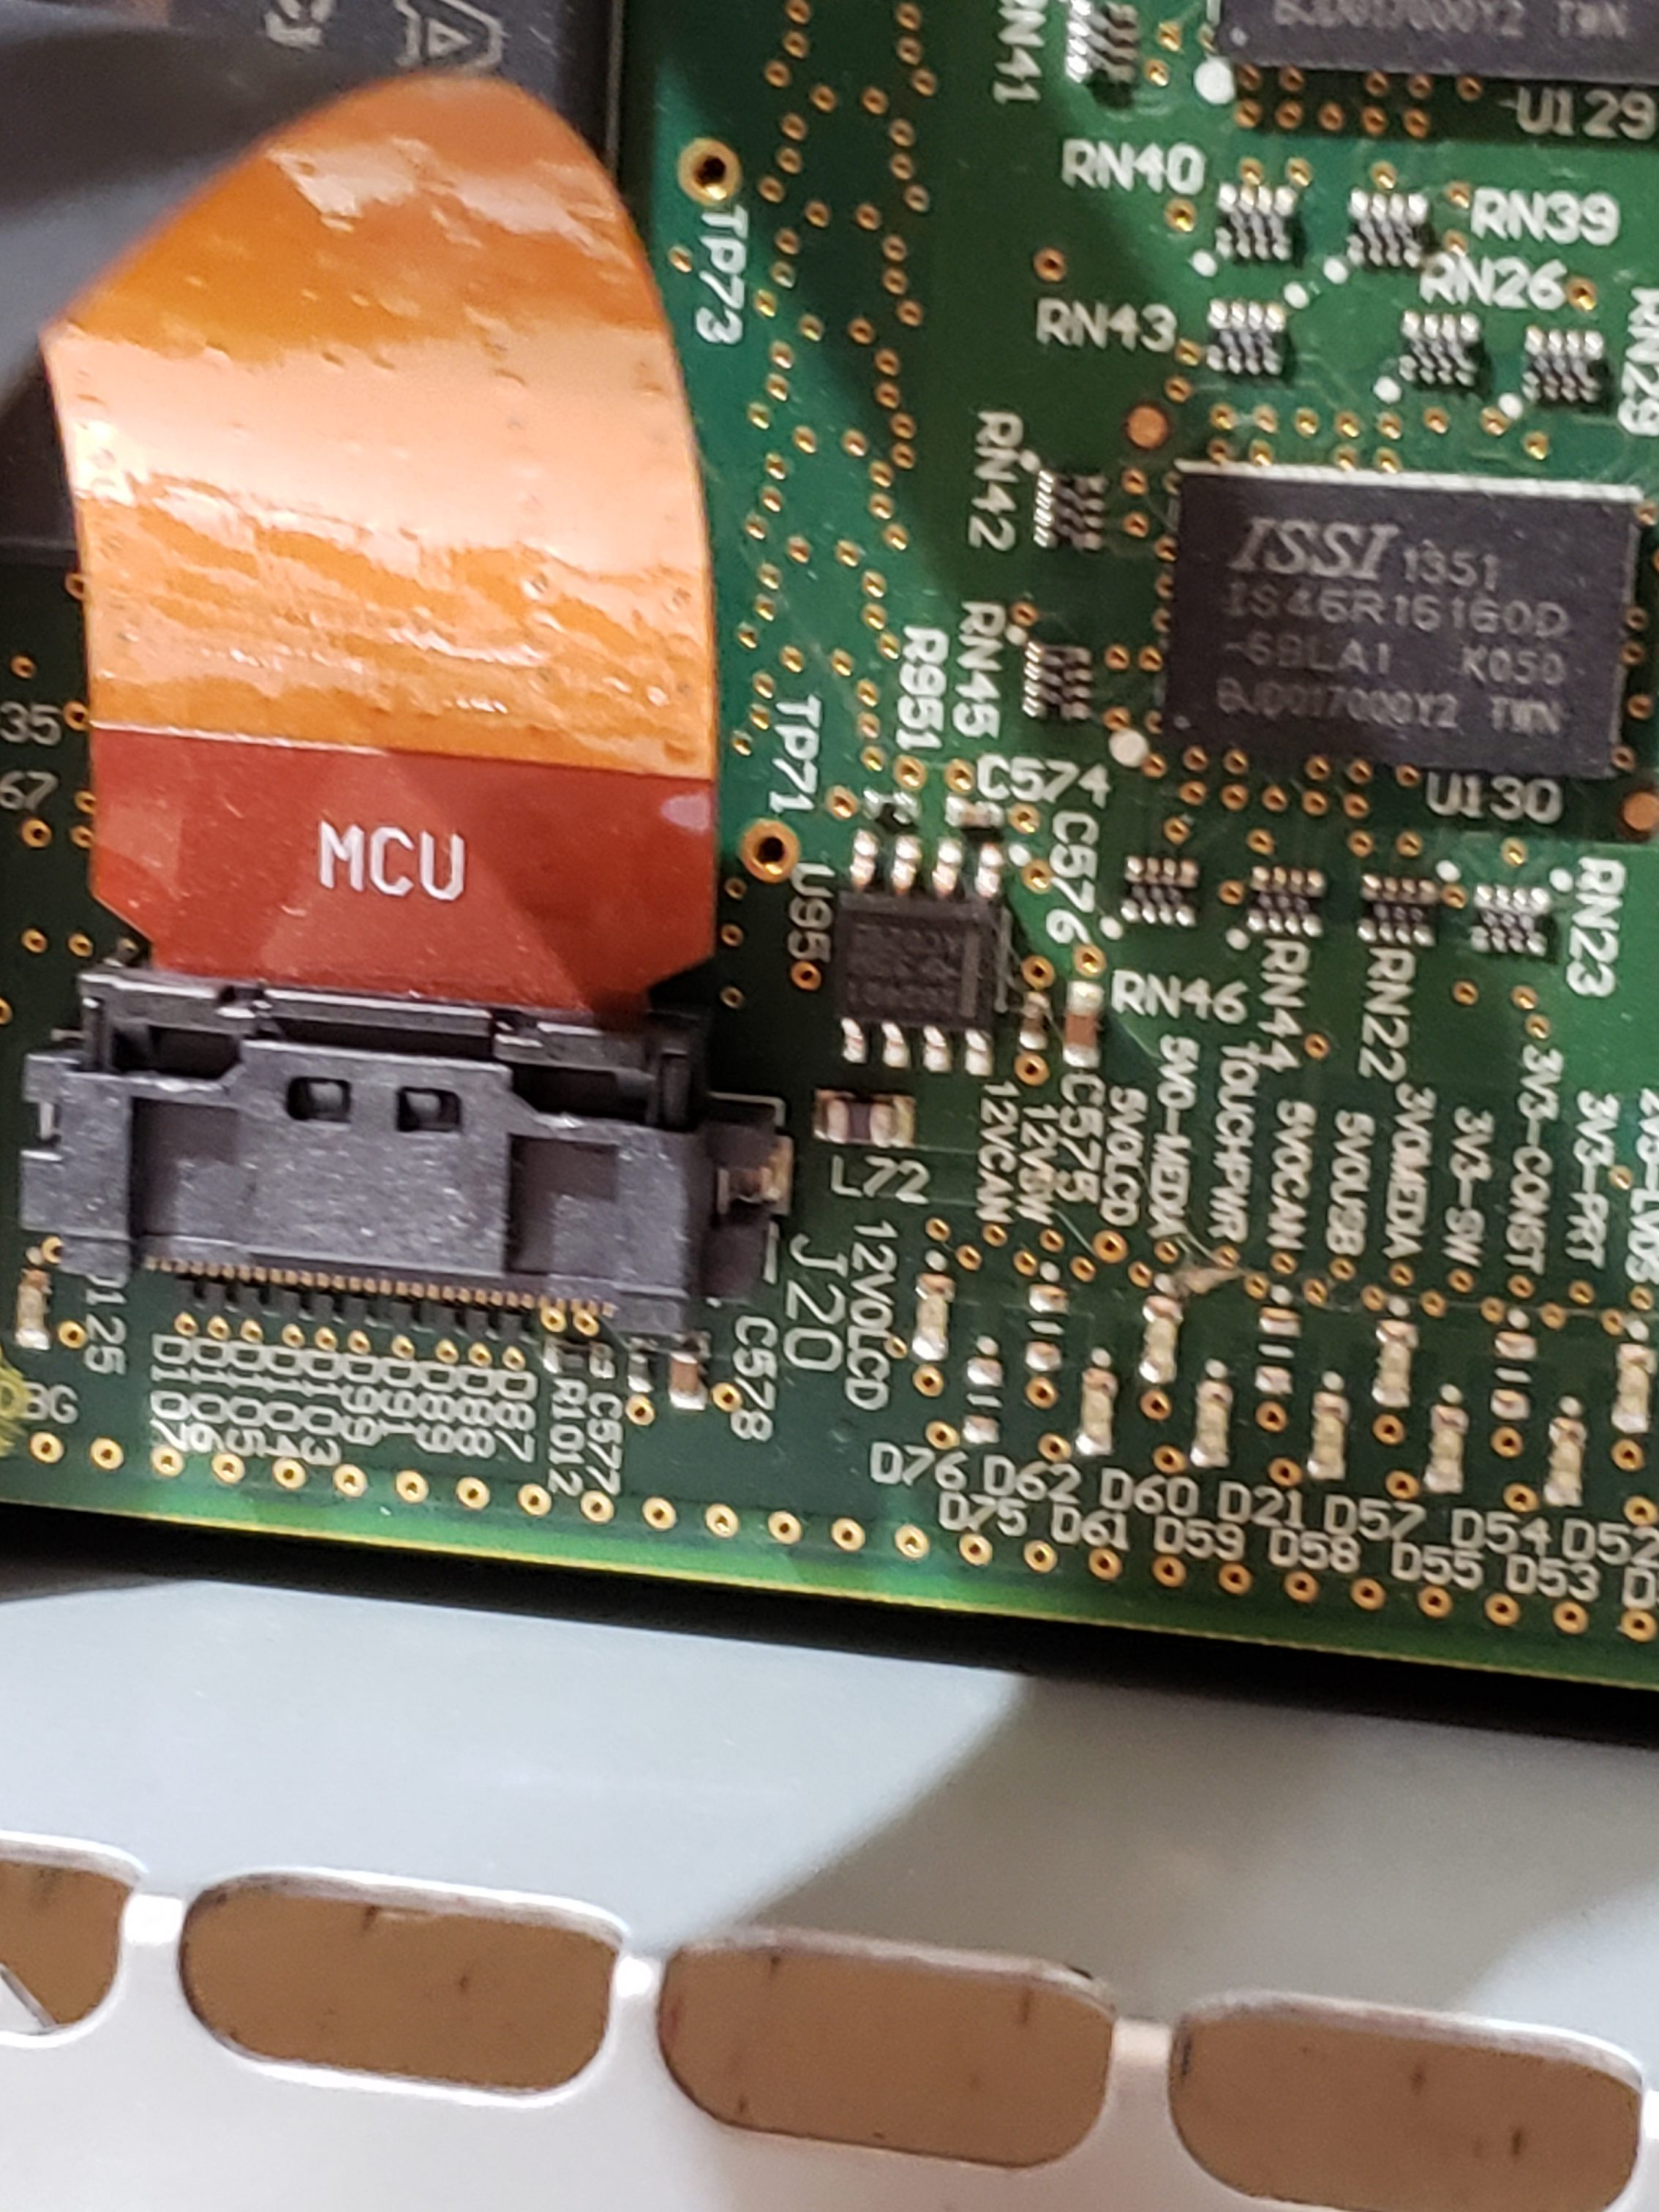
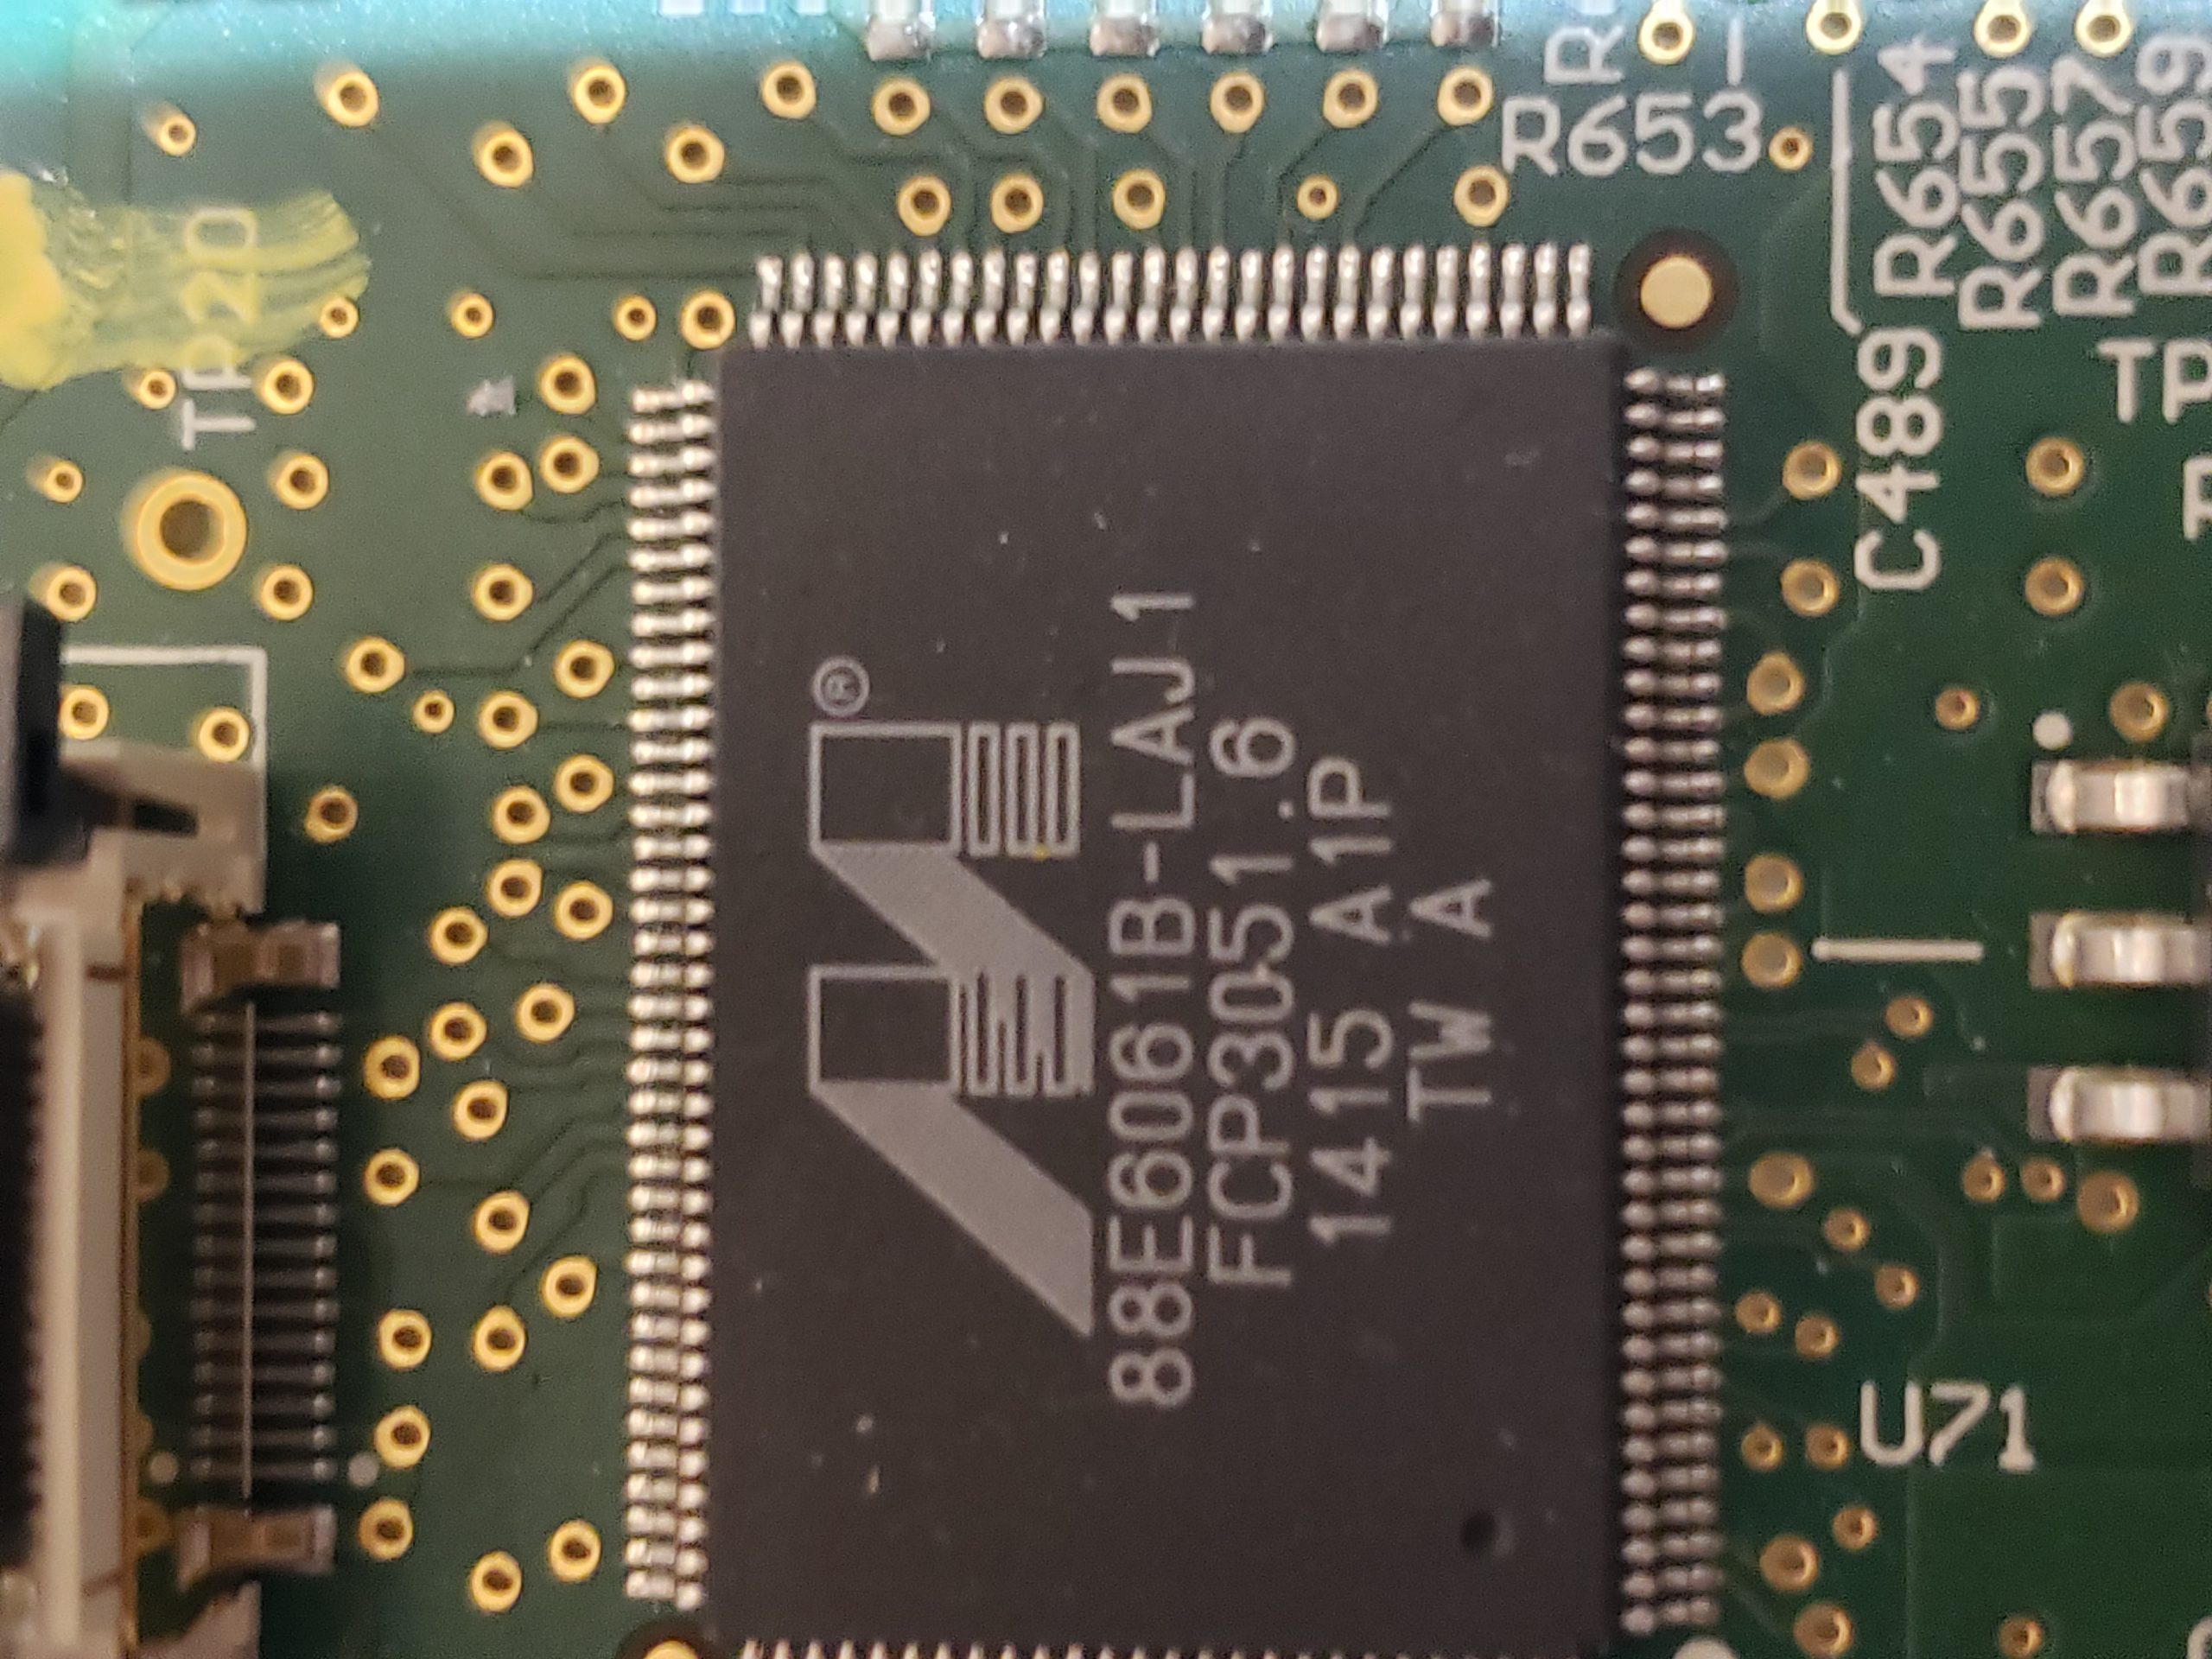
Given the size of the main board, it shouldn’t be surprising that there are many components of interest here. On this board, there are numerous communications chips: Switched gigabit Ethernet, multi-media serial links, CAN, and LIN. As I know the MCU plays “gatekeeper” for both Ethernet and CAN communications, reviewing these components for weaknesses will be a high priority.

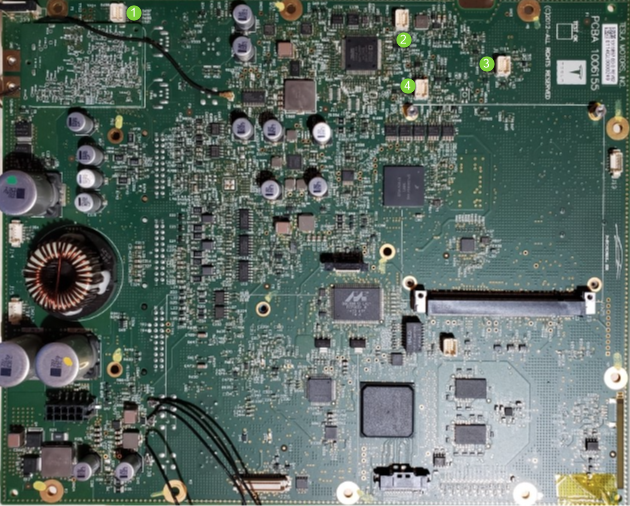
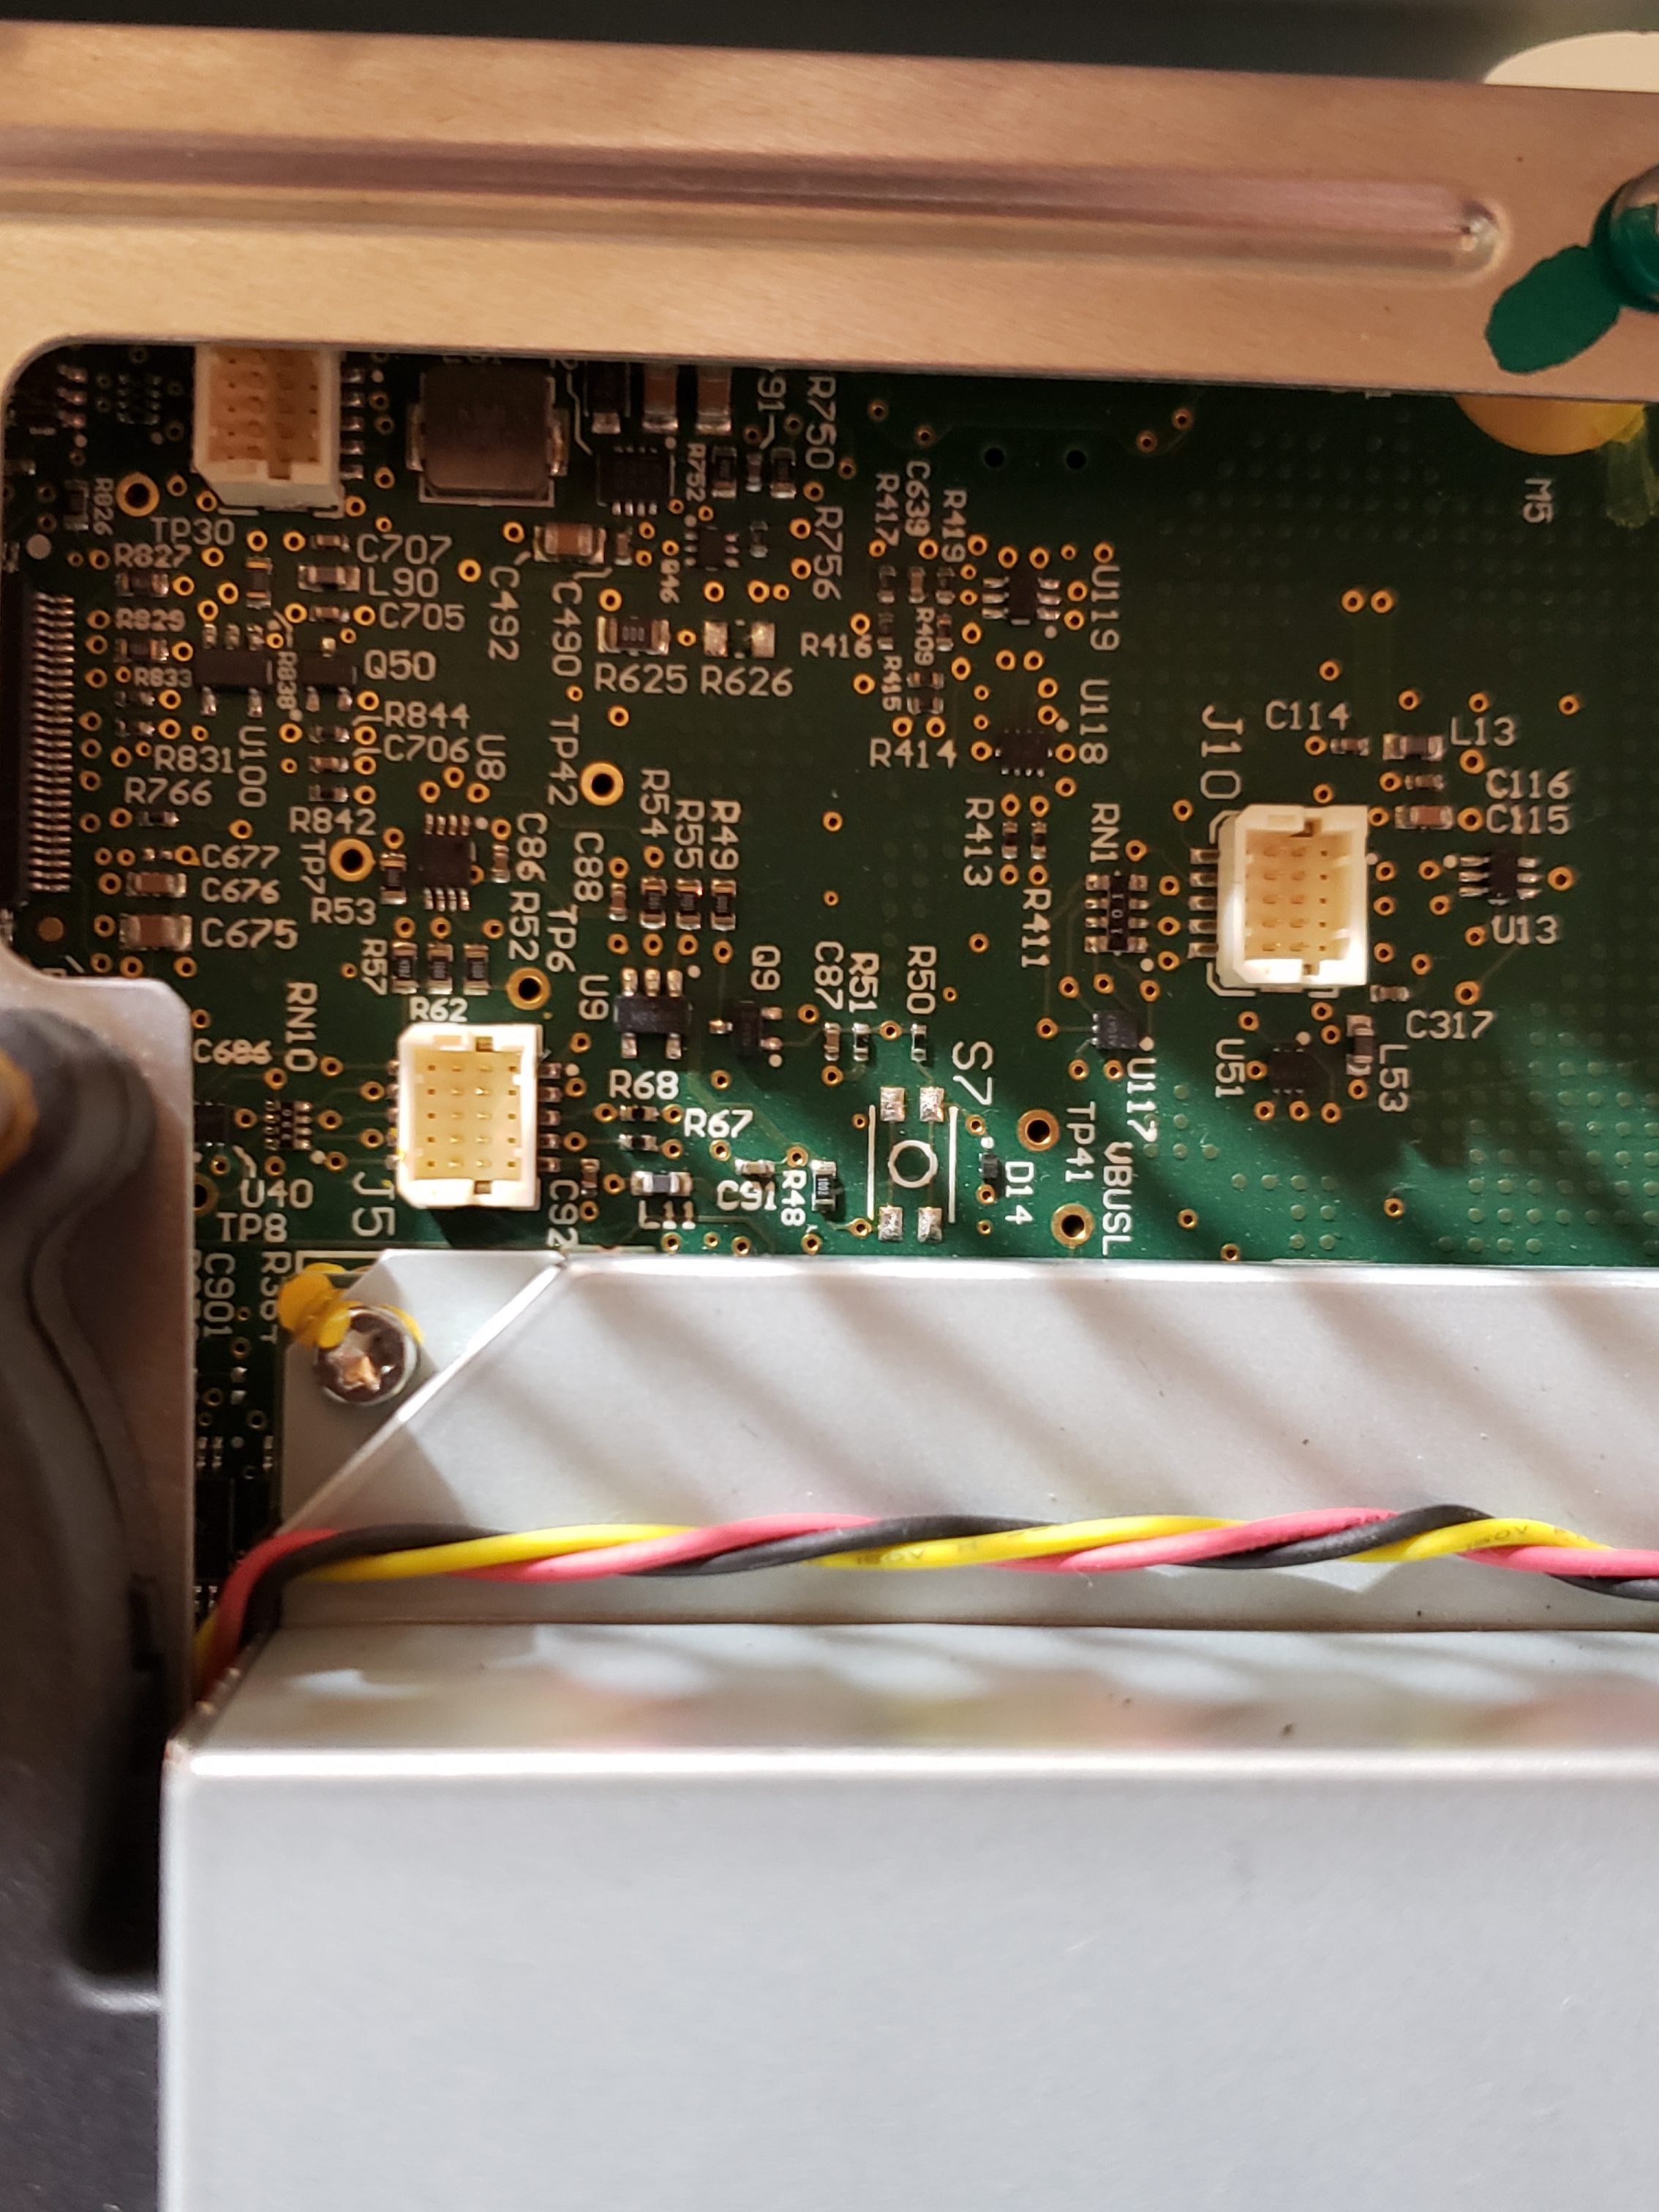
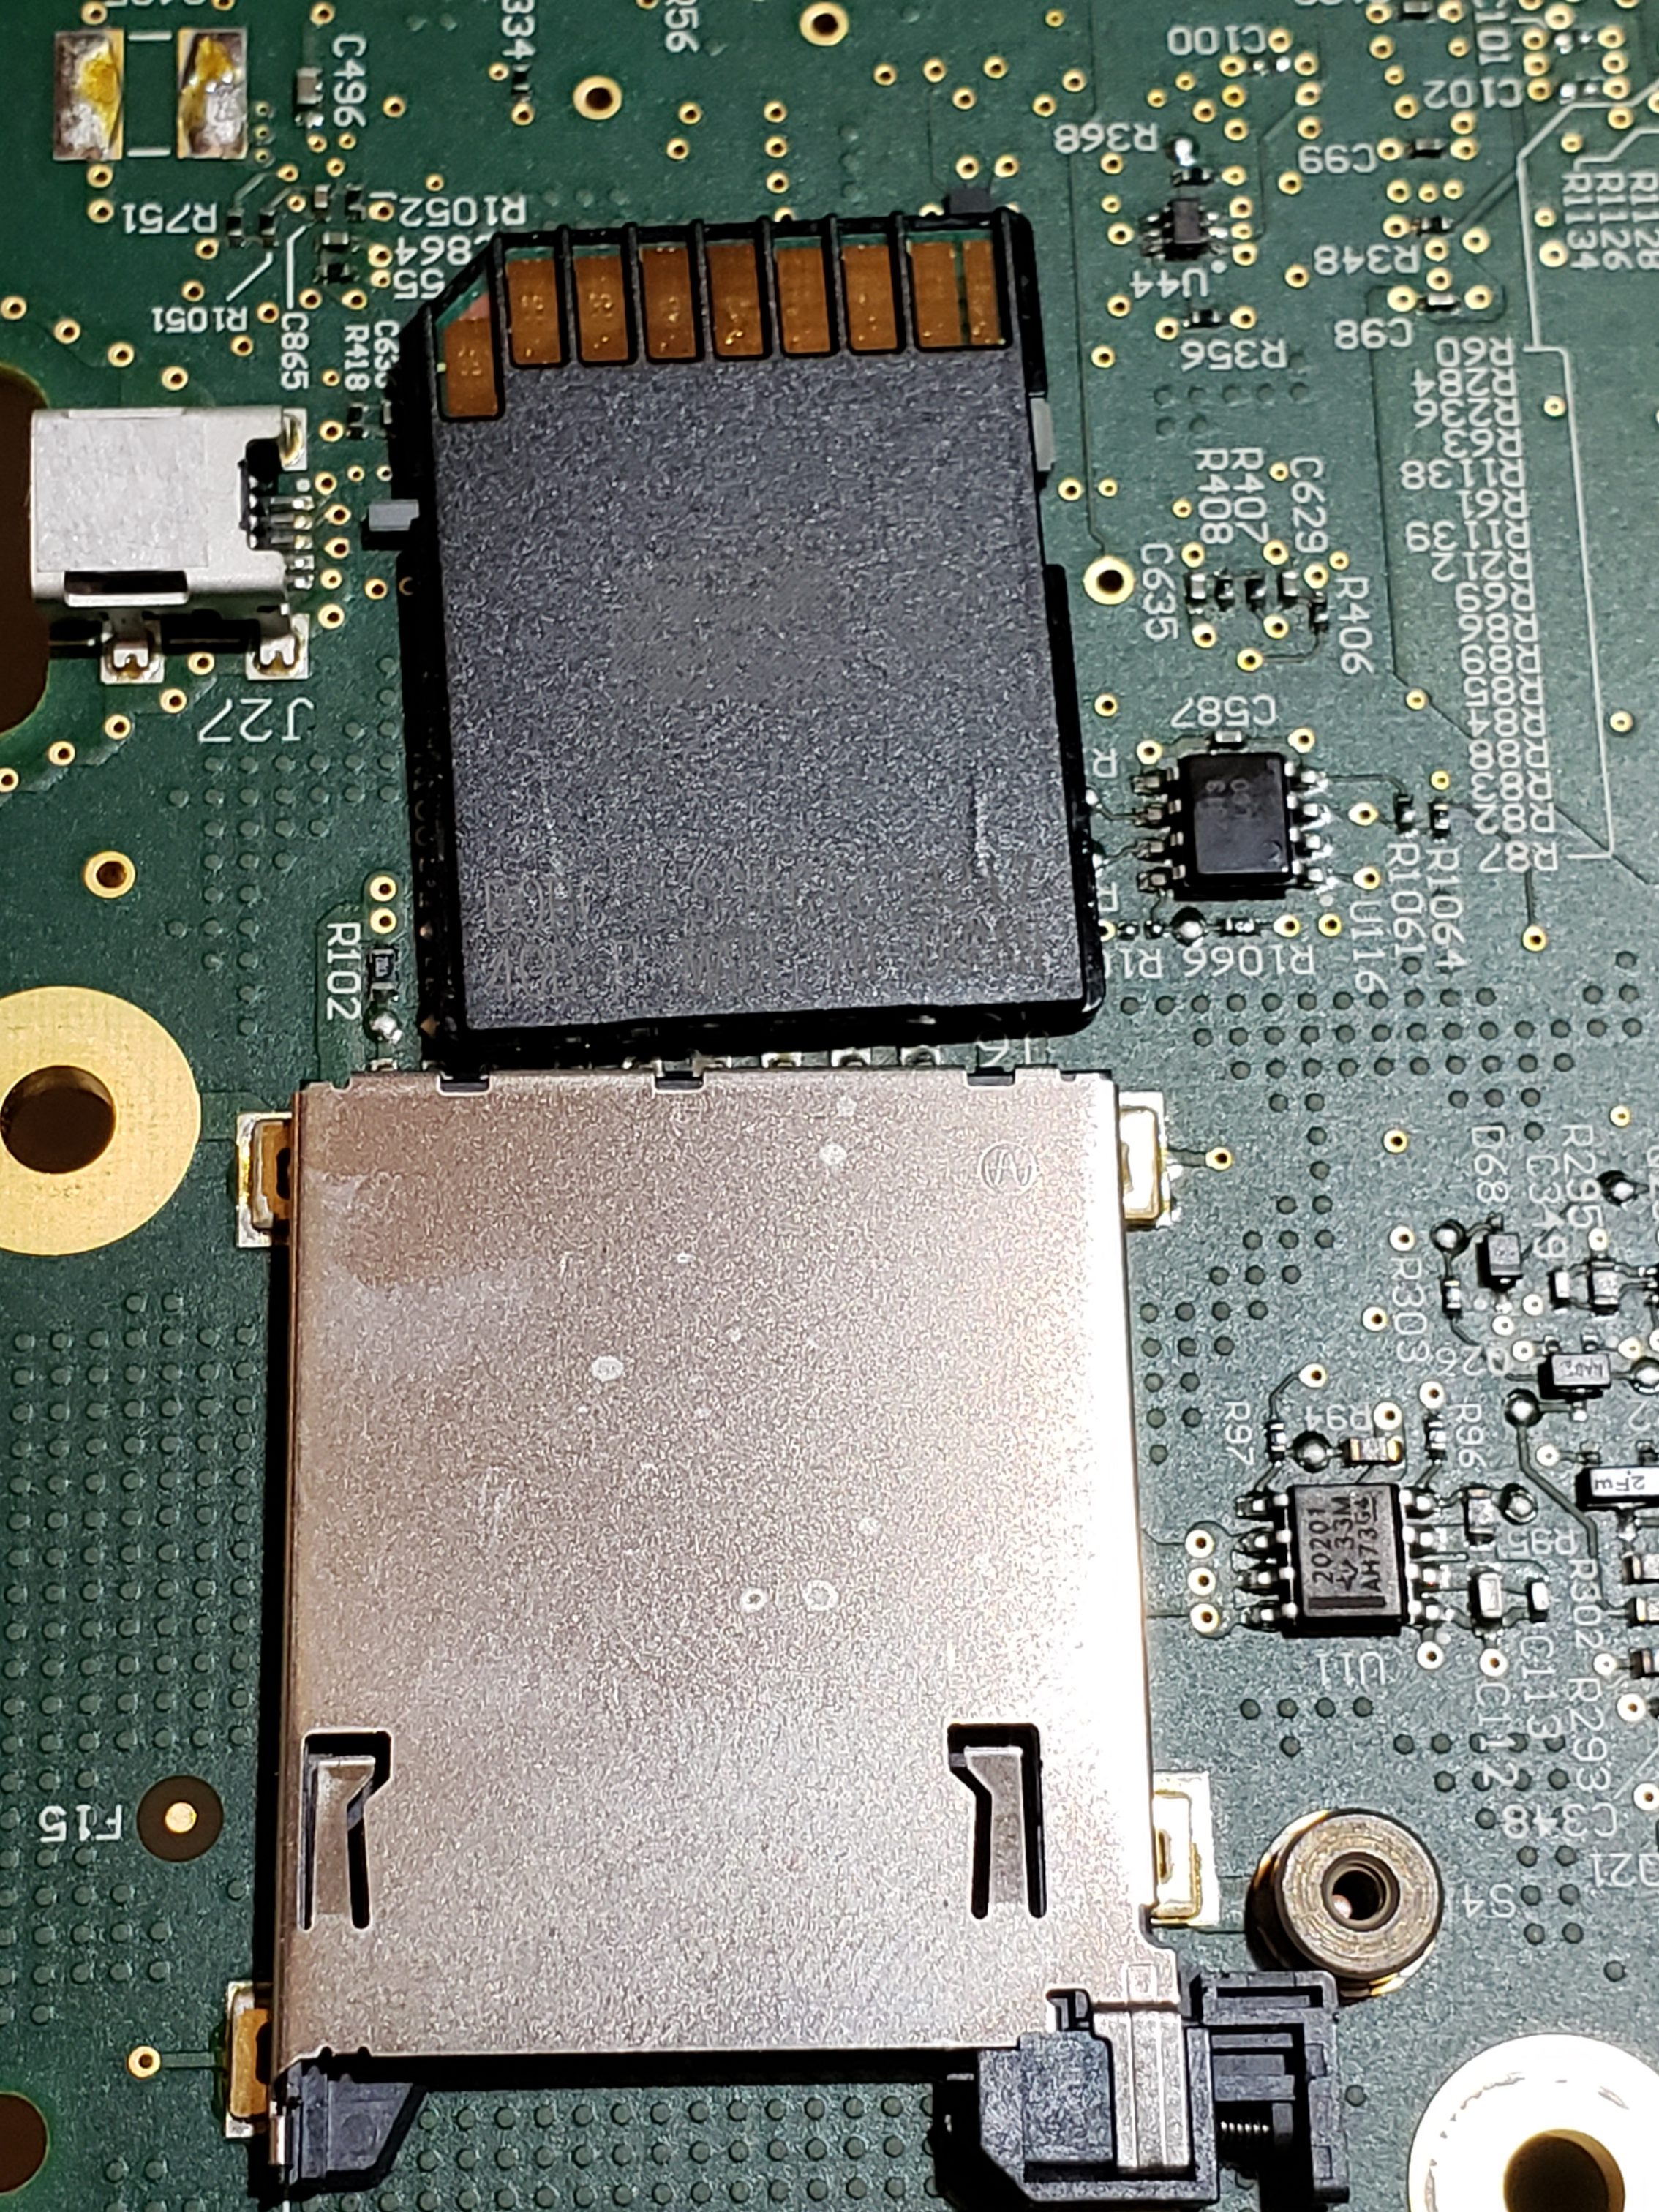
Aside from the communication ICs, this board also contains Micro SD & SD data cards, a hidden USB port, and multiple JTAG/TI diagnostic connectors. While I’m not going to “spill the beans” (yet) on the contents of the data cards, I will say there are both very useful for reverse engineering purposes. I will point out that NEITHER card is automotive/harsh environment grade. Because of this, they will fail much sooner due to the temperature extremes in a vehicle. If either of these cards fail, you are in for a very bad time!

C:\Users\317FX6~1\AppData\Local\Temp\SNAGHTMLa00f8bd0.PNG

“Ports of Interest”

As noted in the sections above, there are some connection points of interest. The following tables is a consolidated list for reference.

Next Post: Navigation Repair

In the next installment, we’ll dig into my Navigation Issue and how the information learned during this disassembly allowed me to ultimately resolve the issue.
Tesla Reverse Engineering: Creating a Bench Setup (MCU)

Overview

After growing up surrounded by cars, I’ve grown accustomed to doing my own maintenance and repairs where possible. When I transitioned to EVs a couple years back, I expected that some repairs may require more manufacturer involvement than I was accustomed to. Unfortunately, due to Tesla being DIY Repair unfriendly, the situation was worse than I expected.

Even more unfortunate, the local service center has struggled to provide consistent quality service trapping me in between a rock and hard place. One prime example was when my 2014 Model S’ navigation stopped functioning properly. After almost nine months of back and forth & no resolution from Tesla, I decided that this would be a good opportunity to dig into the computer system to see if I could resolve the issue myself.

As I didn’t want to tear my car apart (yet) and I prefer to be comfortable while experimenting, my first order of business was to setup a test bench in my “mad scientist lair”. Having this would allow me to analyze the hardware and the physical & software interactions between the various modules used in the vehicle.

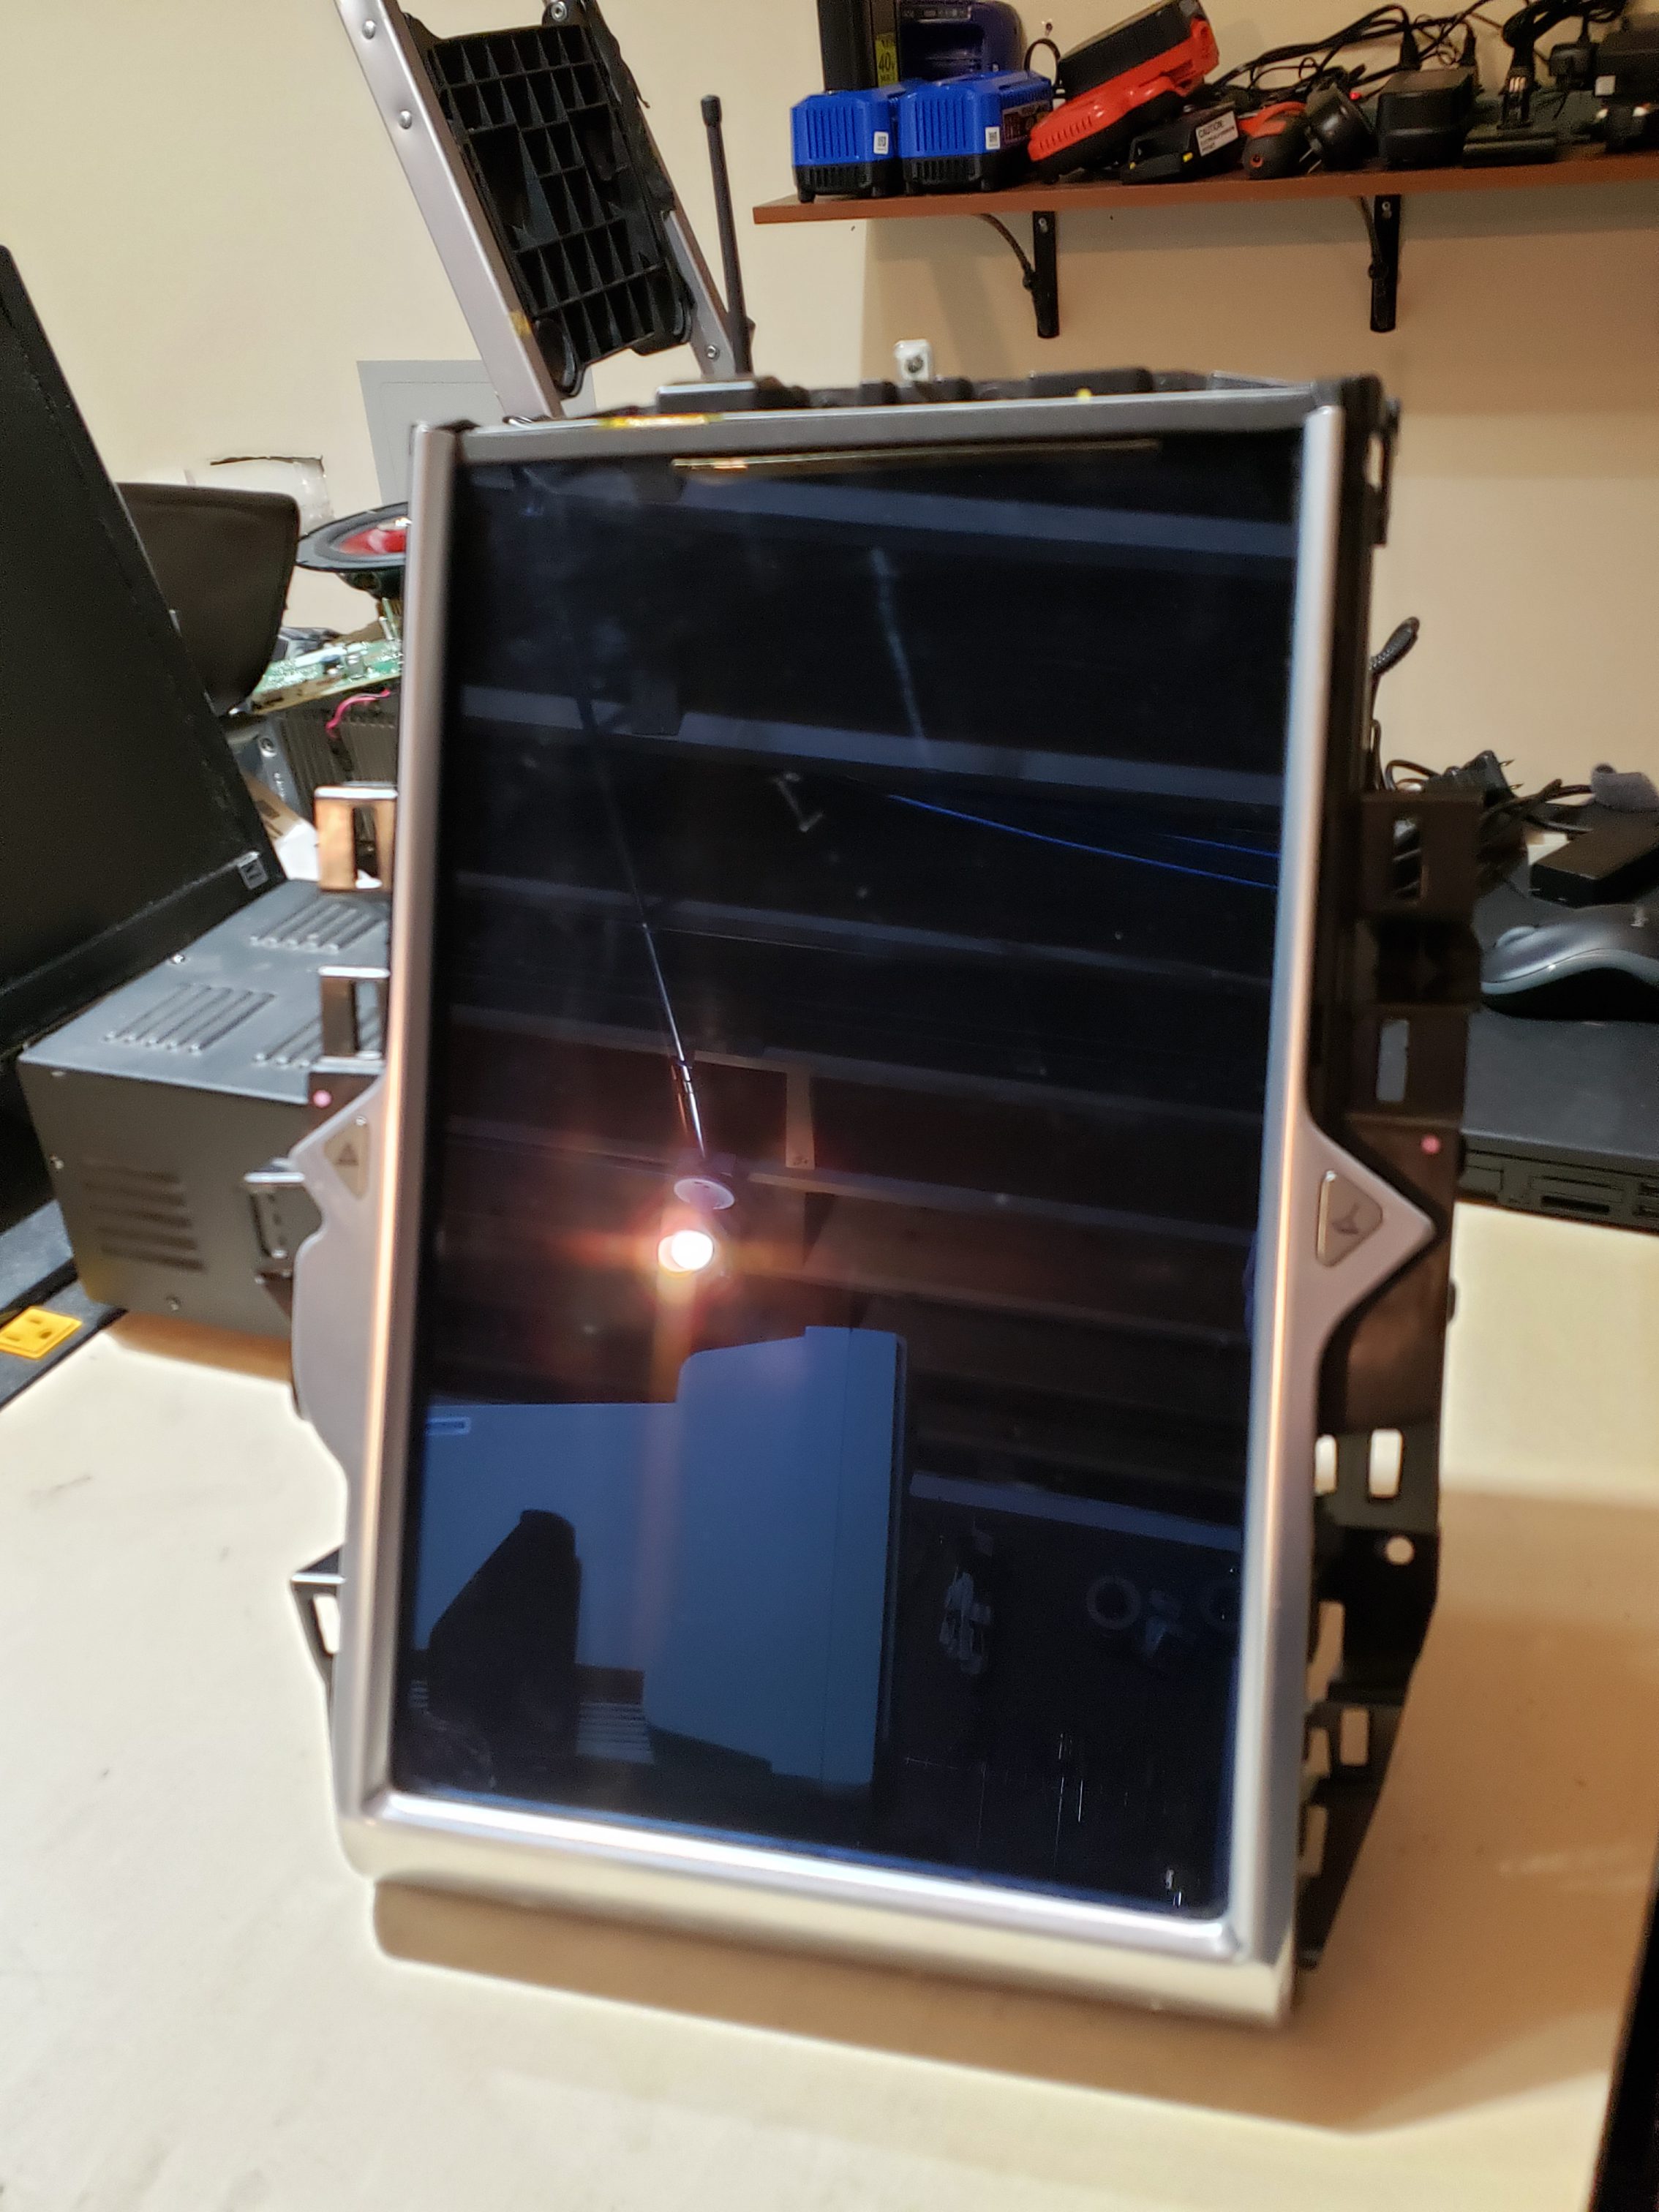
While there are numerous modules in the vehicle, my primary point of interest is the Media Control Unit. (MCU). The MCU is the main unit in the Model S and is the obvious analysis point for my navigation issue. The goal of this post will be to simply get the MCU up and running on your bench. In later posts, we’ll dive into more thoroughly analyzing it and other modules.

Step 1 – Getting Parts

In order to run the MCU on your test bench, we’re going to need a few things:

  • An MCU! As it is unlikely you will have a spare laying around, acquiring this will be first on your shopping list. Acquiring directly from Tesla isn’t realistic, so you will be relegated to acquiring a used unit:
    • eBay – For the older MCU 1 units, you should be able to find a good number of them here
    • Car-Part.com – This site links you with salvage yards across the United States, Canada, and Mexico.
    • Facebook / Social Media sites – There are multiple “Salvage / Part” groups where individuals are selling parts.


Tesla Premium MCU 1 Part No

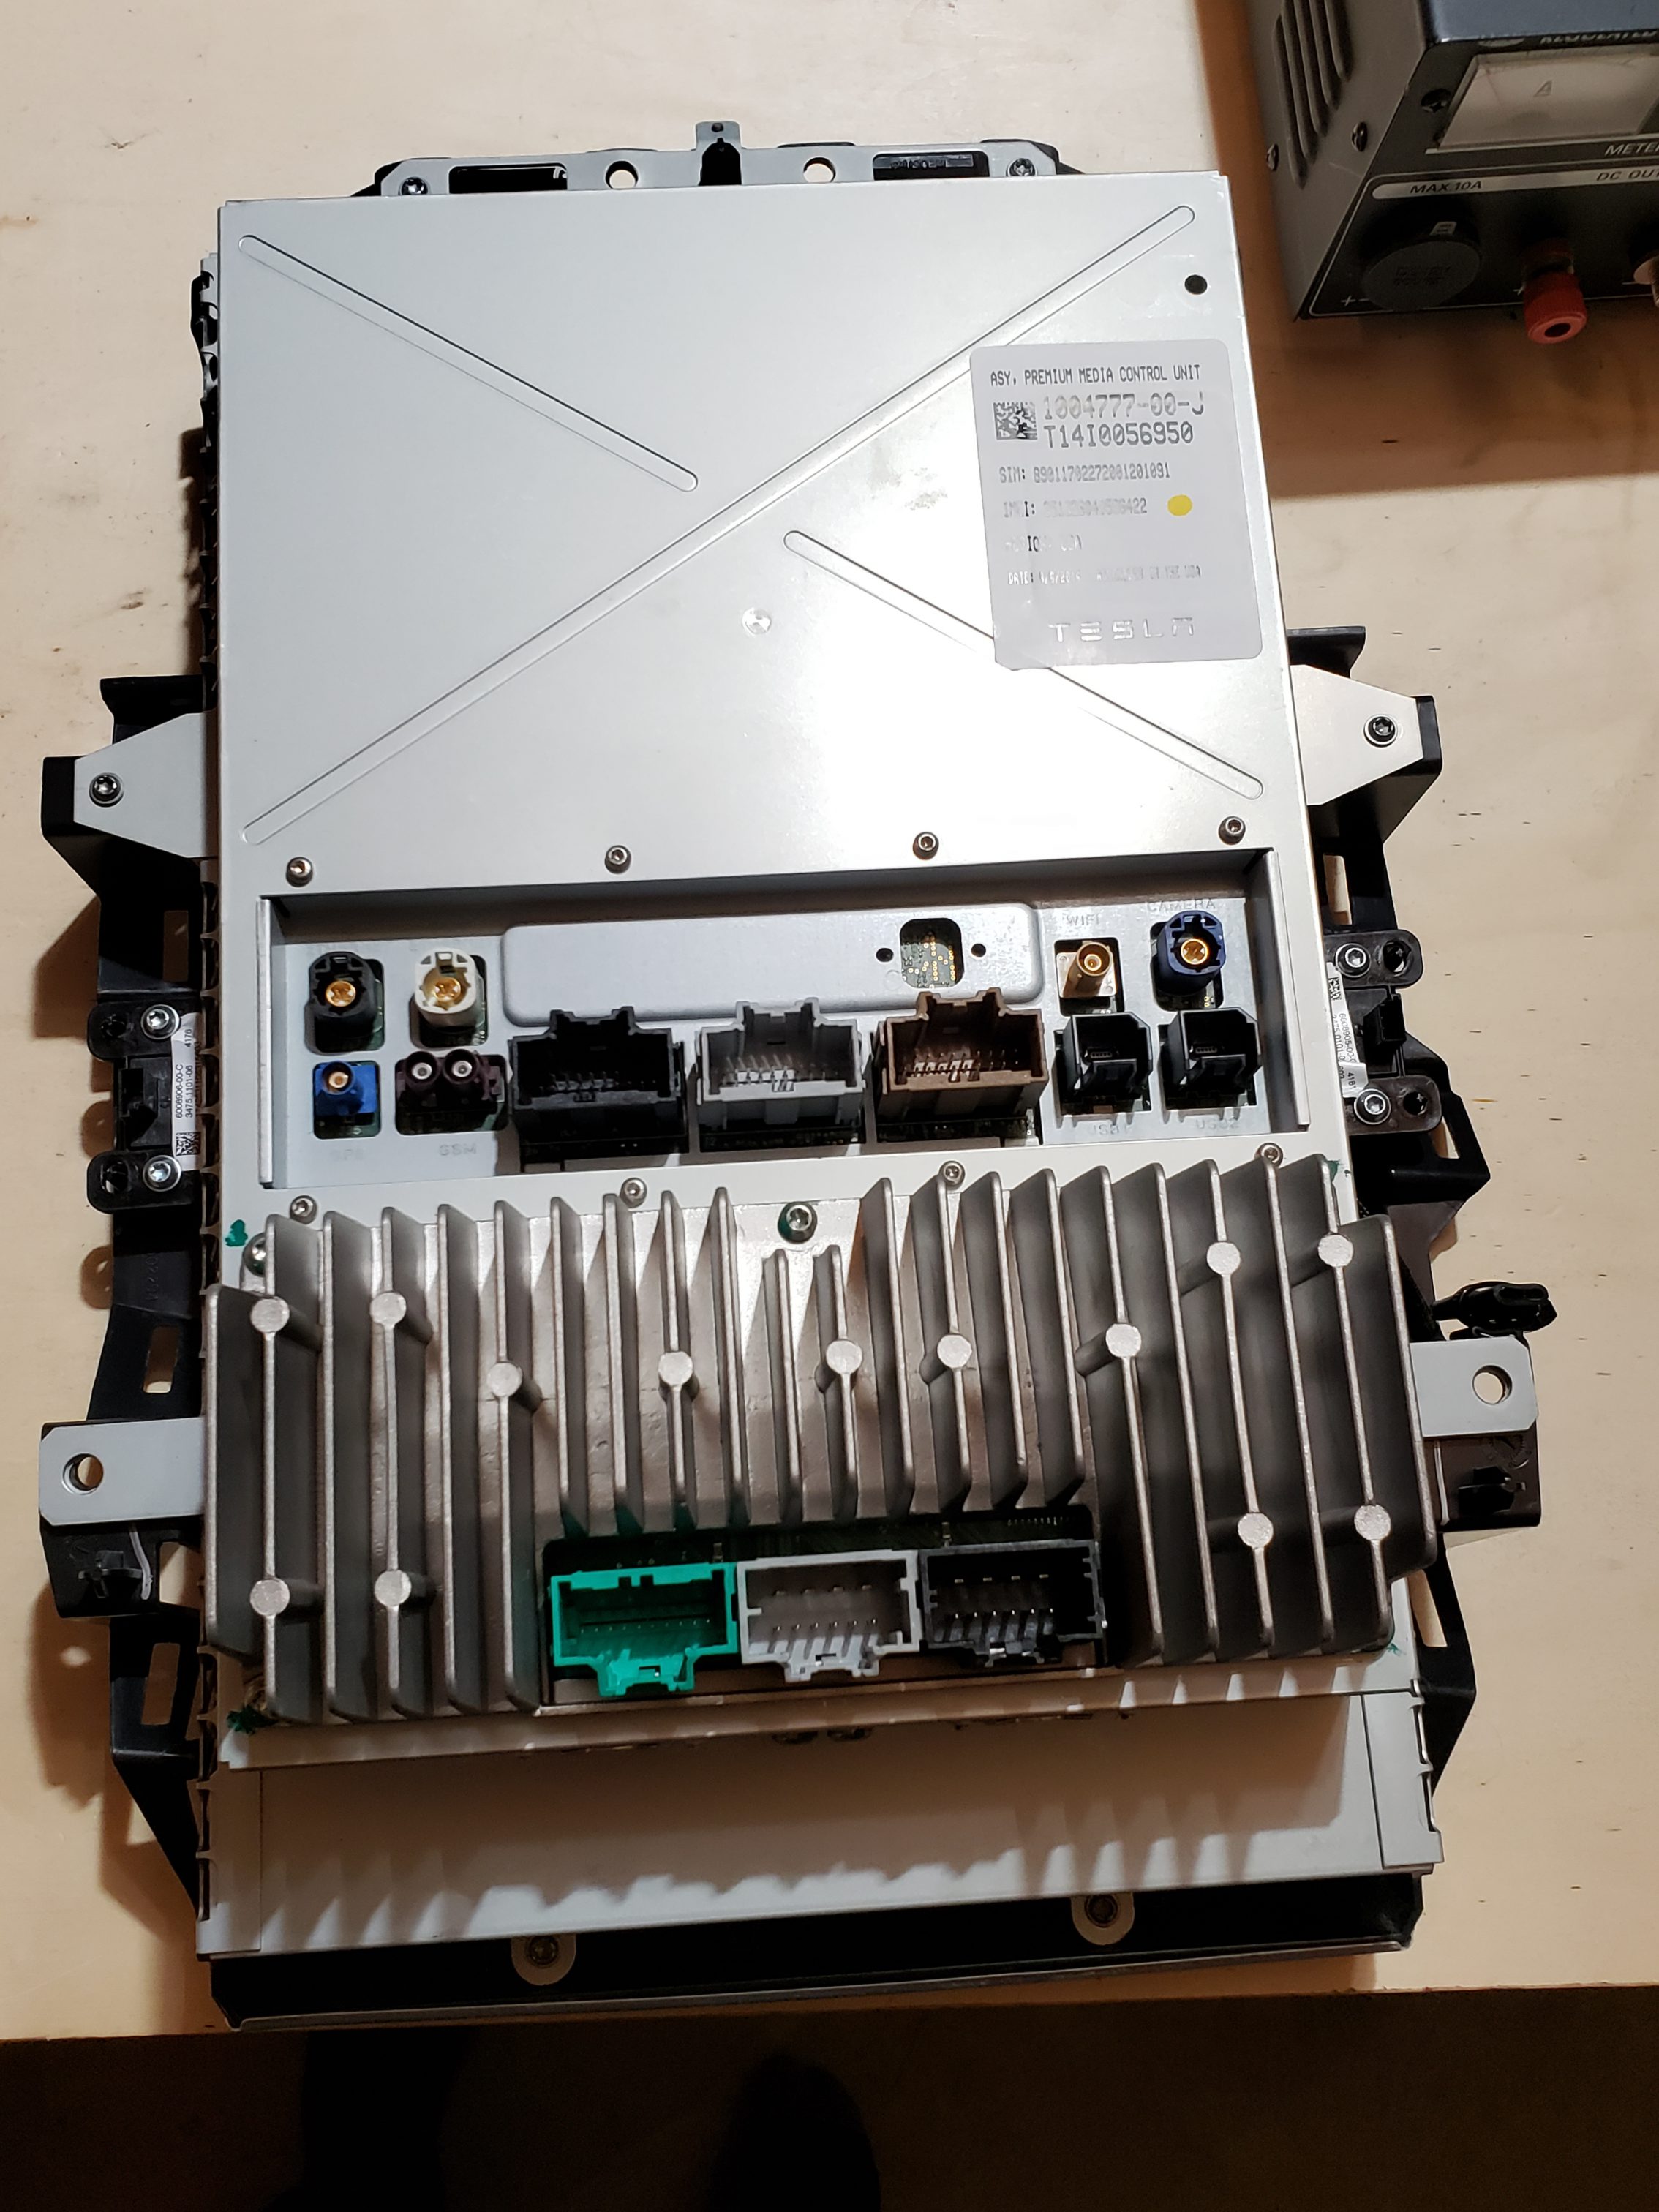
IMPORTANT: If at all possible, try to get the cabling/connects that plug into the back of the MCU. This will make life INFINITELY easier for you. At a minimum, you would want the connectors shown below for the “Premium” MCU 1 device:

Figure 2 – Minimum Required Connectors

  • Power – The MCU will require a steady 12V source that is capable of providing ~3 Amps.
  • Soldering Iron – While not absolutely necessary, having a good soldering station will allow for a cleaner setup. I use the Hakko 936 which is a reliable entry level choice.
  • Ethernet cable – A small Ethernet cable, that you won’t mind cutting up.
  • Speaker – A small automotive speaker for connecting to the MCU to enable audio playback. This isn’t absolutely necessary, but it is a nice to have.
  • Misc. Electronic Project cables / Jumper Cables – These will be used to create the Ethernet to Tesla MCU “Fakra” cable.

Step 2 – MCU Wiring

In order to get the MCU running on our bench, there are 3 three main items that we need to wire up:

  1. MCU Power & Ground : Required to provide power to the unit so that we can interact with it.
  2. MCU Speaker : Optionally recommended so that you can hear audio chimes and/or listen to music while you work. ☺
  3. Ethernet aka Fakra connection : Require so that we can startup the unit, access OS via telnet, or execute REST API commands.

MCU Power & Ground

Wiring up the MCU for power is actually very straight forward and only requires a few positive (12V) and negative connections spread across two of the connectors. The two connectors are located on the lower portion of the MCU and are commonly referred to as X425 (Black) and X426. (Grey)

NOTE: In order to keep your wiring to the Power Supply clean, I recommend using a distribution block for + and – connections.

Close-up of necessary MCU power wiring connections.

MCU Speaker

While you can wire up as many speakers as you would like, we only need the center speaker so that we can hear alert tones, etc. This speaker is also located on the X425 (Black) connector.

The easiest way to connect the speaker to these cables is to simply strip off the ends and use alligator clips:

Ethernet aka Fakra HSD connection

While the Tesla MCU utilizes Ethernet for certain actions, it does not provide you a convenient RJ45 port. The Ethernet connections utilize a “Fakra HSD” connector.

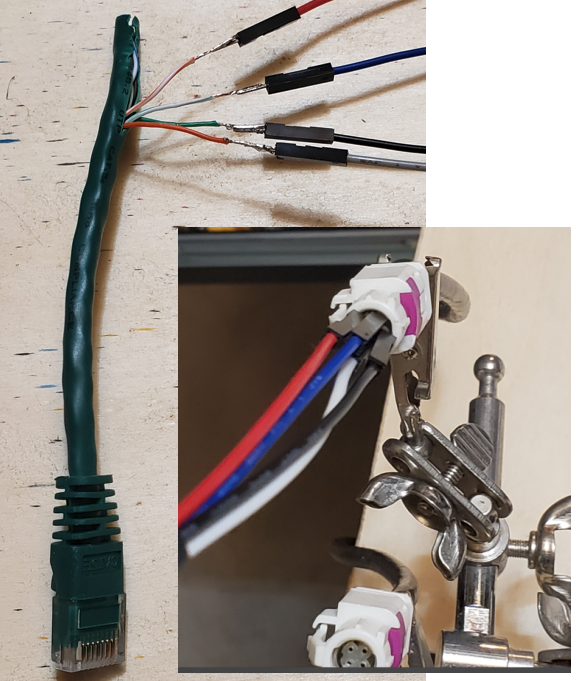
While you can buy these cables pre-made for ~$50, you can make one relatively easily once you know how to map out the HSD pins to the Ethernet cable wire.

The HSD cable consists of 4 pins consisting of two diagonal wire pairs where D+ / D- & Vcc / GND are pairs.

While a standard Ethernet cable consists of 8 wires / 4 twisted pairs, only 2 pairs are typically needed and these two pairs will be matched up to the HSD pinout as follows:

If making your own cable, the jumper wires I recommended at the start of this blog fit perfectly into the Fakra connector. I simply soldered one end to the Ethernet cable, inserted the other into the Fakra connector, and then taped it to ensure it doesn’t come loose.

C:\Users\317FX6~1\AppData\Local\Temp\SNAGHTML20204360.PNG

Step 3 – MCU Startup

Once you have completed all of the wiring in the previous step, you are ready to start the MCU! Next, perform the following actions:

  1. Ensure that you have connected your positive and negative wires to your power supply and that the power supply is set to a 12V output voltage.
  2. Ensure that your speaker is connected.
  3. IMPORTANT: Plug the Fakra/Ethernet cable into the back of the MCU and into either a network device (Hub/Switch) or to a laptop. Even if the MCU has power, it may not fully start unless it sees network traffic. [There are other ways to force it to start, but this is the easiest]

  4. Turn on your power supply – You will notice that at first, it is drawing a relatively low amount of amps, but once it fully starts, you will see the draw increase.
  5. Verify that MCU has power – If you look at the right side of the unit, you should see multiple LED status lights. Initially some will be Yellow/Red. Some will turn green as unit boots, etc.
  6. Wait…. Wait…. Wait… It should take ~20 – 30 seconds to full boot up. If you have the speaker connected, you SHOULD hear a series of chimes around the same time the Tesla ‘T’ appears.
  7. Wait… Wait… Wait some more and then you should finally see the MCU come to life
    Congrats! You now have a functional MCU on your test bench!