Oracle EPM Branding Made Easy
For IIS and OHS
Overview
A common pain point when working in multiple EPM environments is ensuring that you are working in the right one. “Out of the box”, each environment visually looks exactly the same. As no one wants to be the person that accidentally makes a change in the wrong environment, people have tried all sorts of ways to remedy this issue.
Typically, people physically swap out image files for the individual web applications; however, the solutions are problematic for multiple reasons:
- require manual file system changes
- require rework since patching / reinstallation / reconfiguration will wipe out the changes
- updating requires modification to Java WAR/EAR files which could lead to unintended issues
- does not work properly in all versions of EPM due to content-length limitations
- does not scale well if branding multiple products
The solution below resolves all of these issues by intercepting image requests at the webserver level via URL Rewriting. Utilizing URL Rewriting allows us to:
- use a small number of images, in one central location, for multiple products
- easily scale and allow for multiple branding options
- significantly reduces the likelihood of our branding changes being lost due to patching, redeployment, installation, configuration
- avoids manual manipulation of EPM application files..
The following walk-through will show you have to use URL rewriting to replace the Oracle logo contained in the upper corner of most EPM applications with one shared image.
![]()
NOTE: URL Rewriting could also be leveraged for other uses cases such as globally redirecting all EPM users to a maintenance page while allowing admins to access the system via a special URL.
Oracle logo swapping
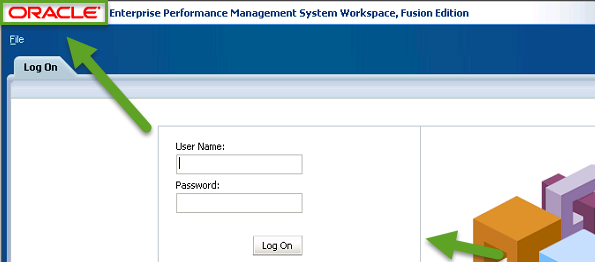
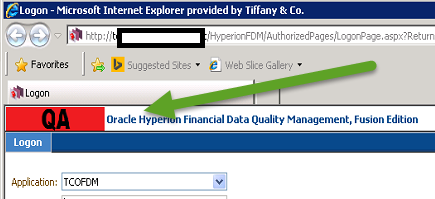
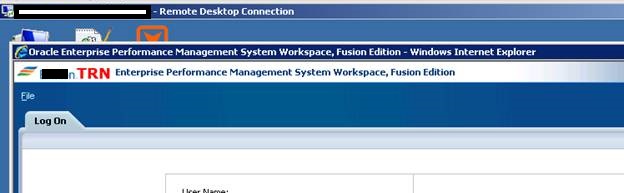
There are a few images that lend themselves nicely to branding replacement as the images are used globally among all the EPM products. The red Oracle logo (oracleLogo.png) is one such example. The oracleLogo.png file appears in the title bar on many of the pages, such as the initial log on page:
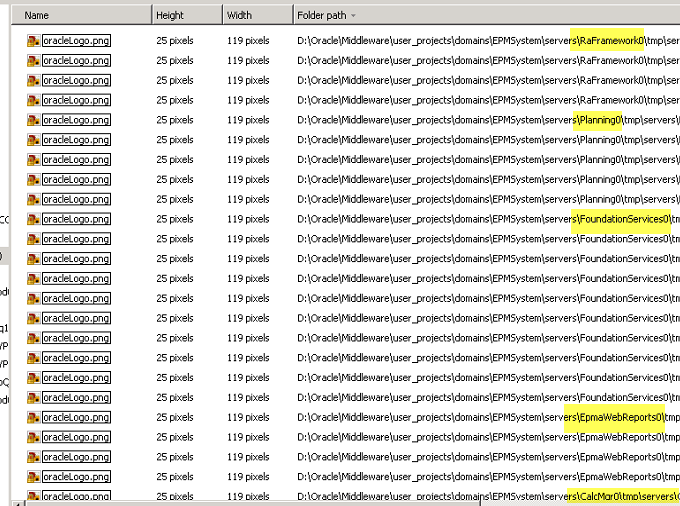
A quick search for this file, on a webserver running most EPM products, reveals how common it is:
As the same file is virtually used in every EPM product, the best way to replace this image is through URL Rewriting. URL Rewriting instructs the web server to replace requests for a given URL with a different URL of our choosing.
For instance, if a user requests http://EPM.COM/EPMA/oracleLogo.png, we can tell the webserver to re-reroute that request to http://EPM.COM/MyCentralLocation/myCoolerLogo.png. Since this functionality supports regular expressions, we can create one rule to replace requests for almost all of the EPM products. (DRM & FDM need additional rules)
Implementing URL Rewriting on IIS
To implement URL Rewriting for the oracleLogo.png file, perform the following steps:
[NOTE: The screen shots below depict IIS 7/7.5; however, this process works for all currently supported versions of IIS]
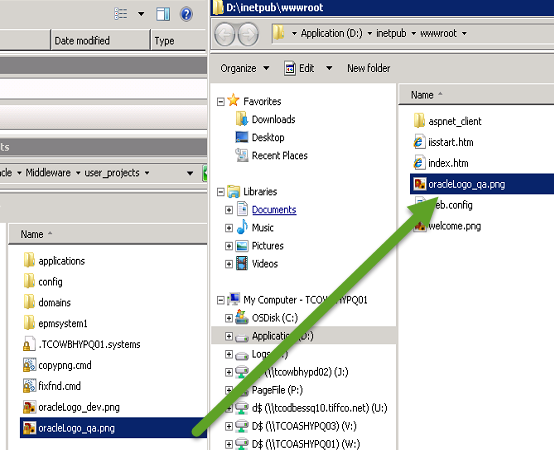
- Create a replacement oracleLogo.png file. As the original file has a height of 25 pixels and a width of 119 pixels, it is imperative that your image is the same size. If you attempt to use an image with a different size, it will be scaled to fit and it may not look how you want it to.Sample images are shown below.


(NOTE: We will use the QA file for the rest of the IIS walkthrough) - Copy your replacement logo to a location accessible by the web server and the end users. (HINT: The IIS WWWROOT folder is typically available to all users and is a good common spot)
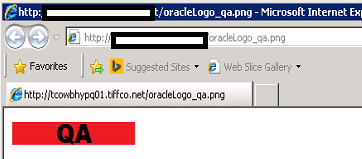
- Confirm that you can access this file via Web Browser
- Confirm that IIS Rewrite is installed on the Web Server.
(If it is not, follow the steps in Appendix A)
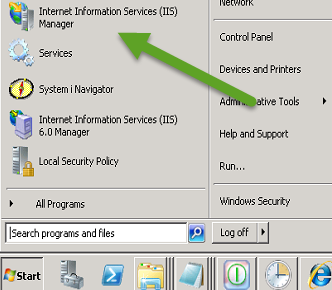
- Start Internet Information Services (IIS) Manager
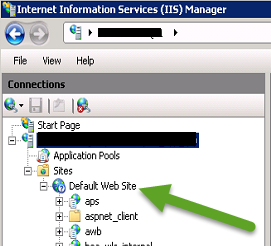
- In the connections panel (on the left), expand the Server, Sites, and then Default Web Site.
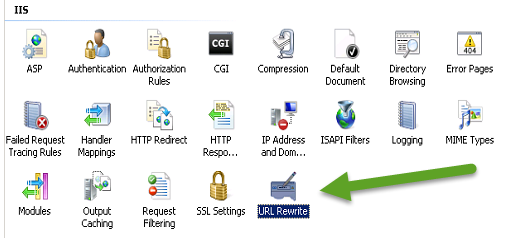
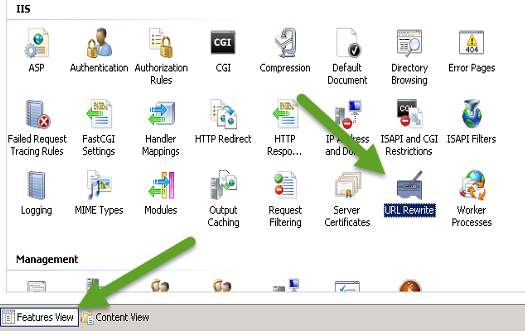
- In the right window, click on Features View and then double click on the URL Rewrite button.
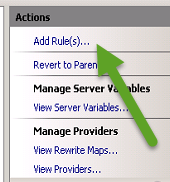
- In the Actions panel (on the right), click on Add Rule(s)
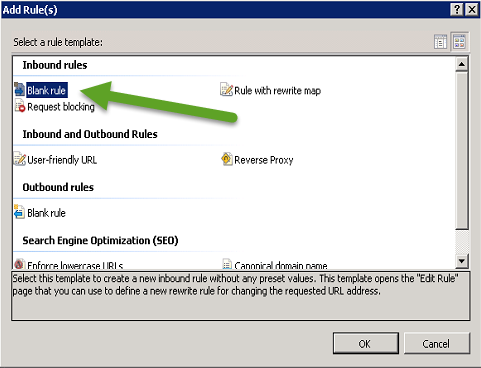
- Click on Blank rule
- Complete the Inbound Rule Screen as follows
- Name: oracleLogo Replace
- Match URL
- Requested URL: Matches Pattern
- Using: Regular Expressions
- Pattern: (.*)/oracleLogo.png
- Ignore Case: [Checked]
- Conditions – Skip, No changes required.
- Server Variables – Skip, No changes required.
- Action
- Action Type: Redirect
- Redirect URL: http://<Web Server Name Here>/oracleLogo_qa.png
- Append query string: Checked
- Redirect type: 302 Found

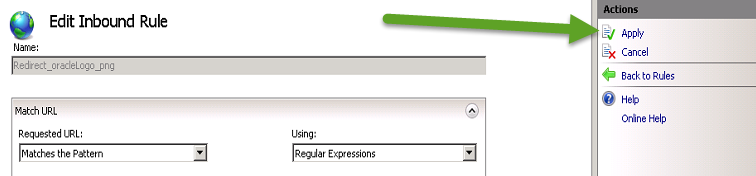
- Click Apply
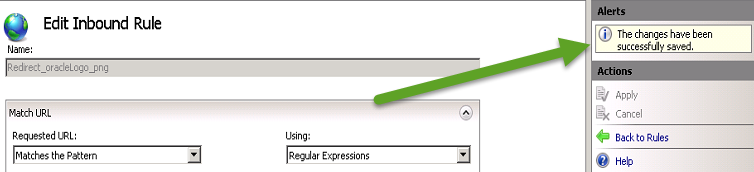
- Confirm changes were saved successfully
- Test a page

- For FDM add a rule as follows:
- Name: FDM Logo
- Match URL
- Requested URL: Matches Pattern
- Using: Regular Expressions
- Pattern: (.*)/logo.gif
- Ignore Case: [Checked]
- Conditions – Skip, No changes required.
- Server Variables – Skip, No changes required.
- Action
- Action Type: Redirect
- Redirect URL: http://<Web Server Name Here>/logo_qa.gif
- Append query string: Checked
- Redirect type: 302 Found
Implementing URL Rewriting on OHS
URL Rewriting in OHS is relatively simple as the capability is activated out of the box in the version that is installed with EPM products. To redirect oracleLogo.png in OHS, perform the following steps:
- Copy your replace image to the OHS Root folder.
cp /oracleLogo-TRN.png /Oracle/Middleware/user_projects/epmsystem1/httpConfig/ohs/config/OHS/ohs_component/htdocs/ - Update the epm_rewrite_rules.conf configuration file for the redirect actions
NOTE: For each file above, create a RedirectMatch entry similar to below:RedirectMatch (.*)\oracleLogo.png$ https://<ServerNameHere>/oracleLogo-TRN.png

- Restart OHS


- Open a Web Browser (after clearing all caches / temporary files) to confirm update has taken place
Appendix A – Install URL Rewrite on IIS
If your IIS server does not already have URL Rewrite installed, perform the following steps to acquire / install it from Microsoft.
- Download URL Rewrite
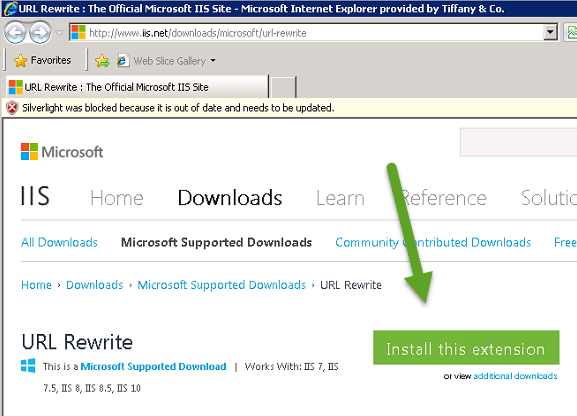
- http://iis.net/downloads/microsoft/url-rewrite
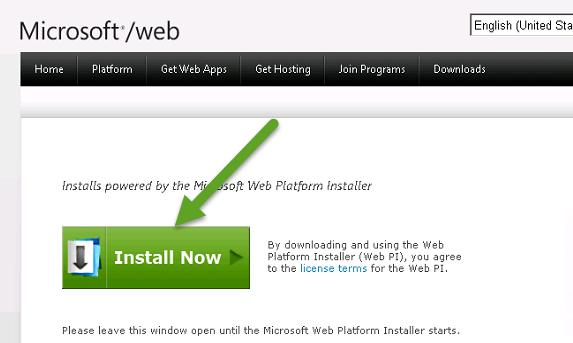
- When prompted, download and install Microsoft Web Platform Installer
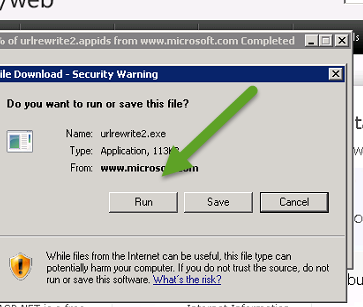
- Run URL Rewrite Install
- Review and Accept EULA
- Confirm Successful Install