Browse Category

Programming

Tesla Reverse Engineering: MCU Teardown

Overview

When reverse engineering an important, and rather fun, step is disassembly. Digging into the internals of hardware & software typically provides many clues as to how you can exploit a system. If you know what technologies are being utilized, this will make it easier to understand how the product works and how to exploit it. Additionally, by knowing what key components / technologies are in use will give you a starting point for finding attack vectors. (E.g. known vulnerabilities) Additionally, in many cases, an analysis of the hardware will result in the discovery of diagnostic/debug access to the system. This is especially true for the Tesla Media Control Unit (MCU)

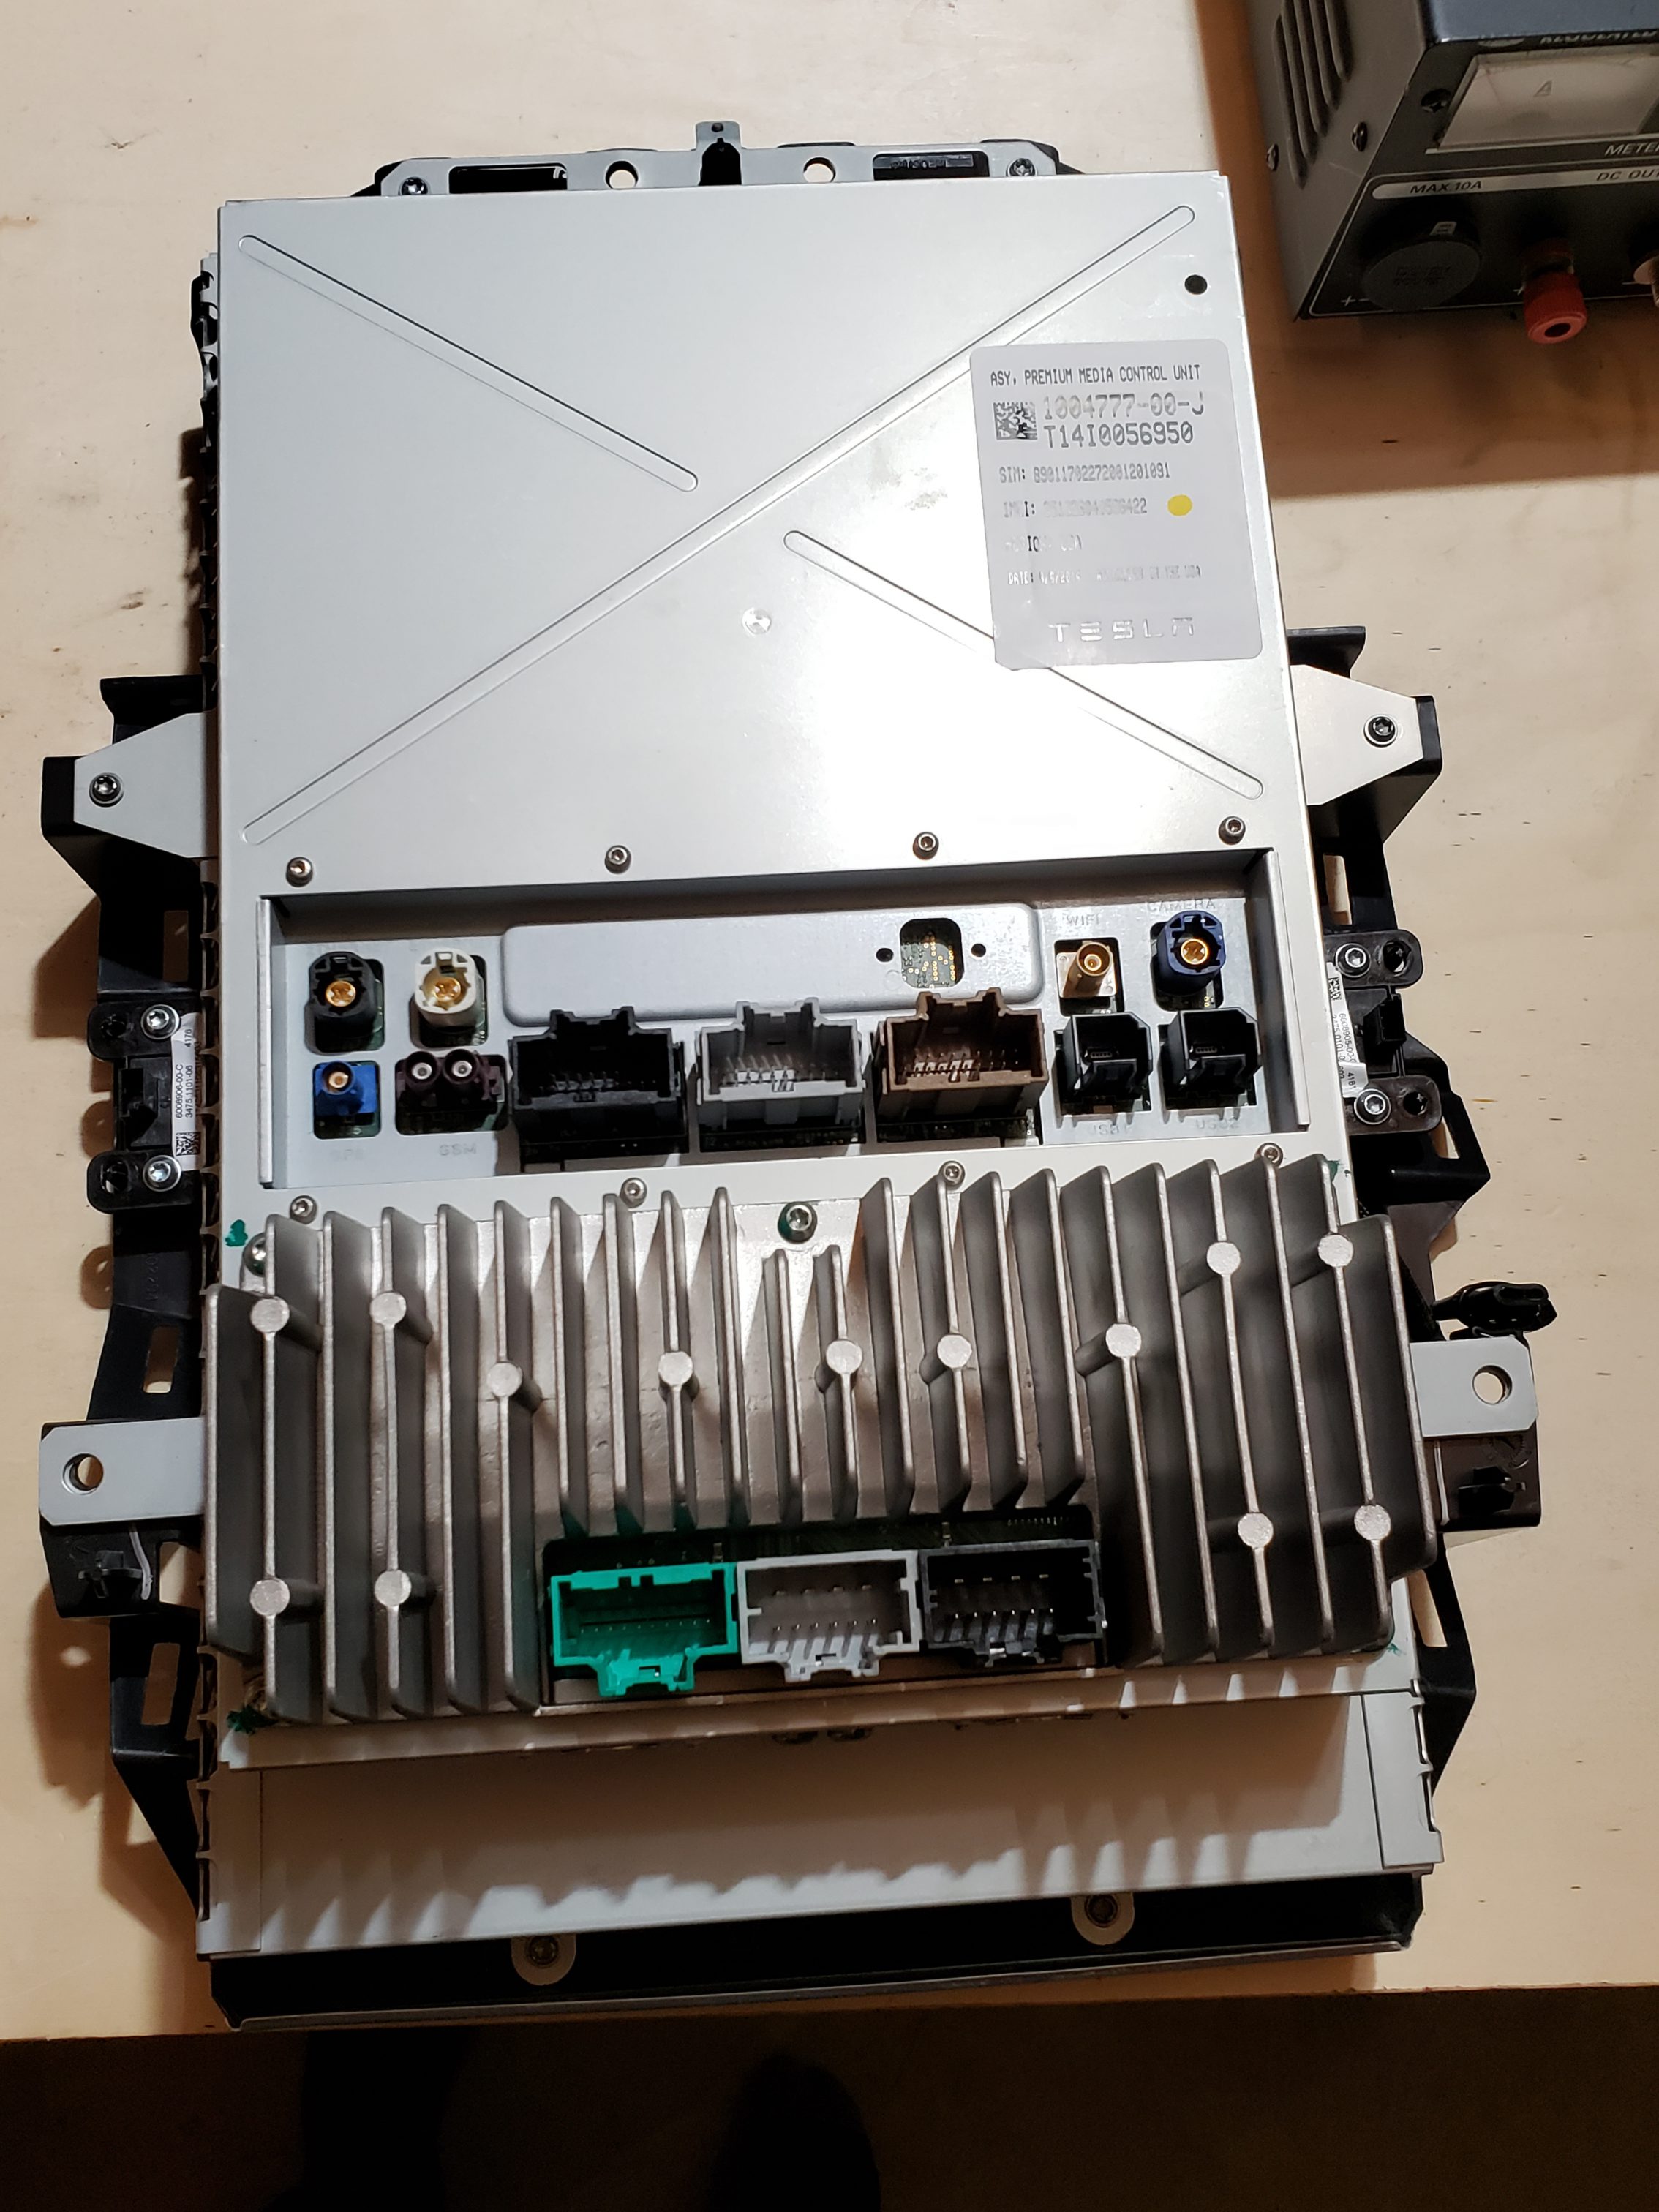
The MCU, which has numerous implementations, is a complex device which is critical to the operation of the Tesla vehicle. The MCU serves as the primary user interface for vehicle control/configuration, navigation, radio, entertainment, communication & coordination w/ other vehicle modules, diagnostics, and remote communication w/ Tesla HQ. Given the complexity of this unit, any/all clues to its operation will be extremely helpful in understanding how it operates. A full tear down & inventory of key components is ONE method to increase our knowledge.

The MCU consists of the key sub-assemblies:

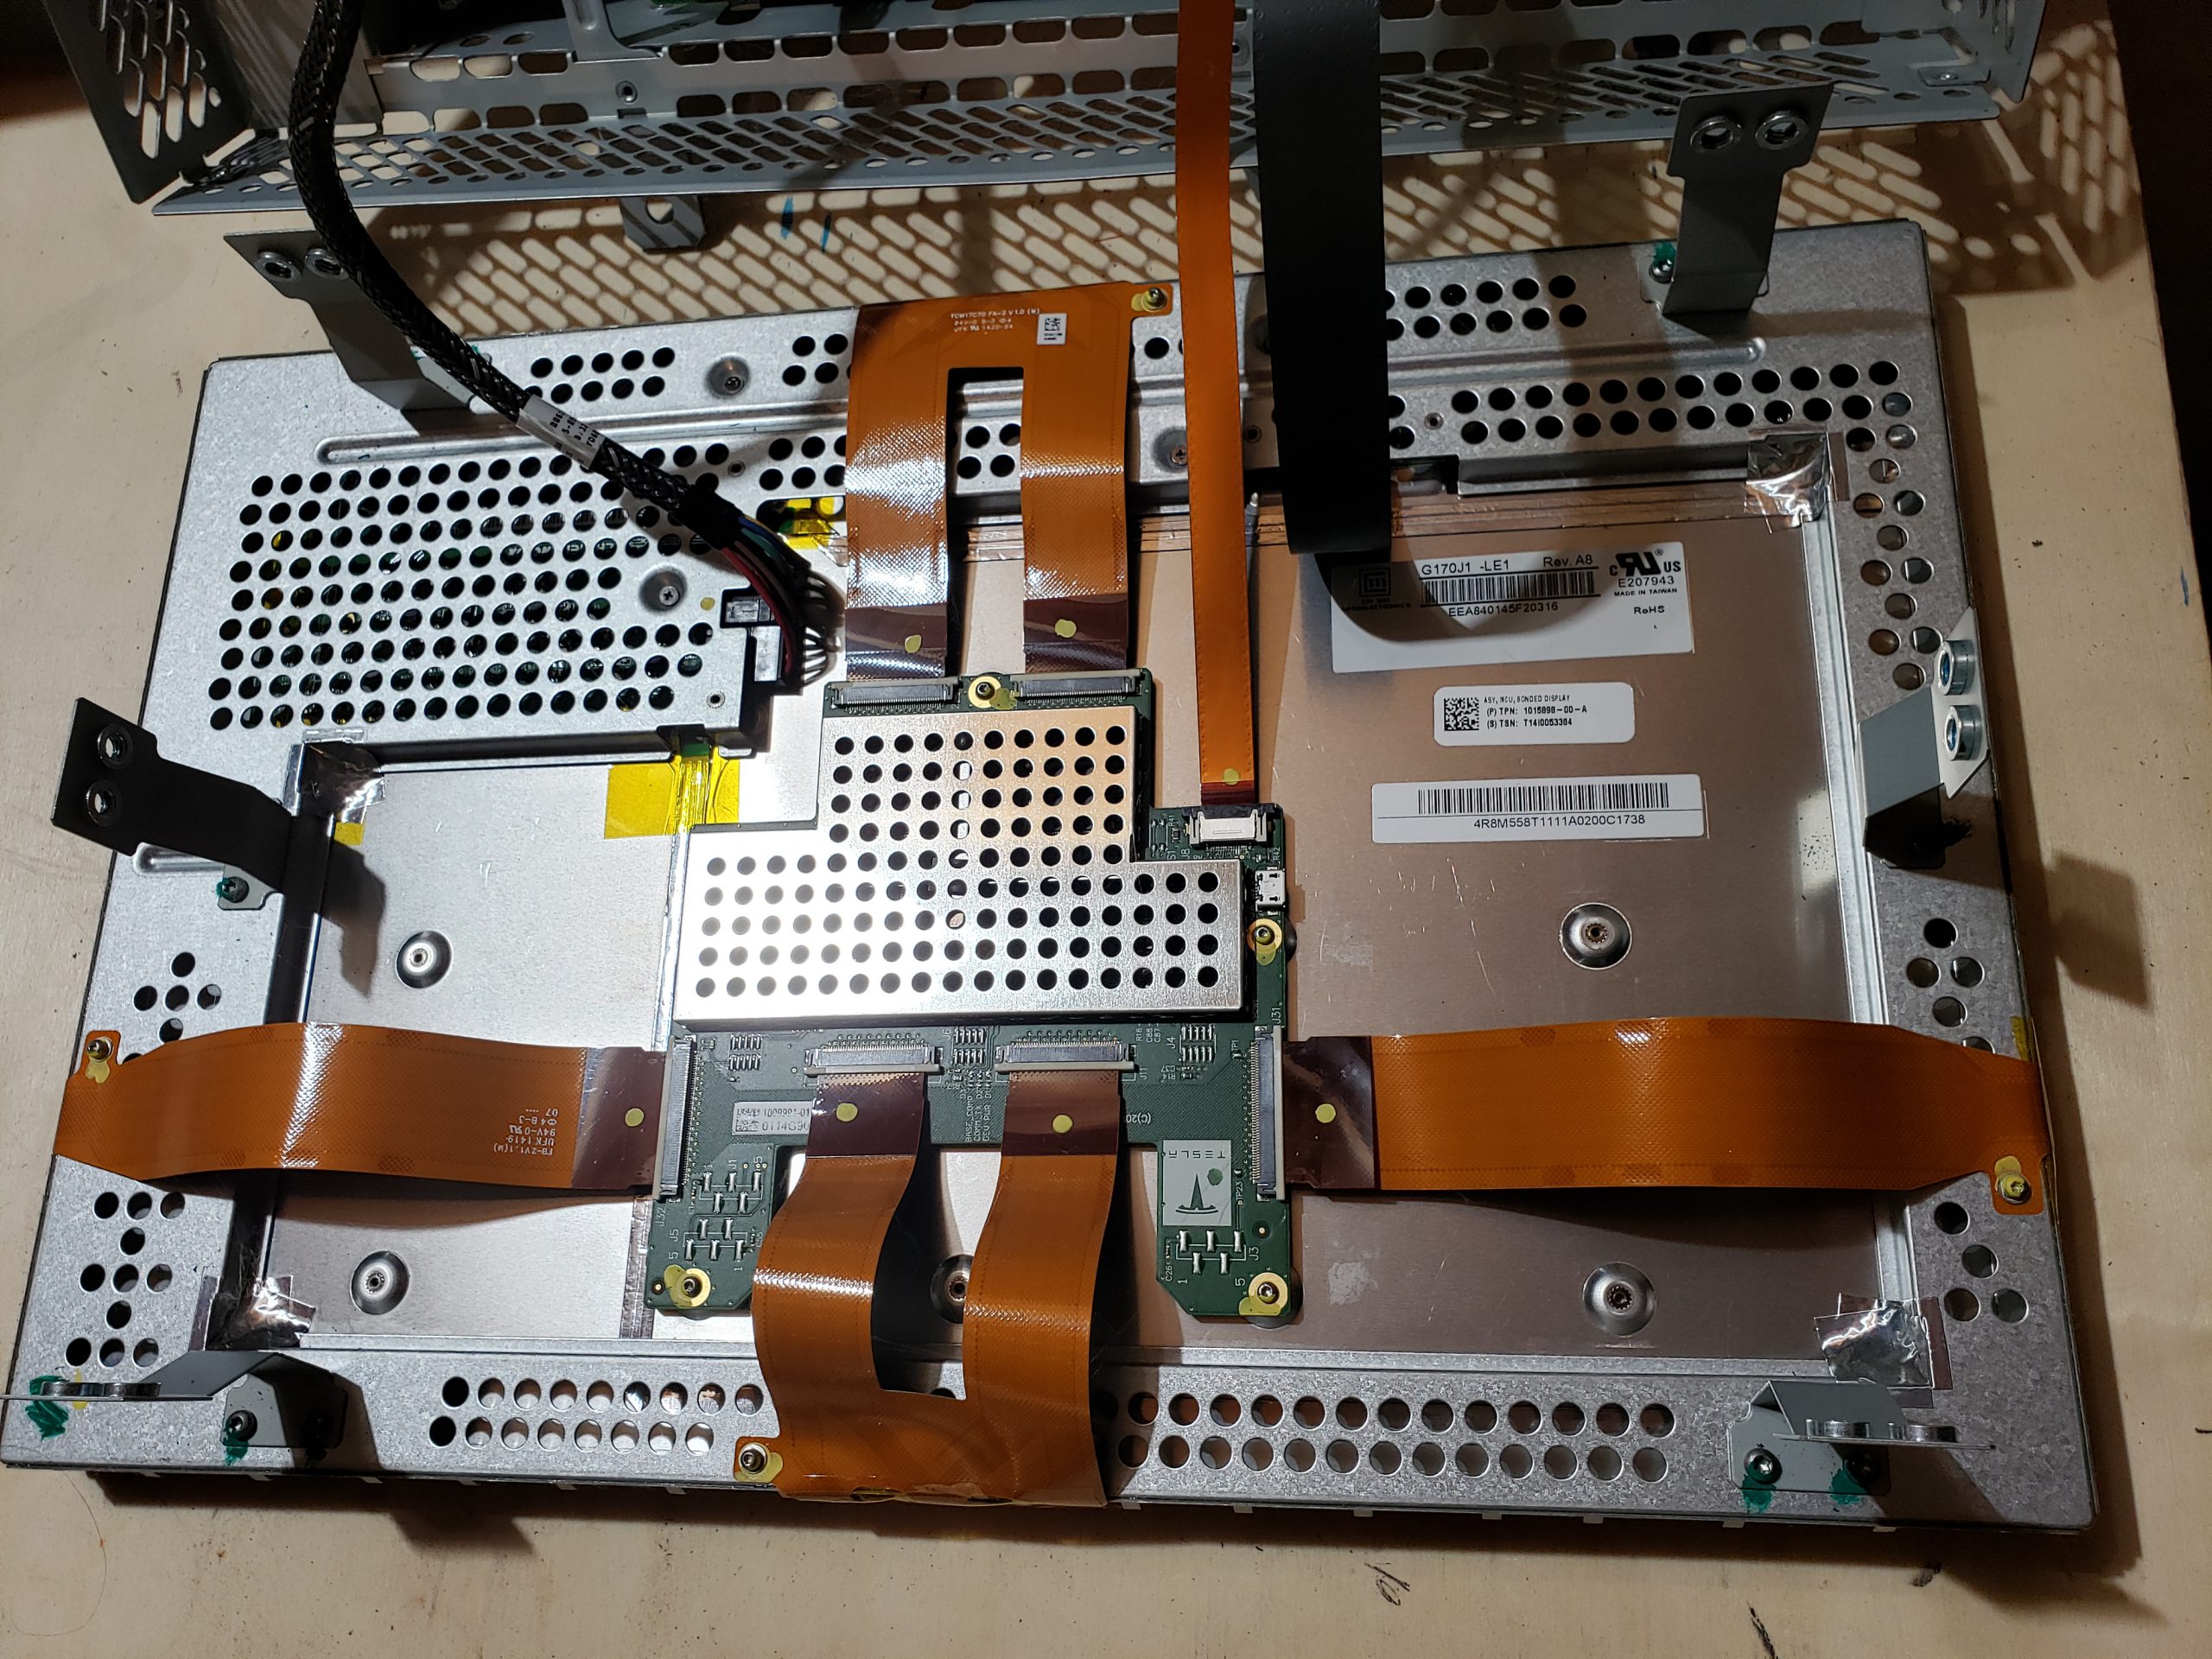
  • Bonded Display – For most people, this is the only assembly that matters as it collects user input and provides visual feedback.
  • Amplifier Assembly – Audio amplifier module which drives speakers, etc.
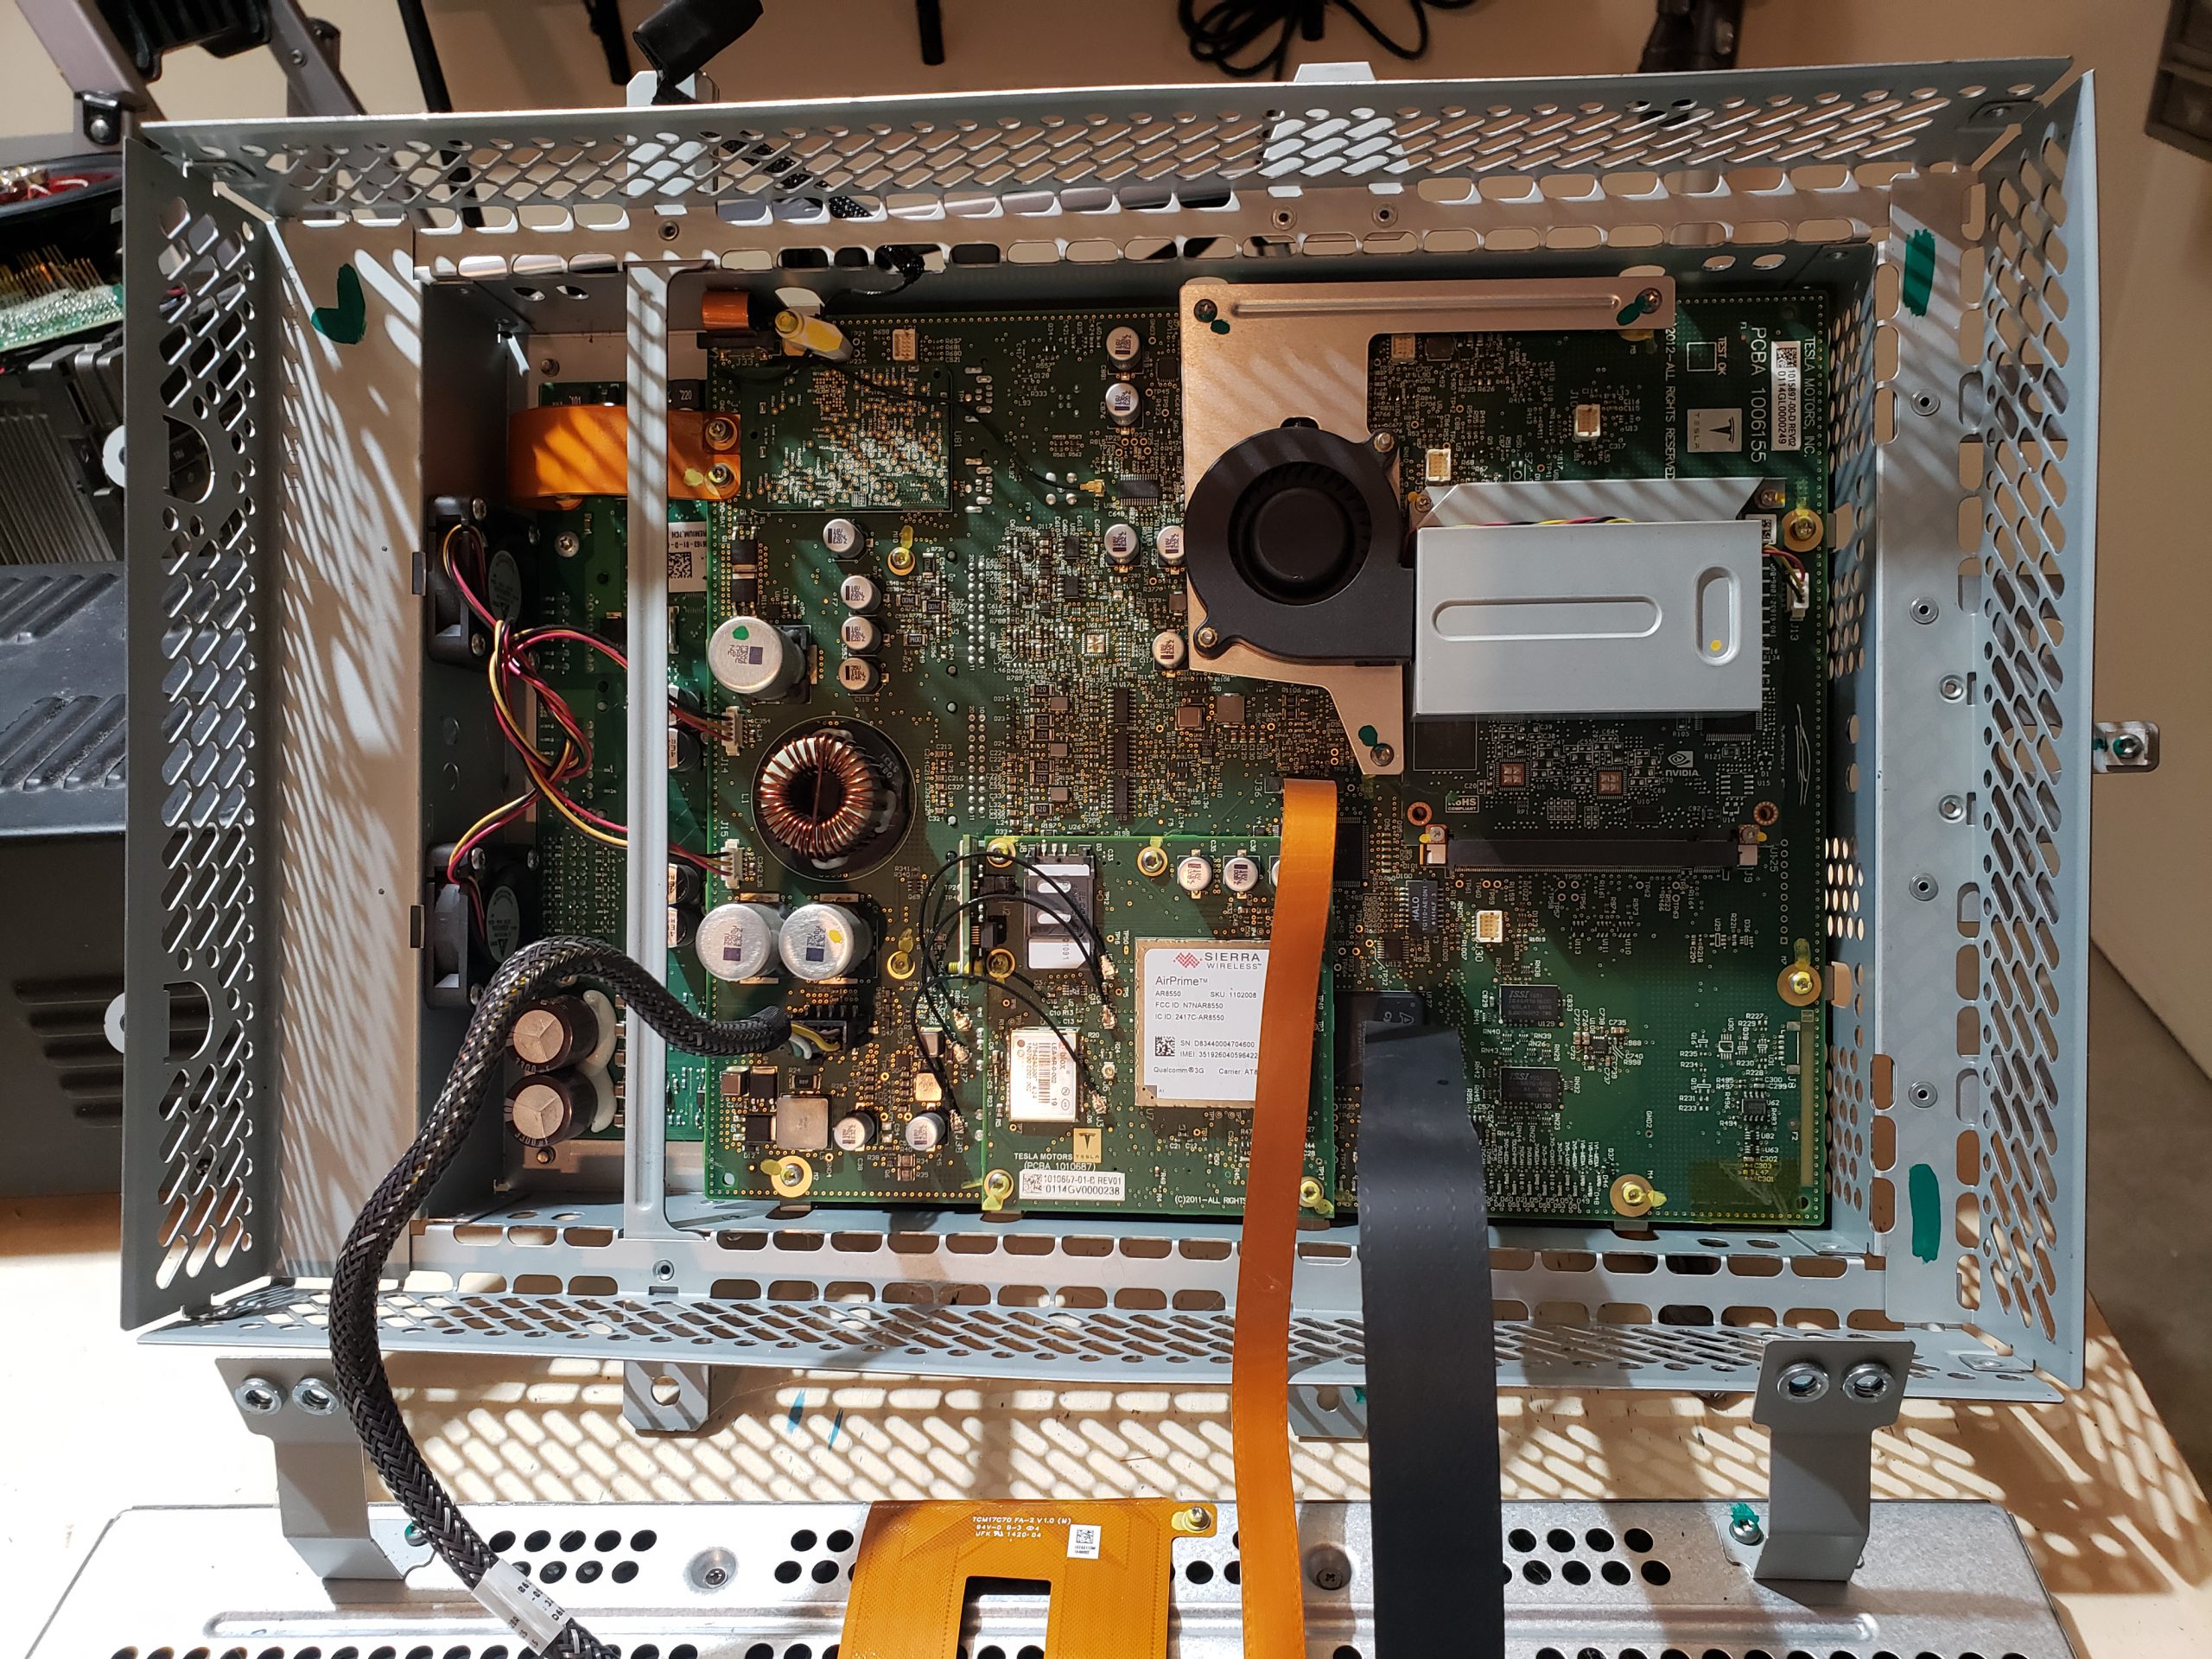
  • Cellular Communications – This sub-assembly is responsible for cellular communications. Early MCUs supported 3G while newer sub-assemblies support 4G/5G.
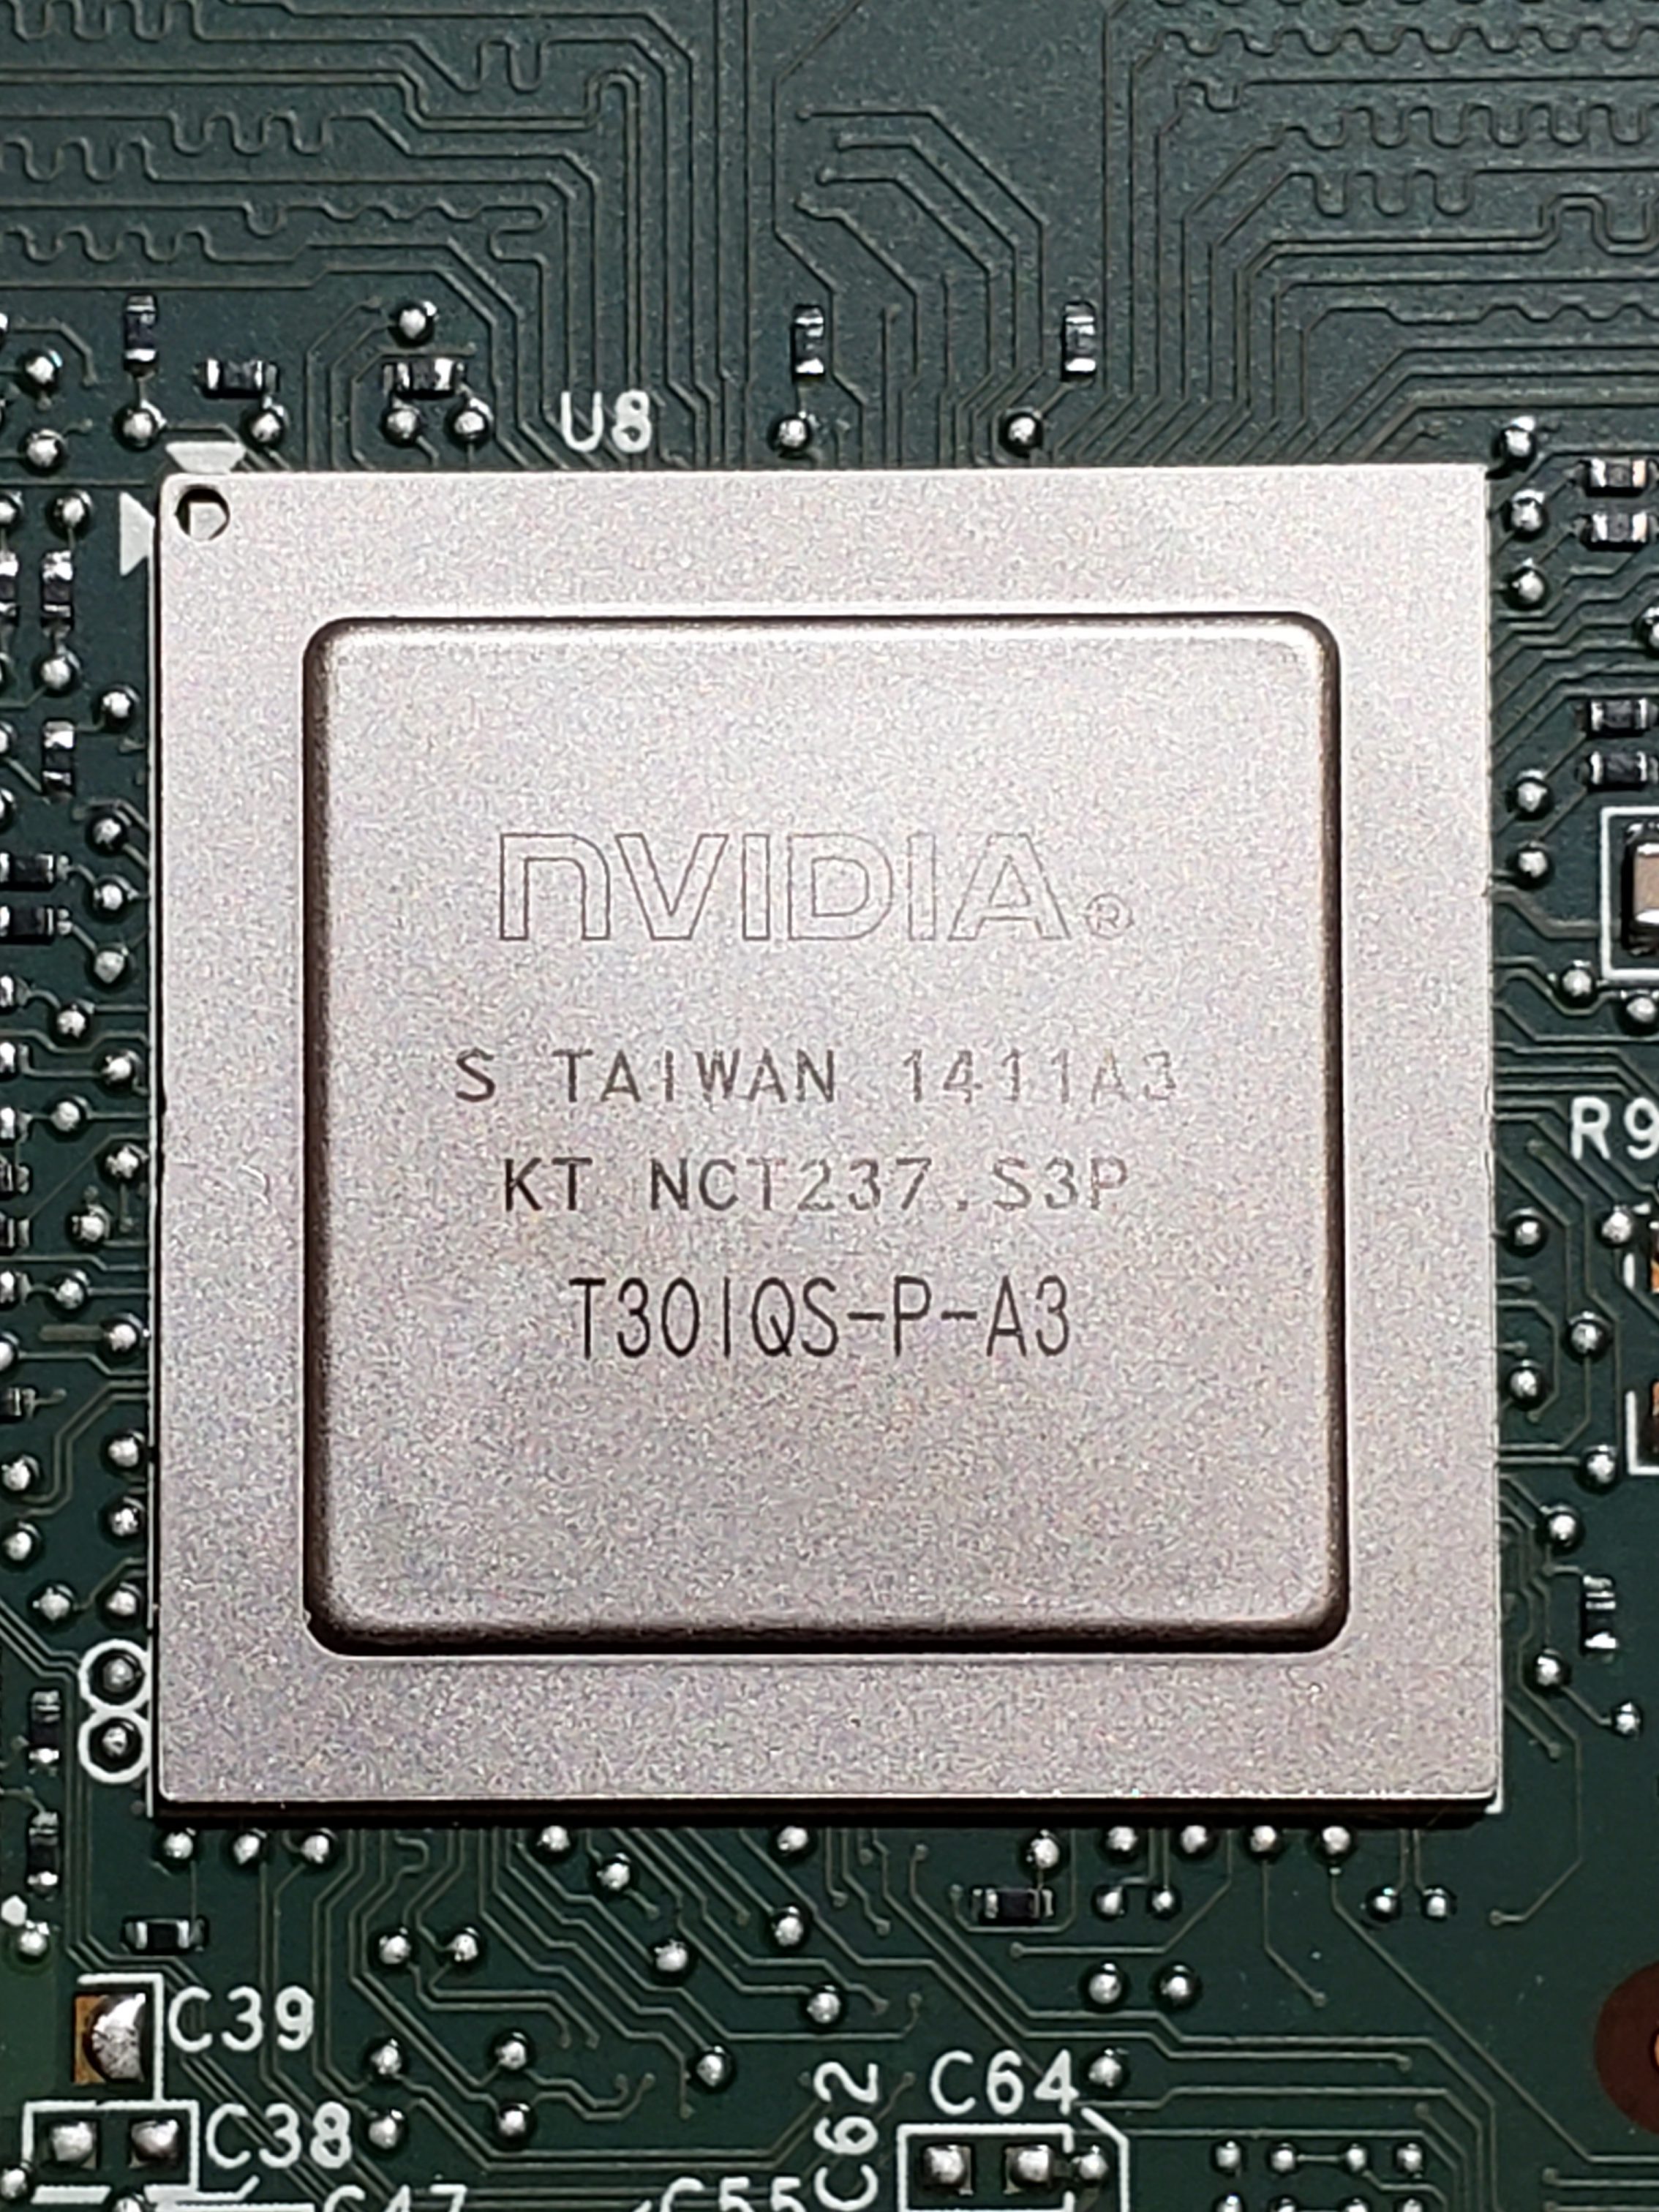
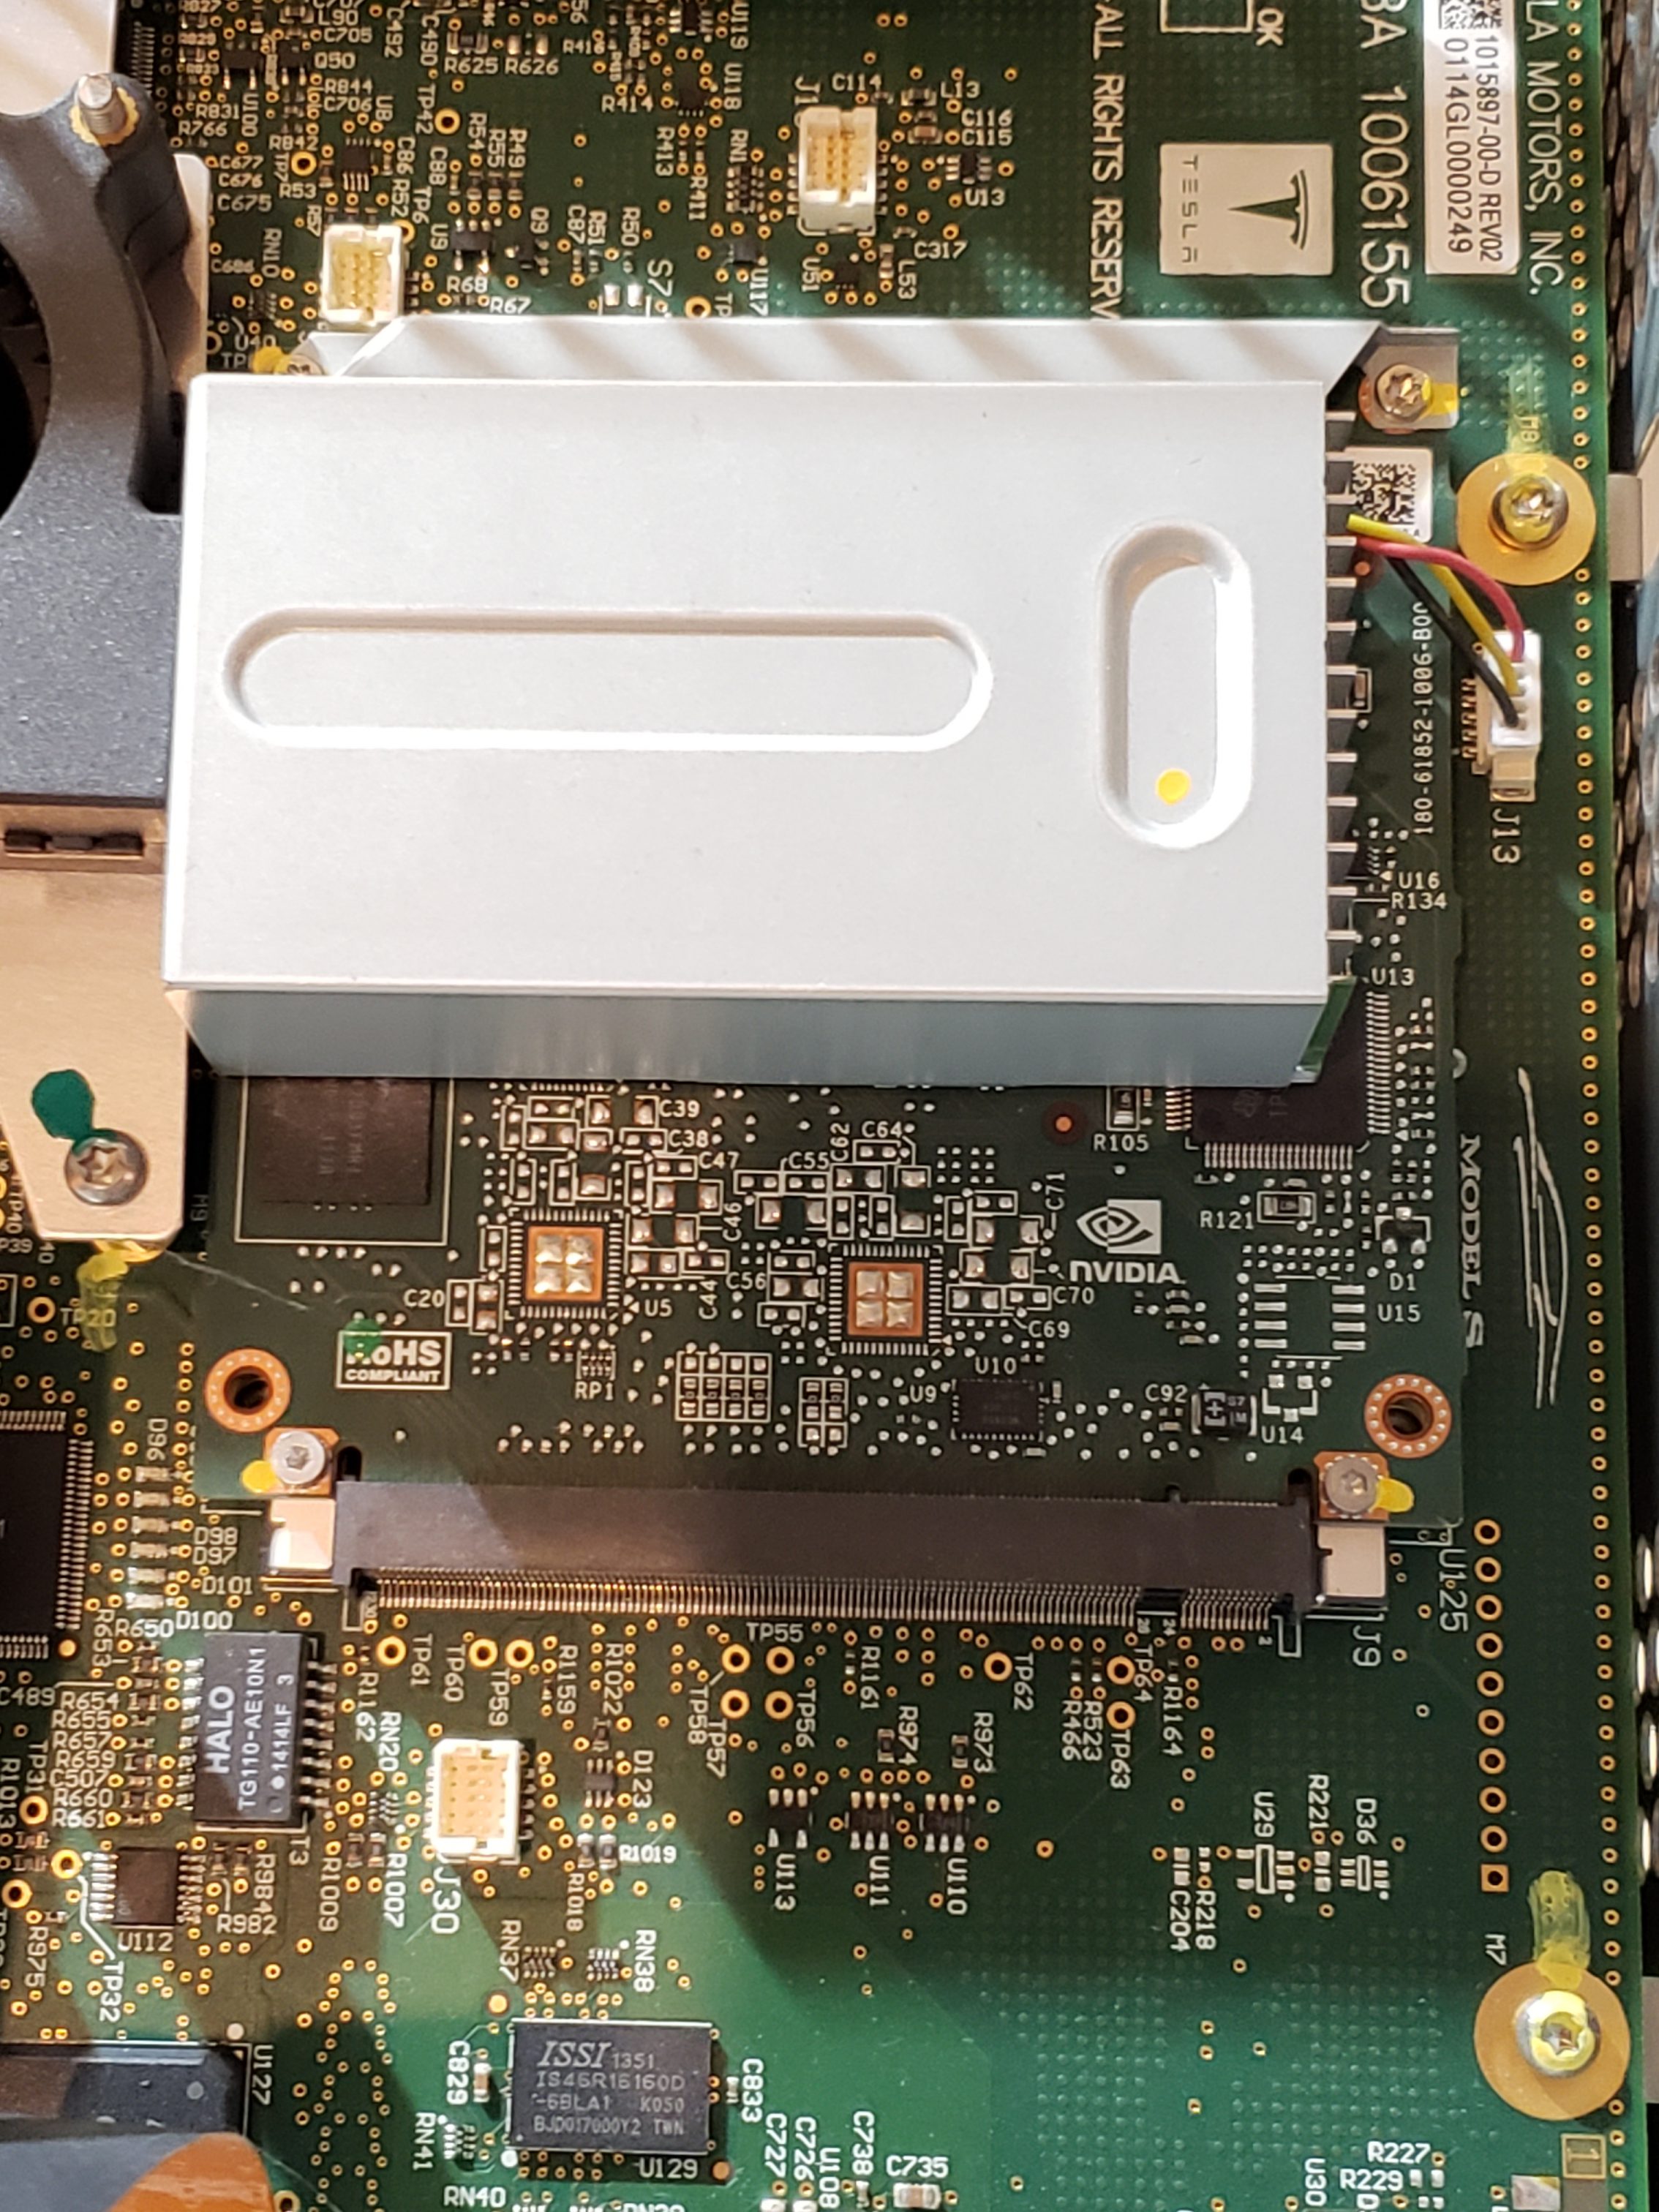
  • Infotainment Processor – This sub-assembly provides the main processing power for the MCU. For the MCU 1, this is powered by NVidia while MCU 2 utilizes Intel Atom, and MCU 3 contains an AMD Ryzen processor.
  • Main Board – This is the largest assembly and serves as the hub for all of the other sub-assemblies.

Bonded Display

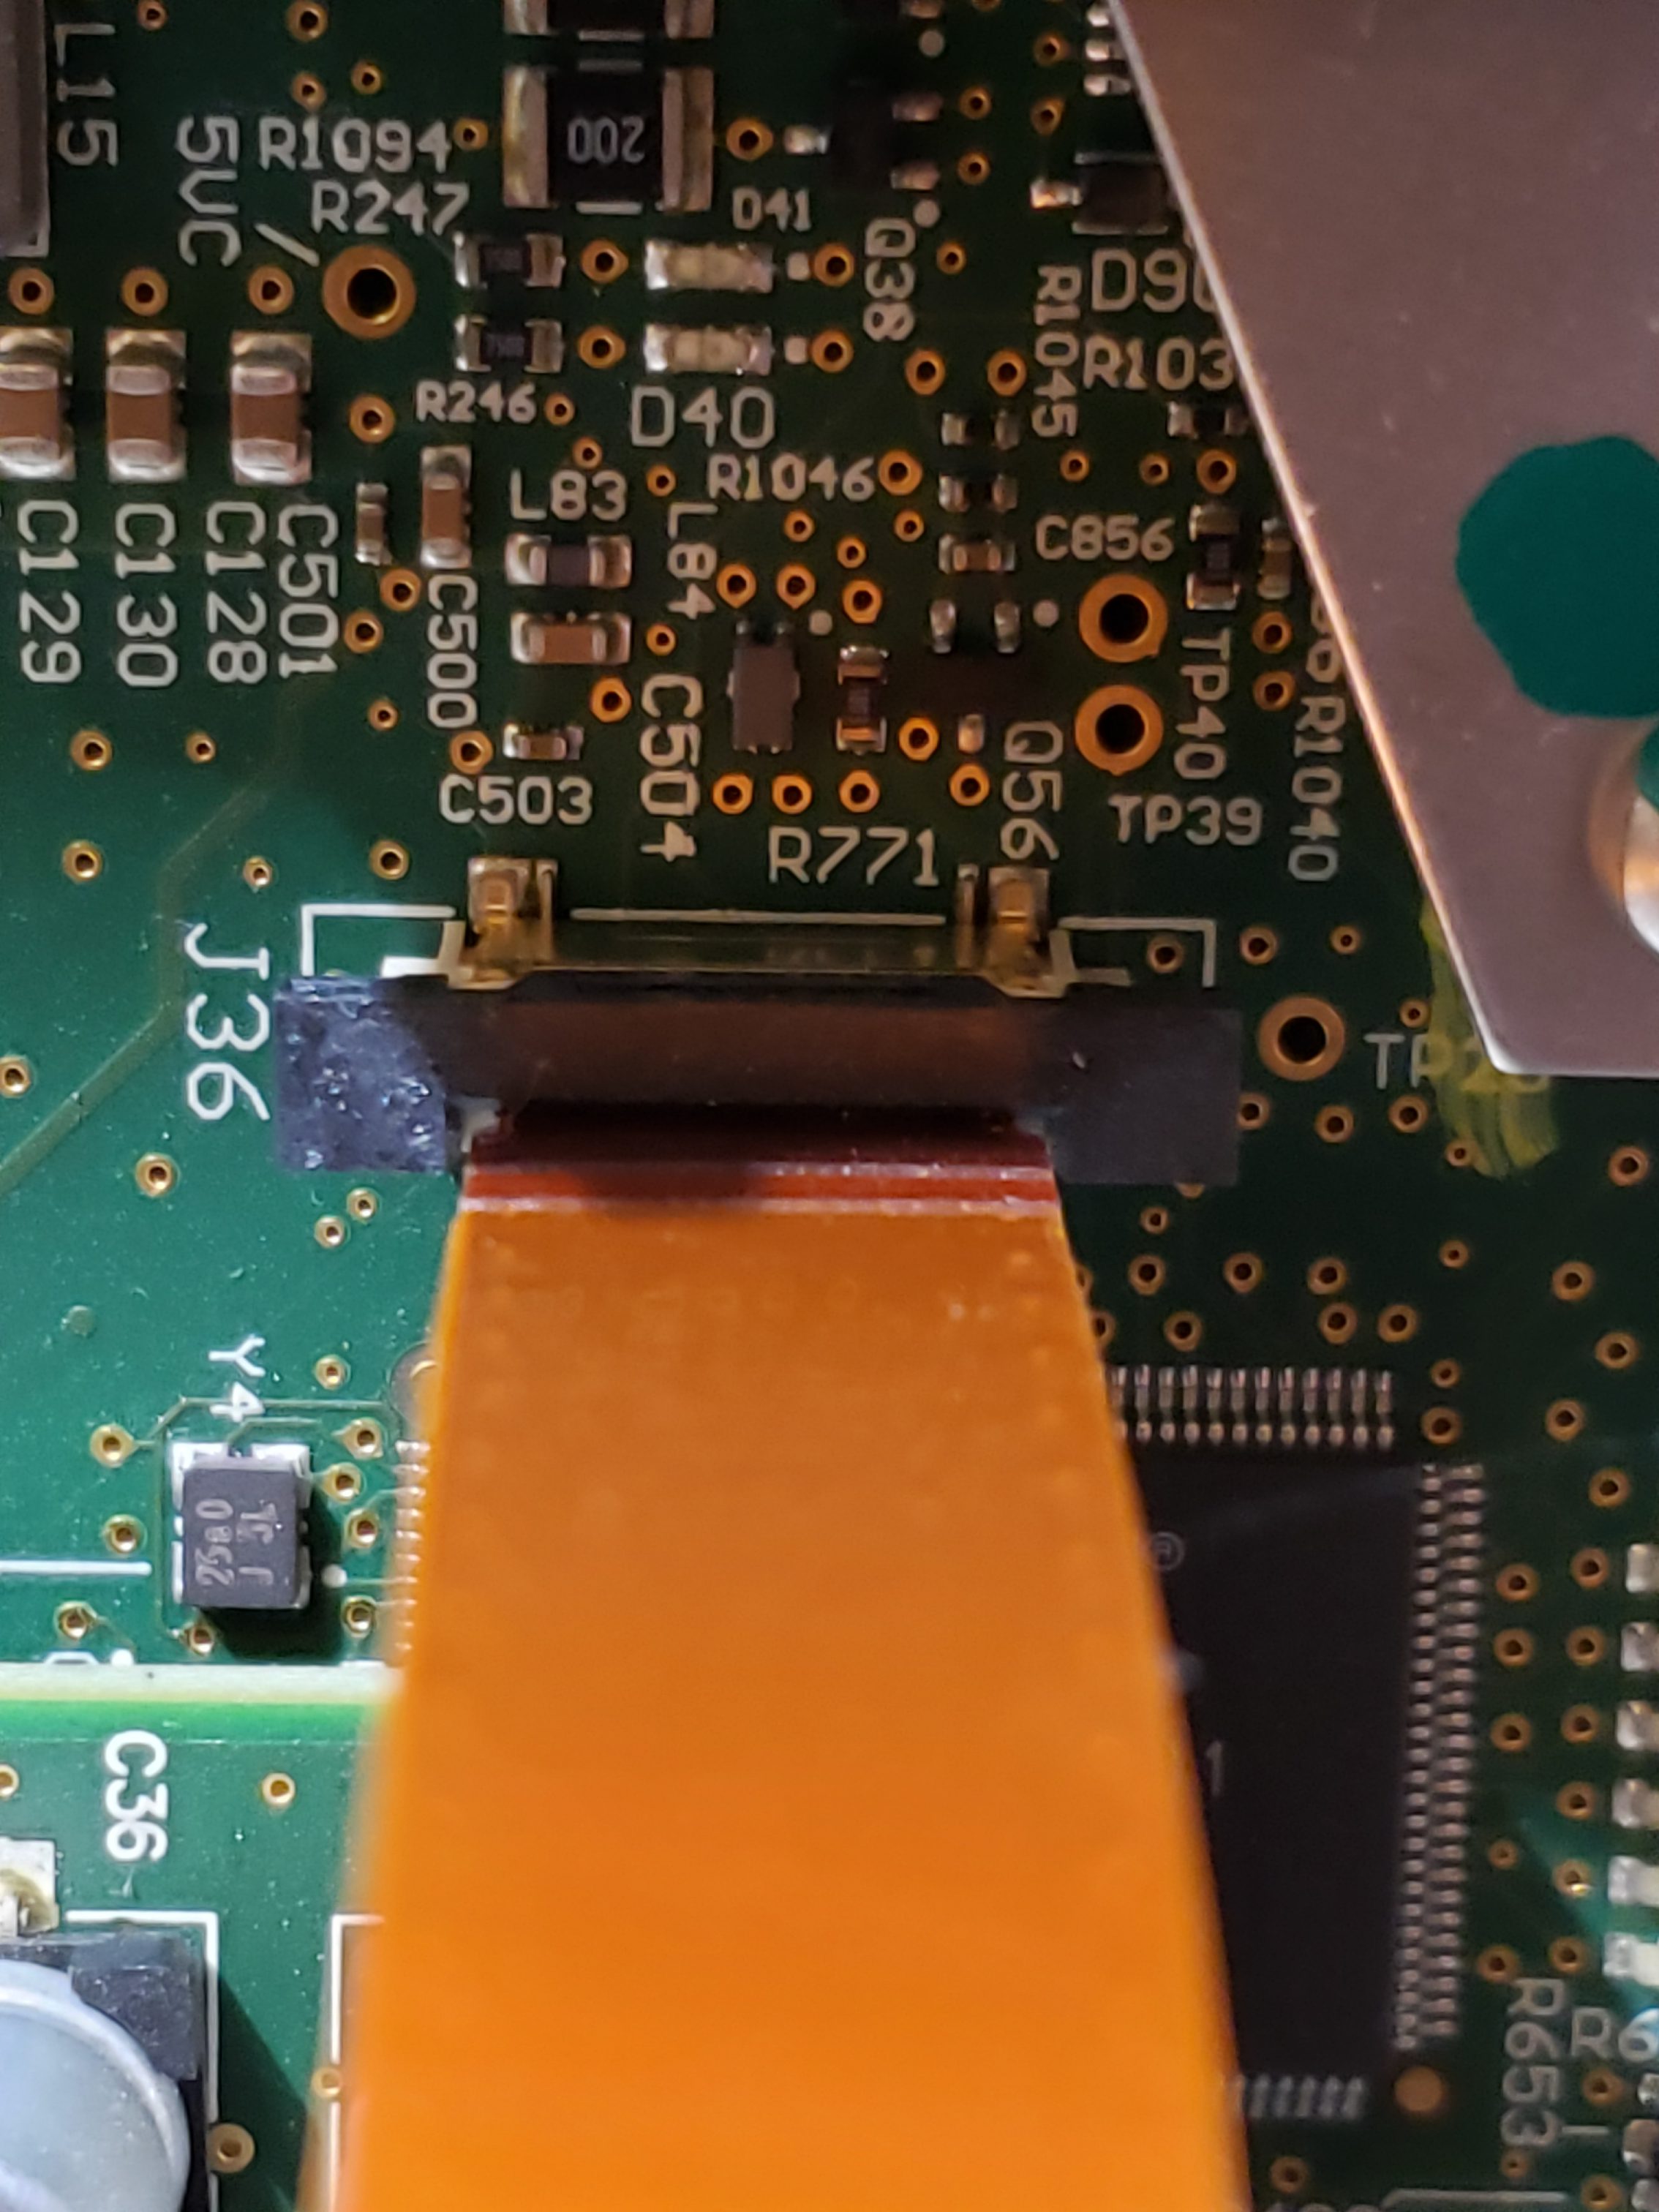
From a reverse engineering perspective, this is probably the least interesting sub-assembly. The electronics are relatively minimal and single purposed. I don’t expect there to be much value in focusing on this assembly. With that said, there is a USB port on the control board. I suspect this is probably used for pushing firmware in the factory.

Amplifier Assembly

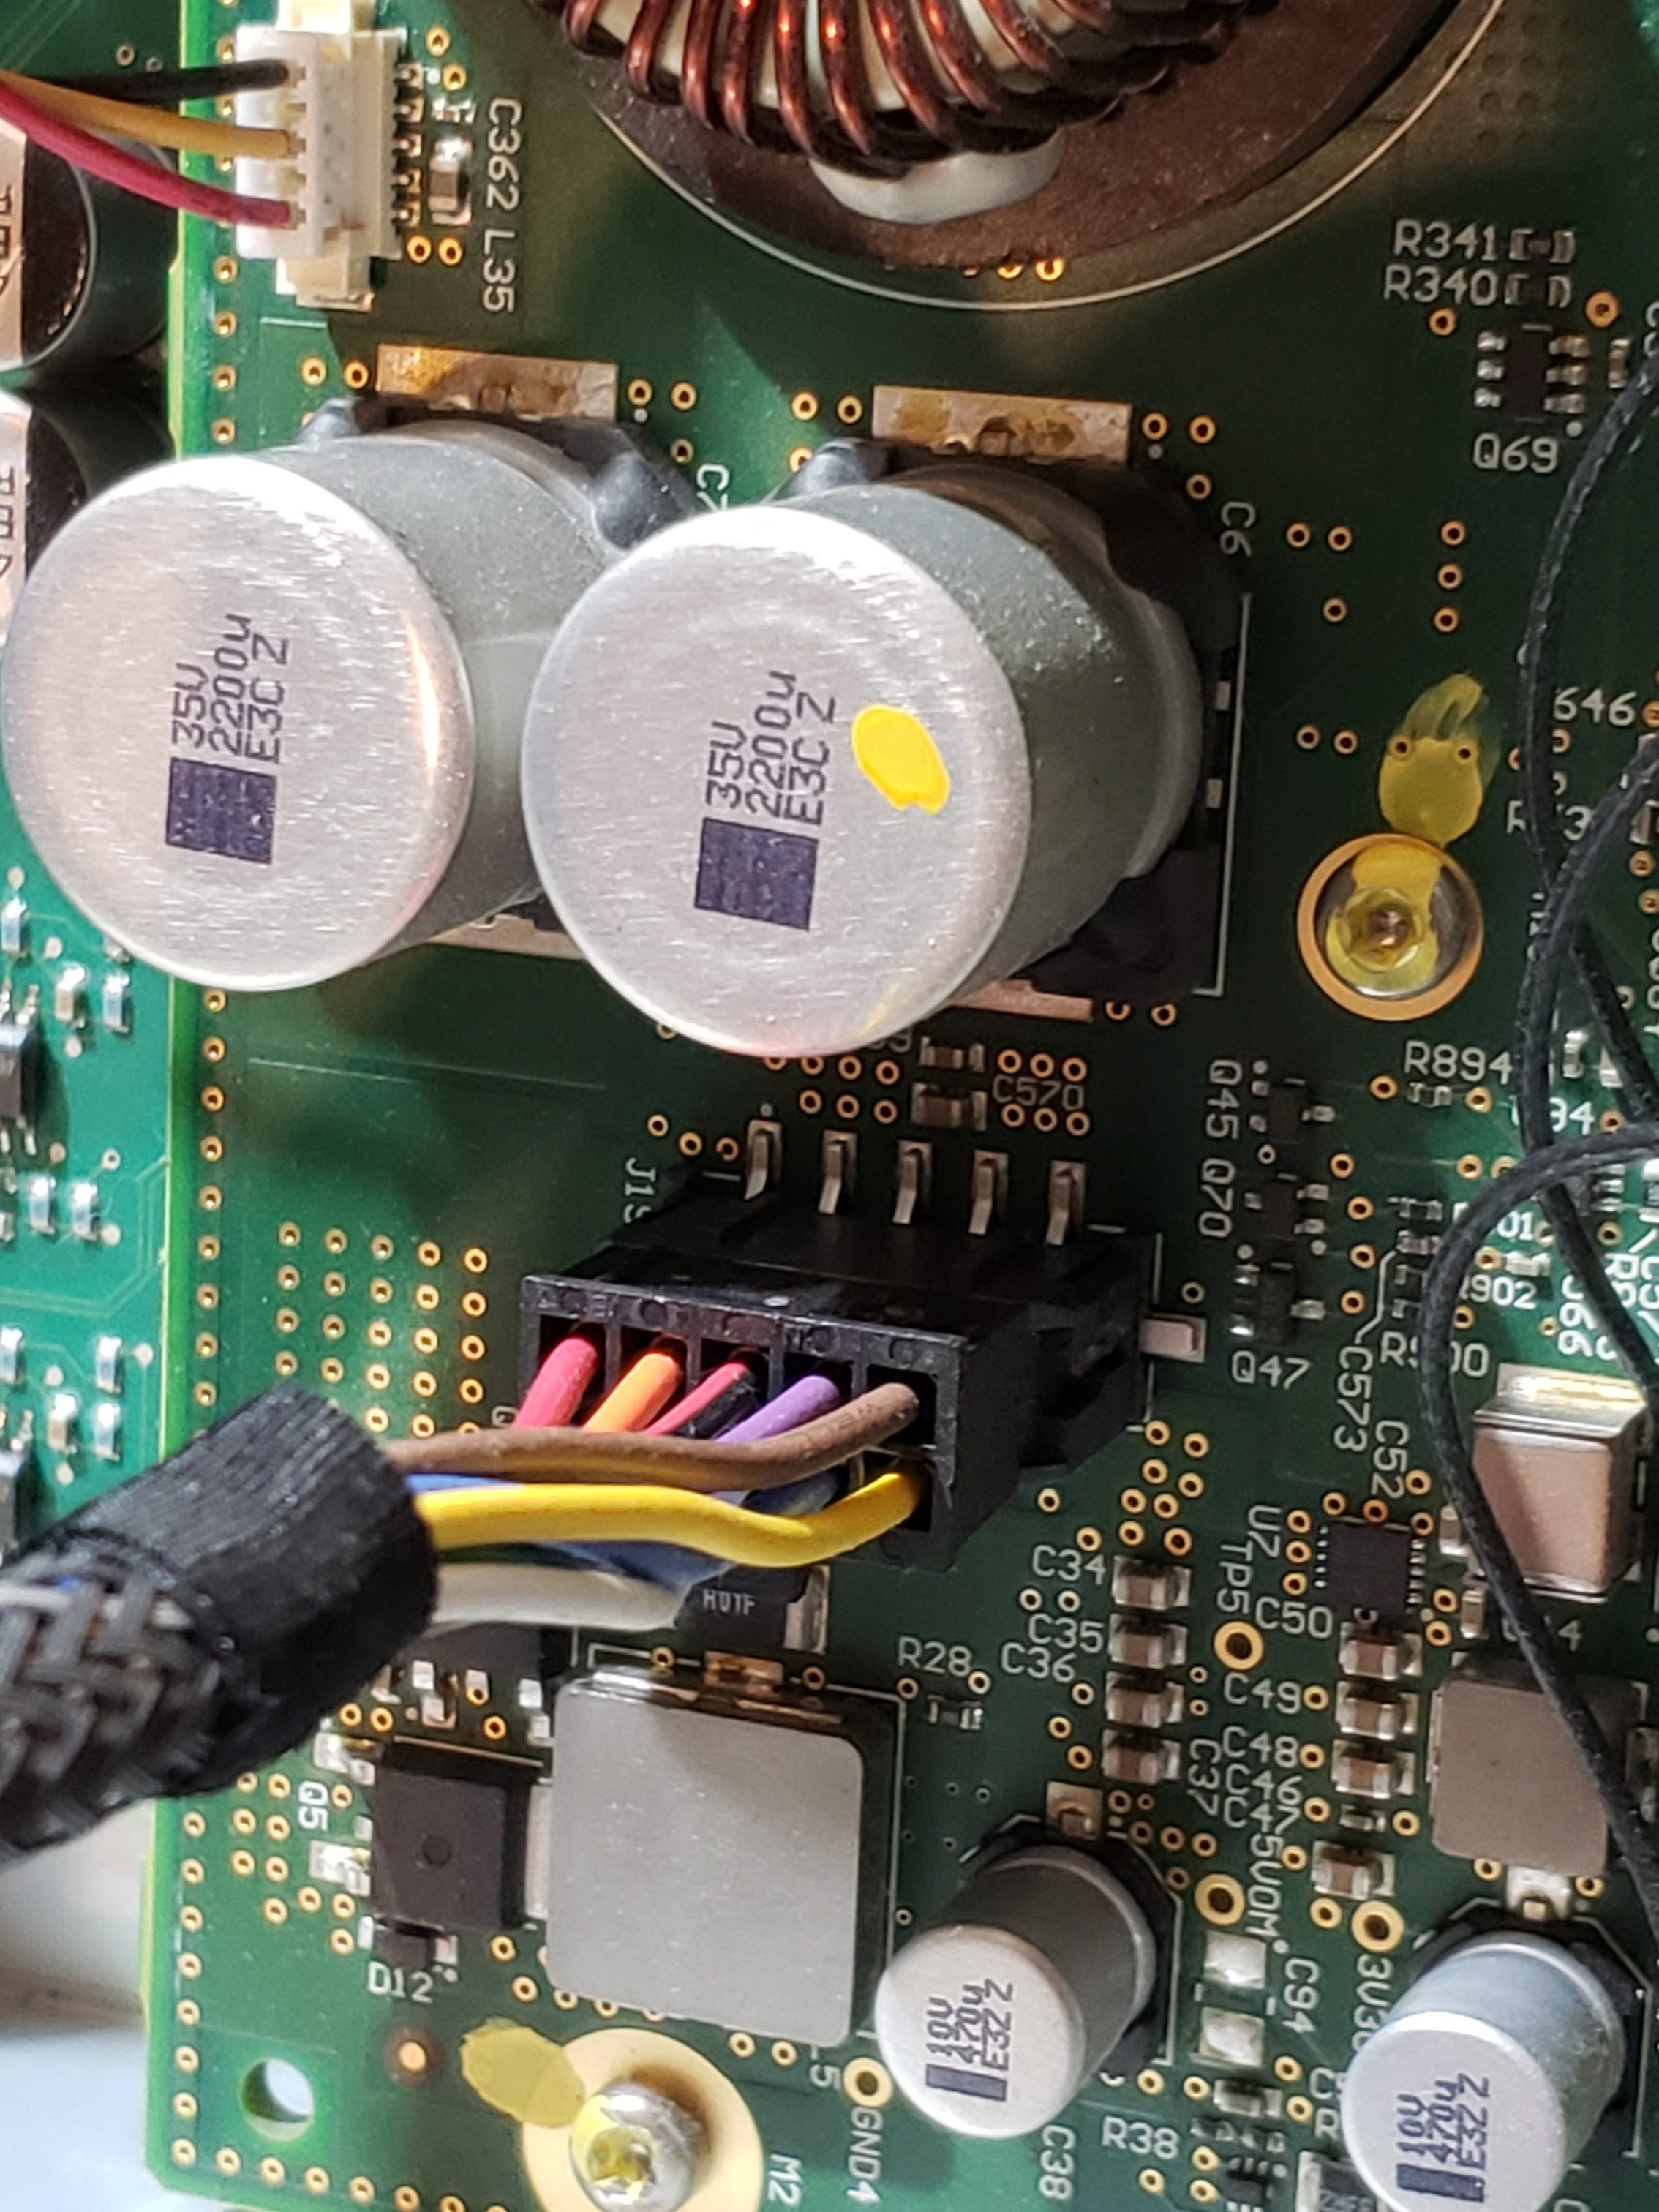
Similar to the display, this assembly is also very single purposed and I don’t see any obvious value in focusing too much time here. A quick review of the circuit board does not find anything remarkably useful for reverse engineering purposes.

Cellular Communications

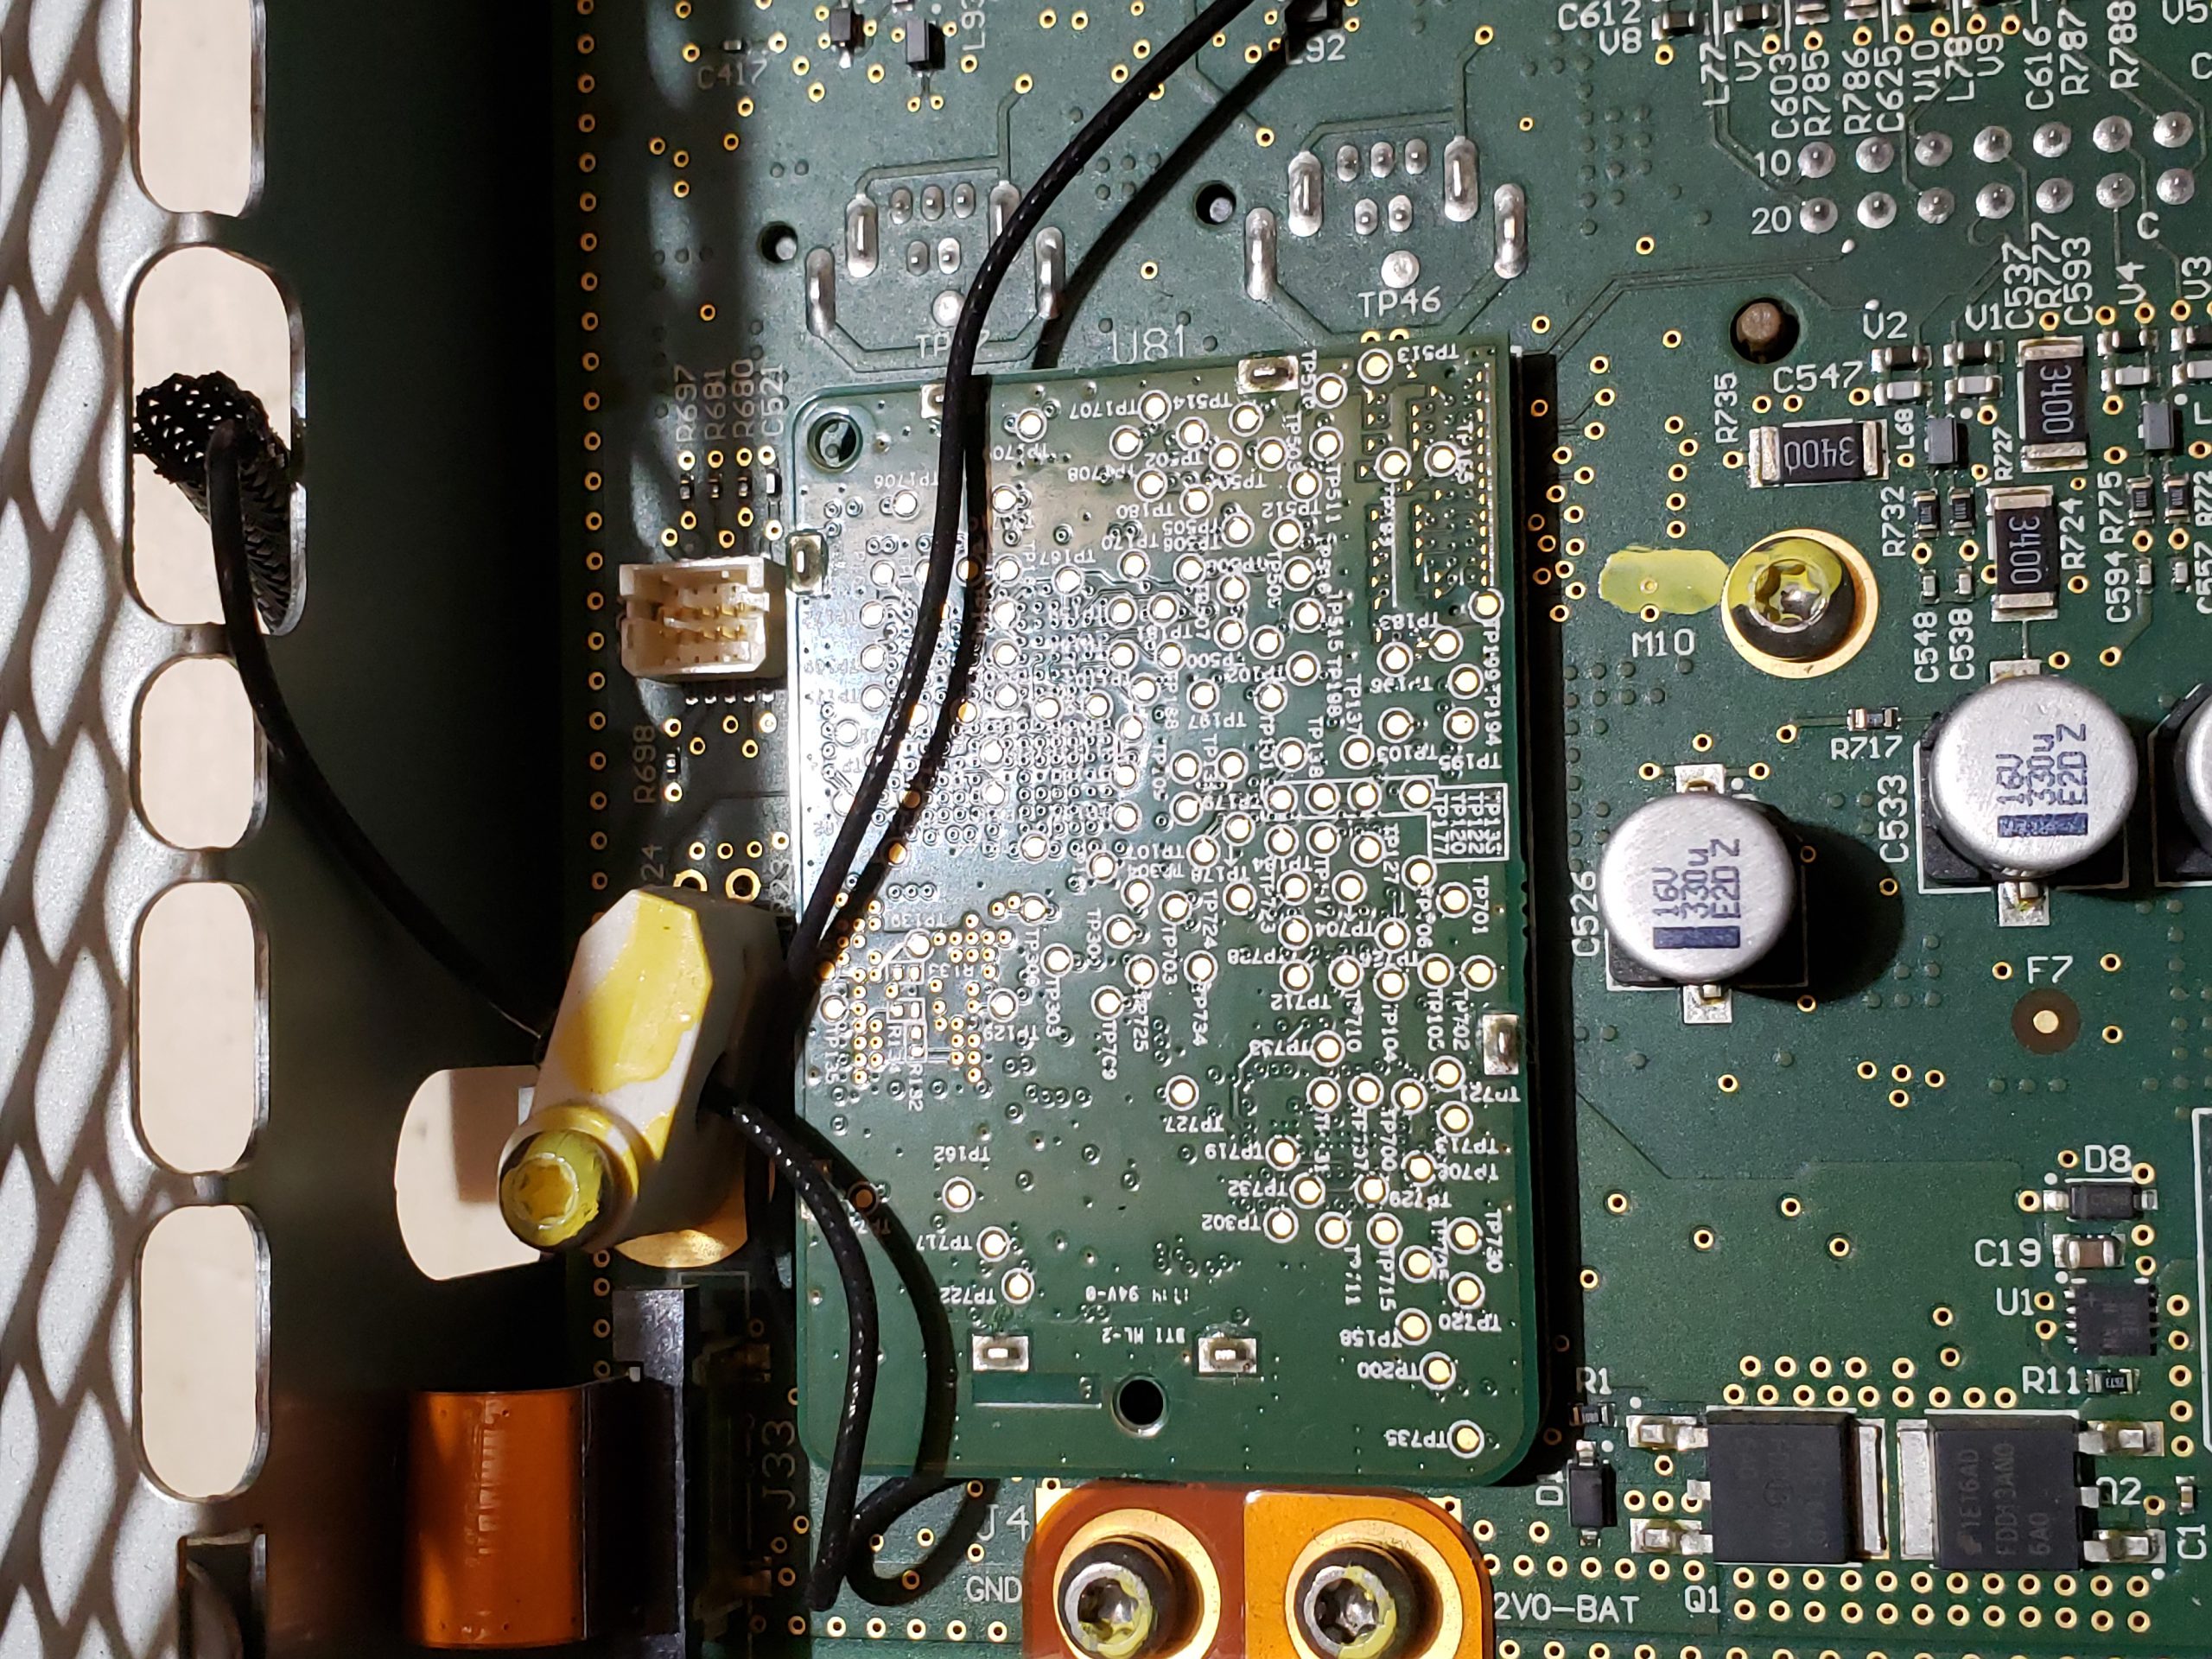
This module is far more interesting as it is responsible for remote communication, which is quite valuable. There are multiple prominently displayed components on this board of note. Additionally, you’ll see that this contains a removable SIM card. As the older modules came with “unlimited data”, perhaps you can repurpose this? ☺ It would additionally be curious to see if any data is on this card.

Infotainment Processor

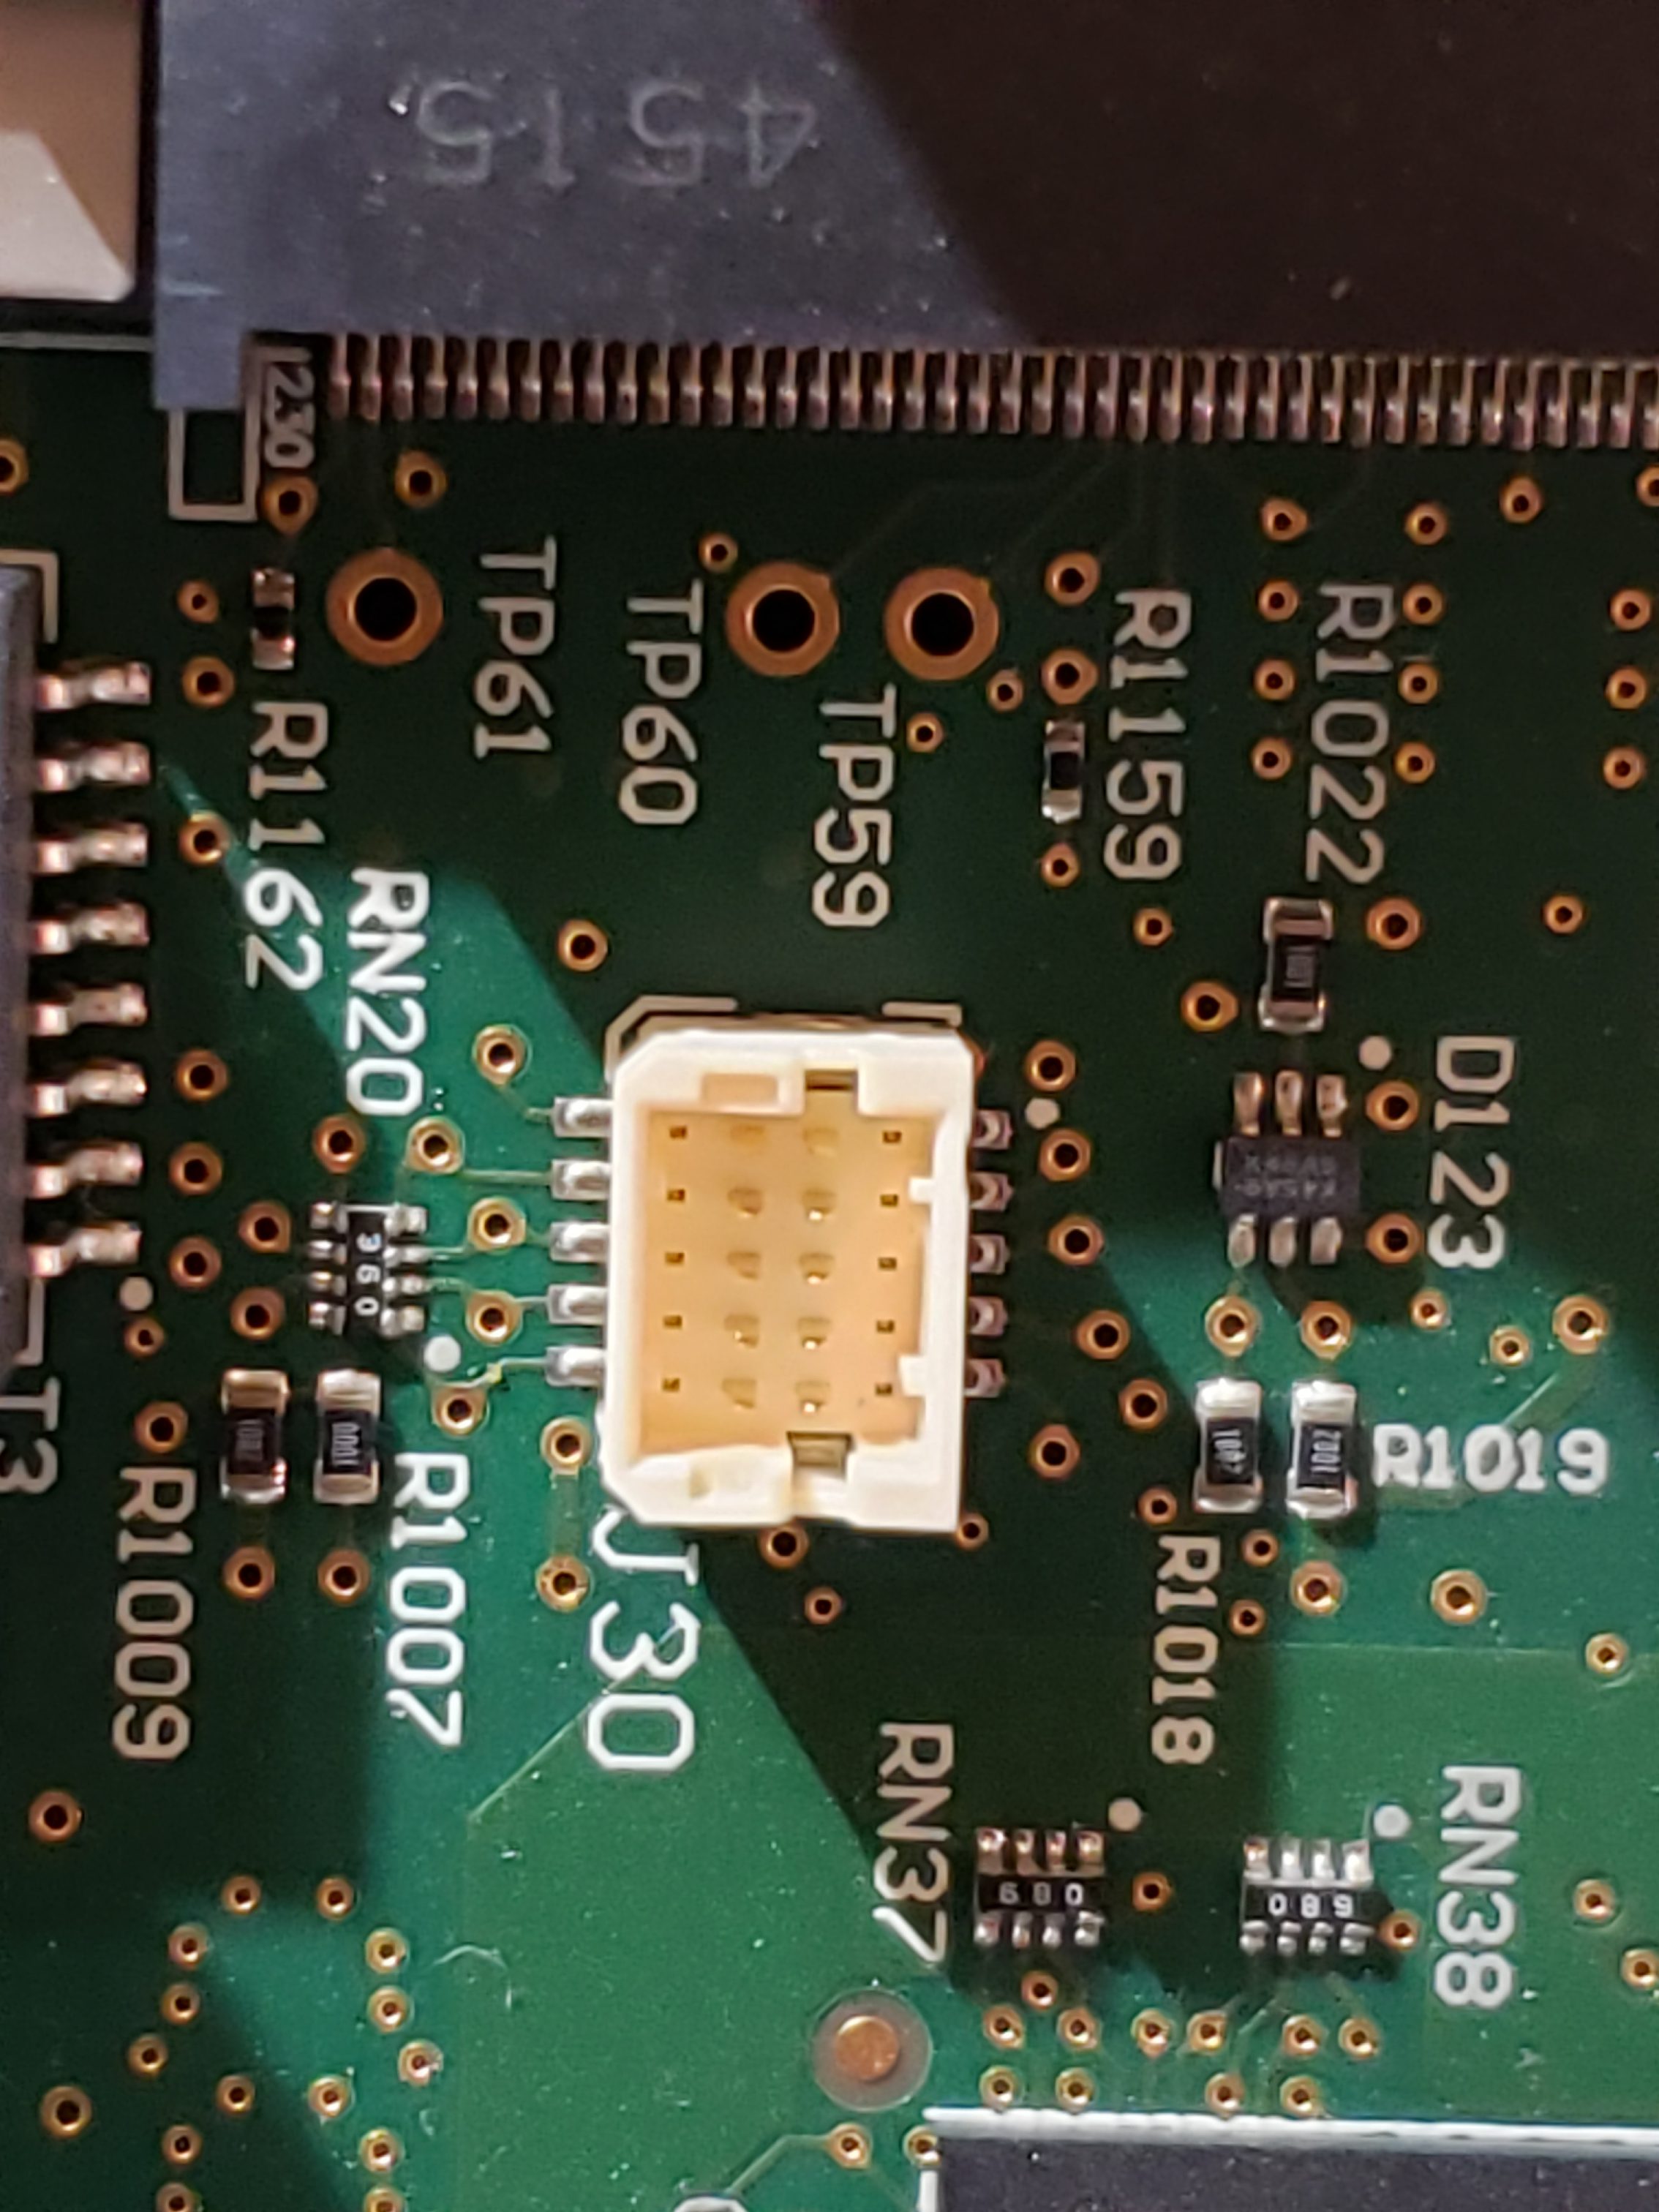
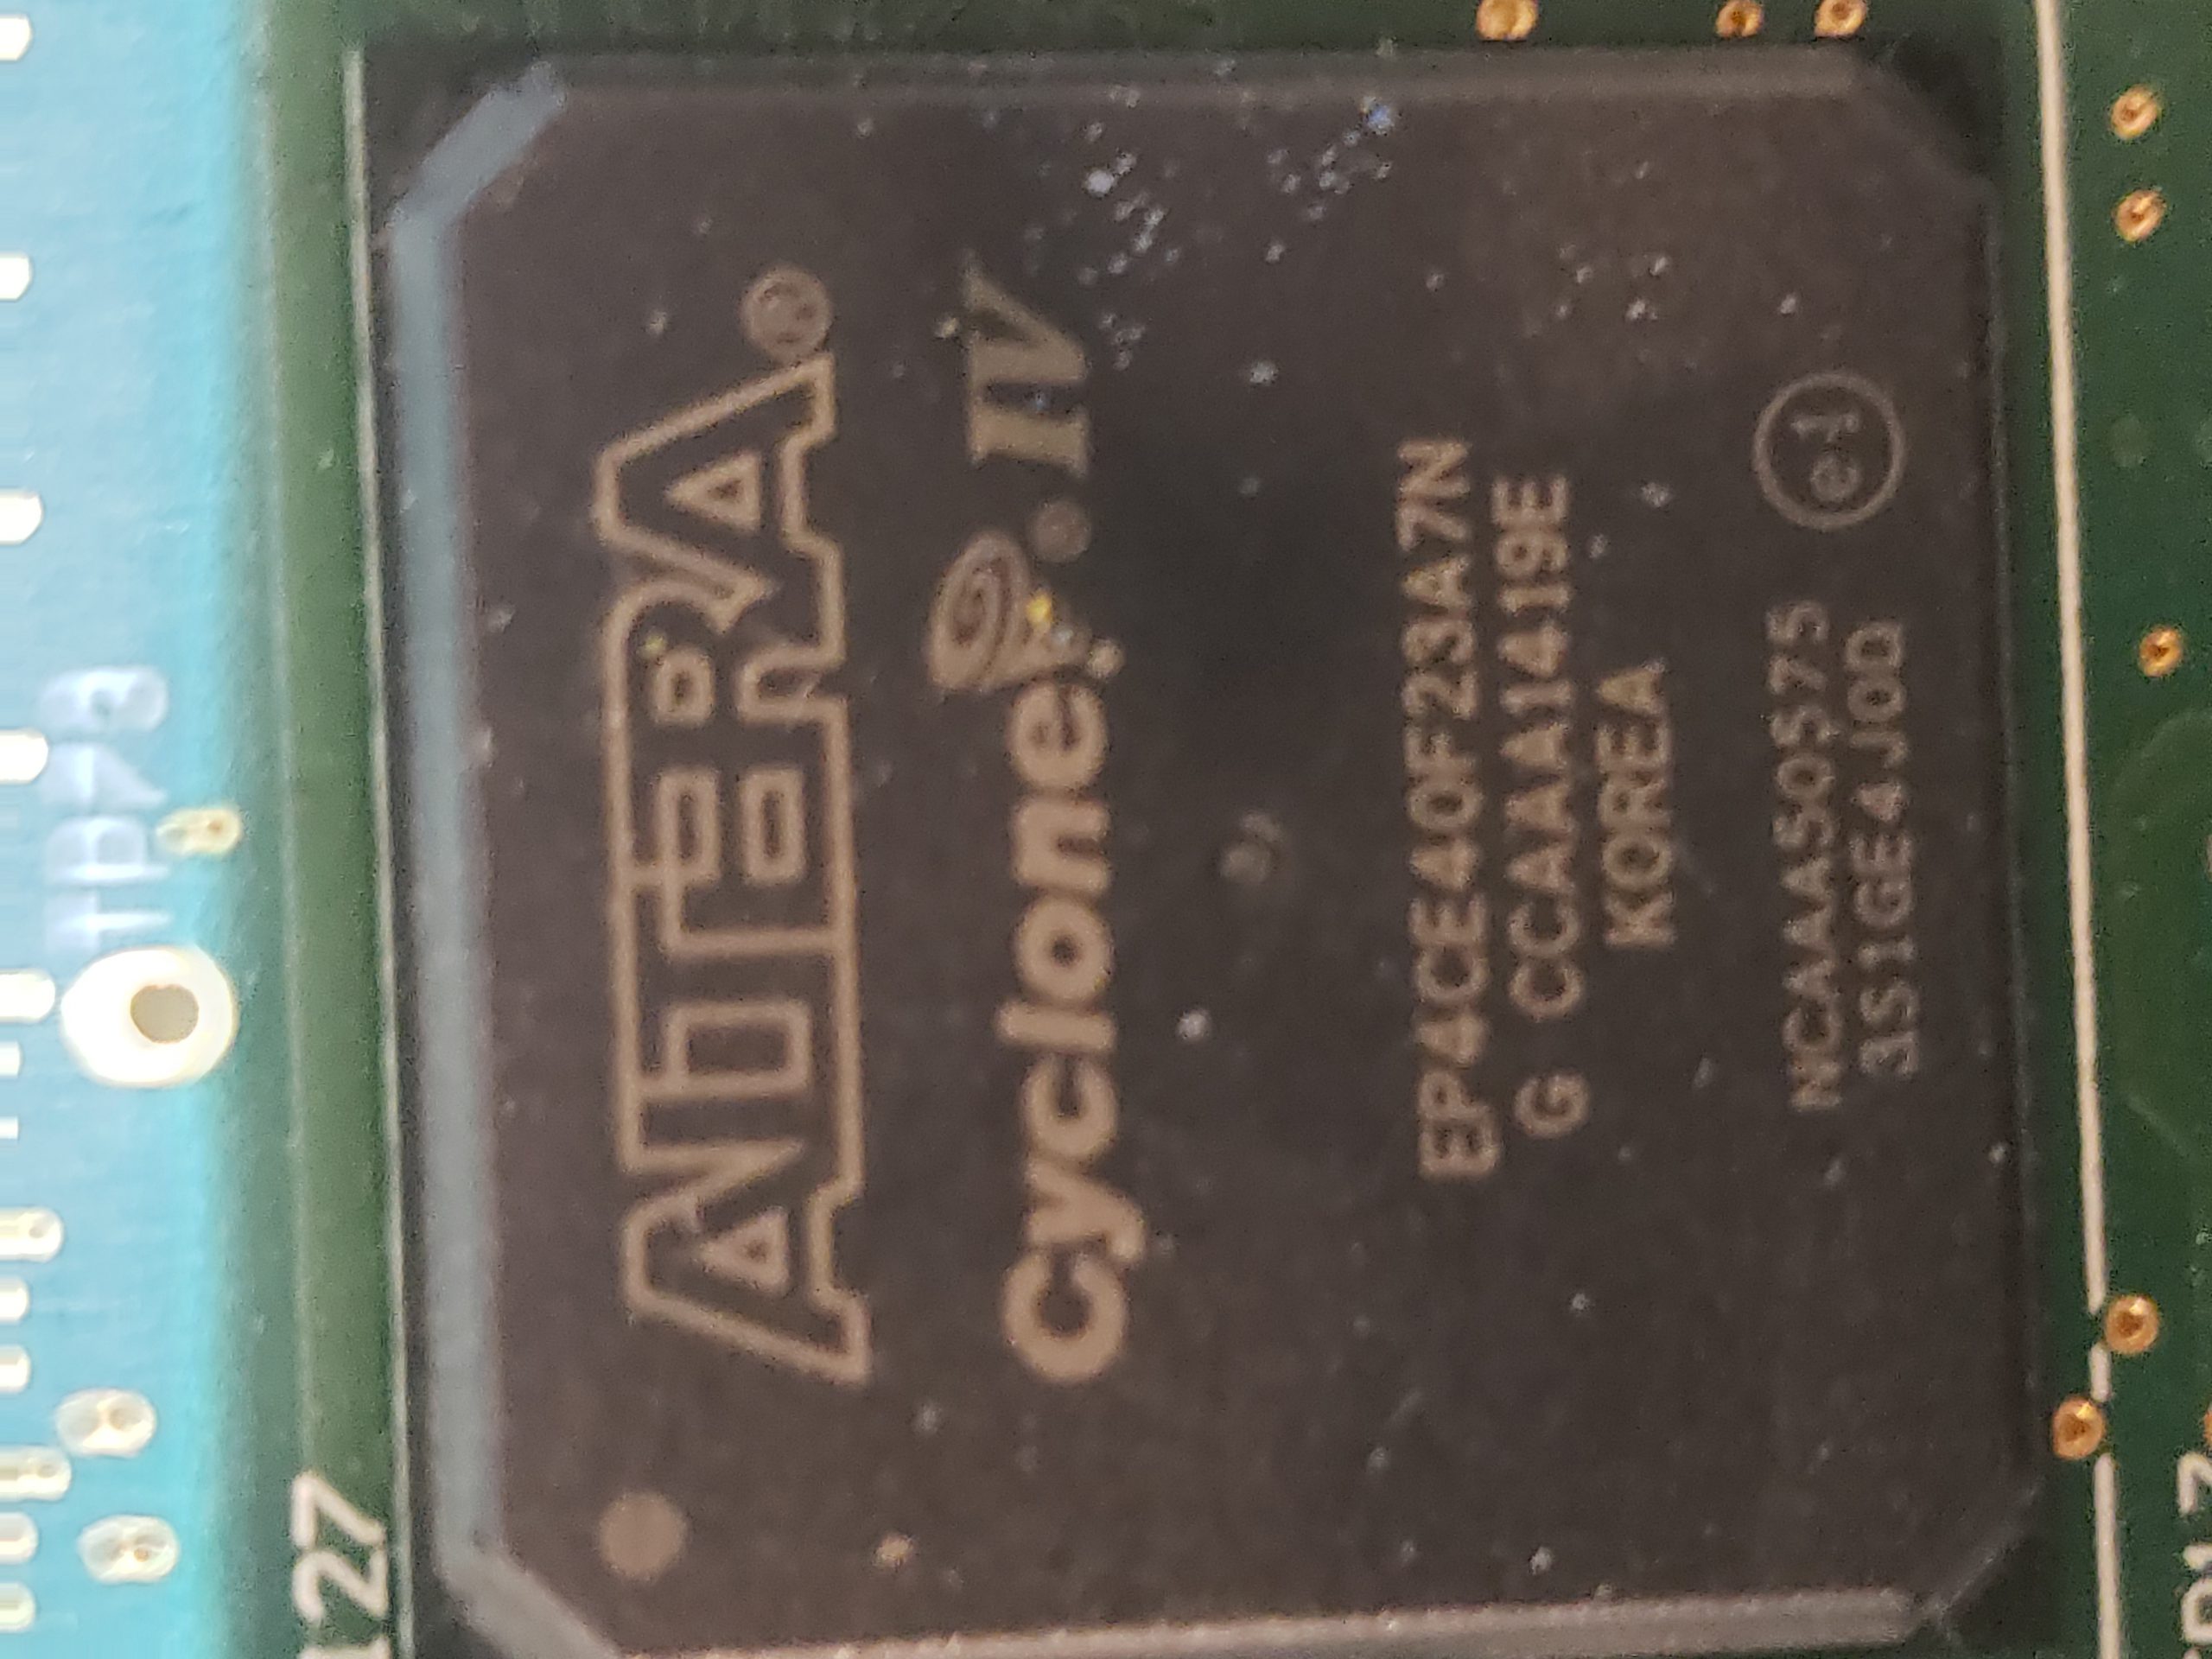
The infotainment process assembly is another “high value target” as this is the primary “brains” of the MCU. In addition to the NVIDIA processor, this board contains SDRAM, e-NAND Flash Drive*, a USB Hub, Ethernet controller, and an IC flash device. In additional to the components, on the board, there are a couple of unpopulated pads. Perhaps these pads are simply for optional components or perhaps they are for diagnostic purposes. More investigation is required to determine if they are of any value.

* – Due to how the Flash Drive has been utilized by Tesla, these devices are beginning to fail in older MCU 1 vehicles. When they fail, the MCU will operate erratically eventually resulting in the “black screen of death”. There is a recall and Tesla will replace these sub-assemblies with a newer/higher capacity flash memory. If you are skilled, you can repair this yourself. ☺

Main Board

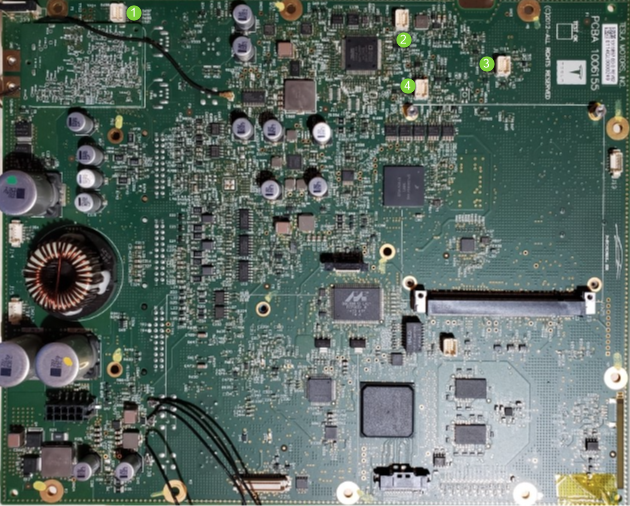
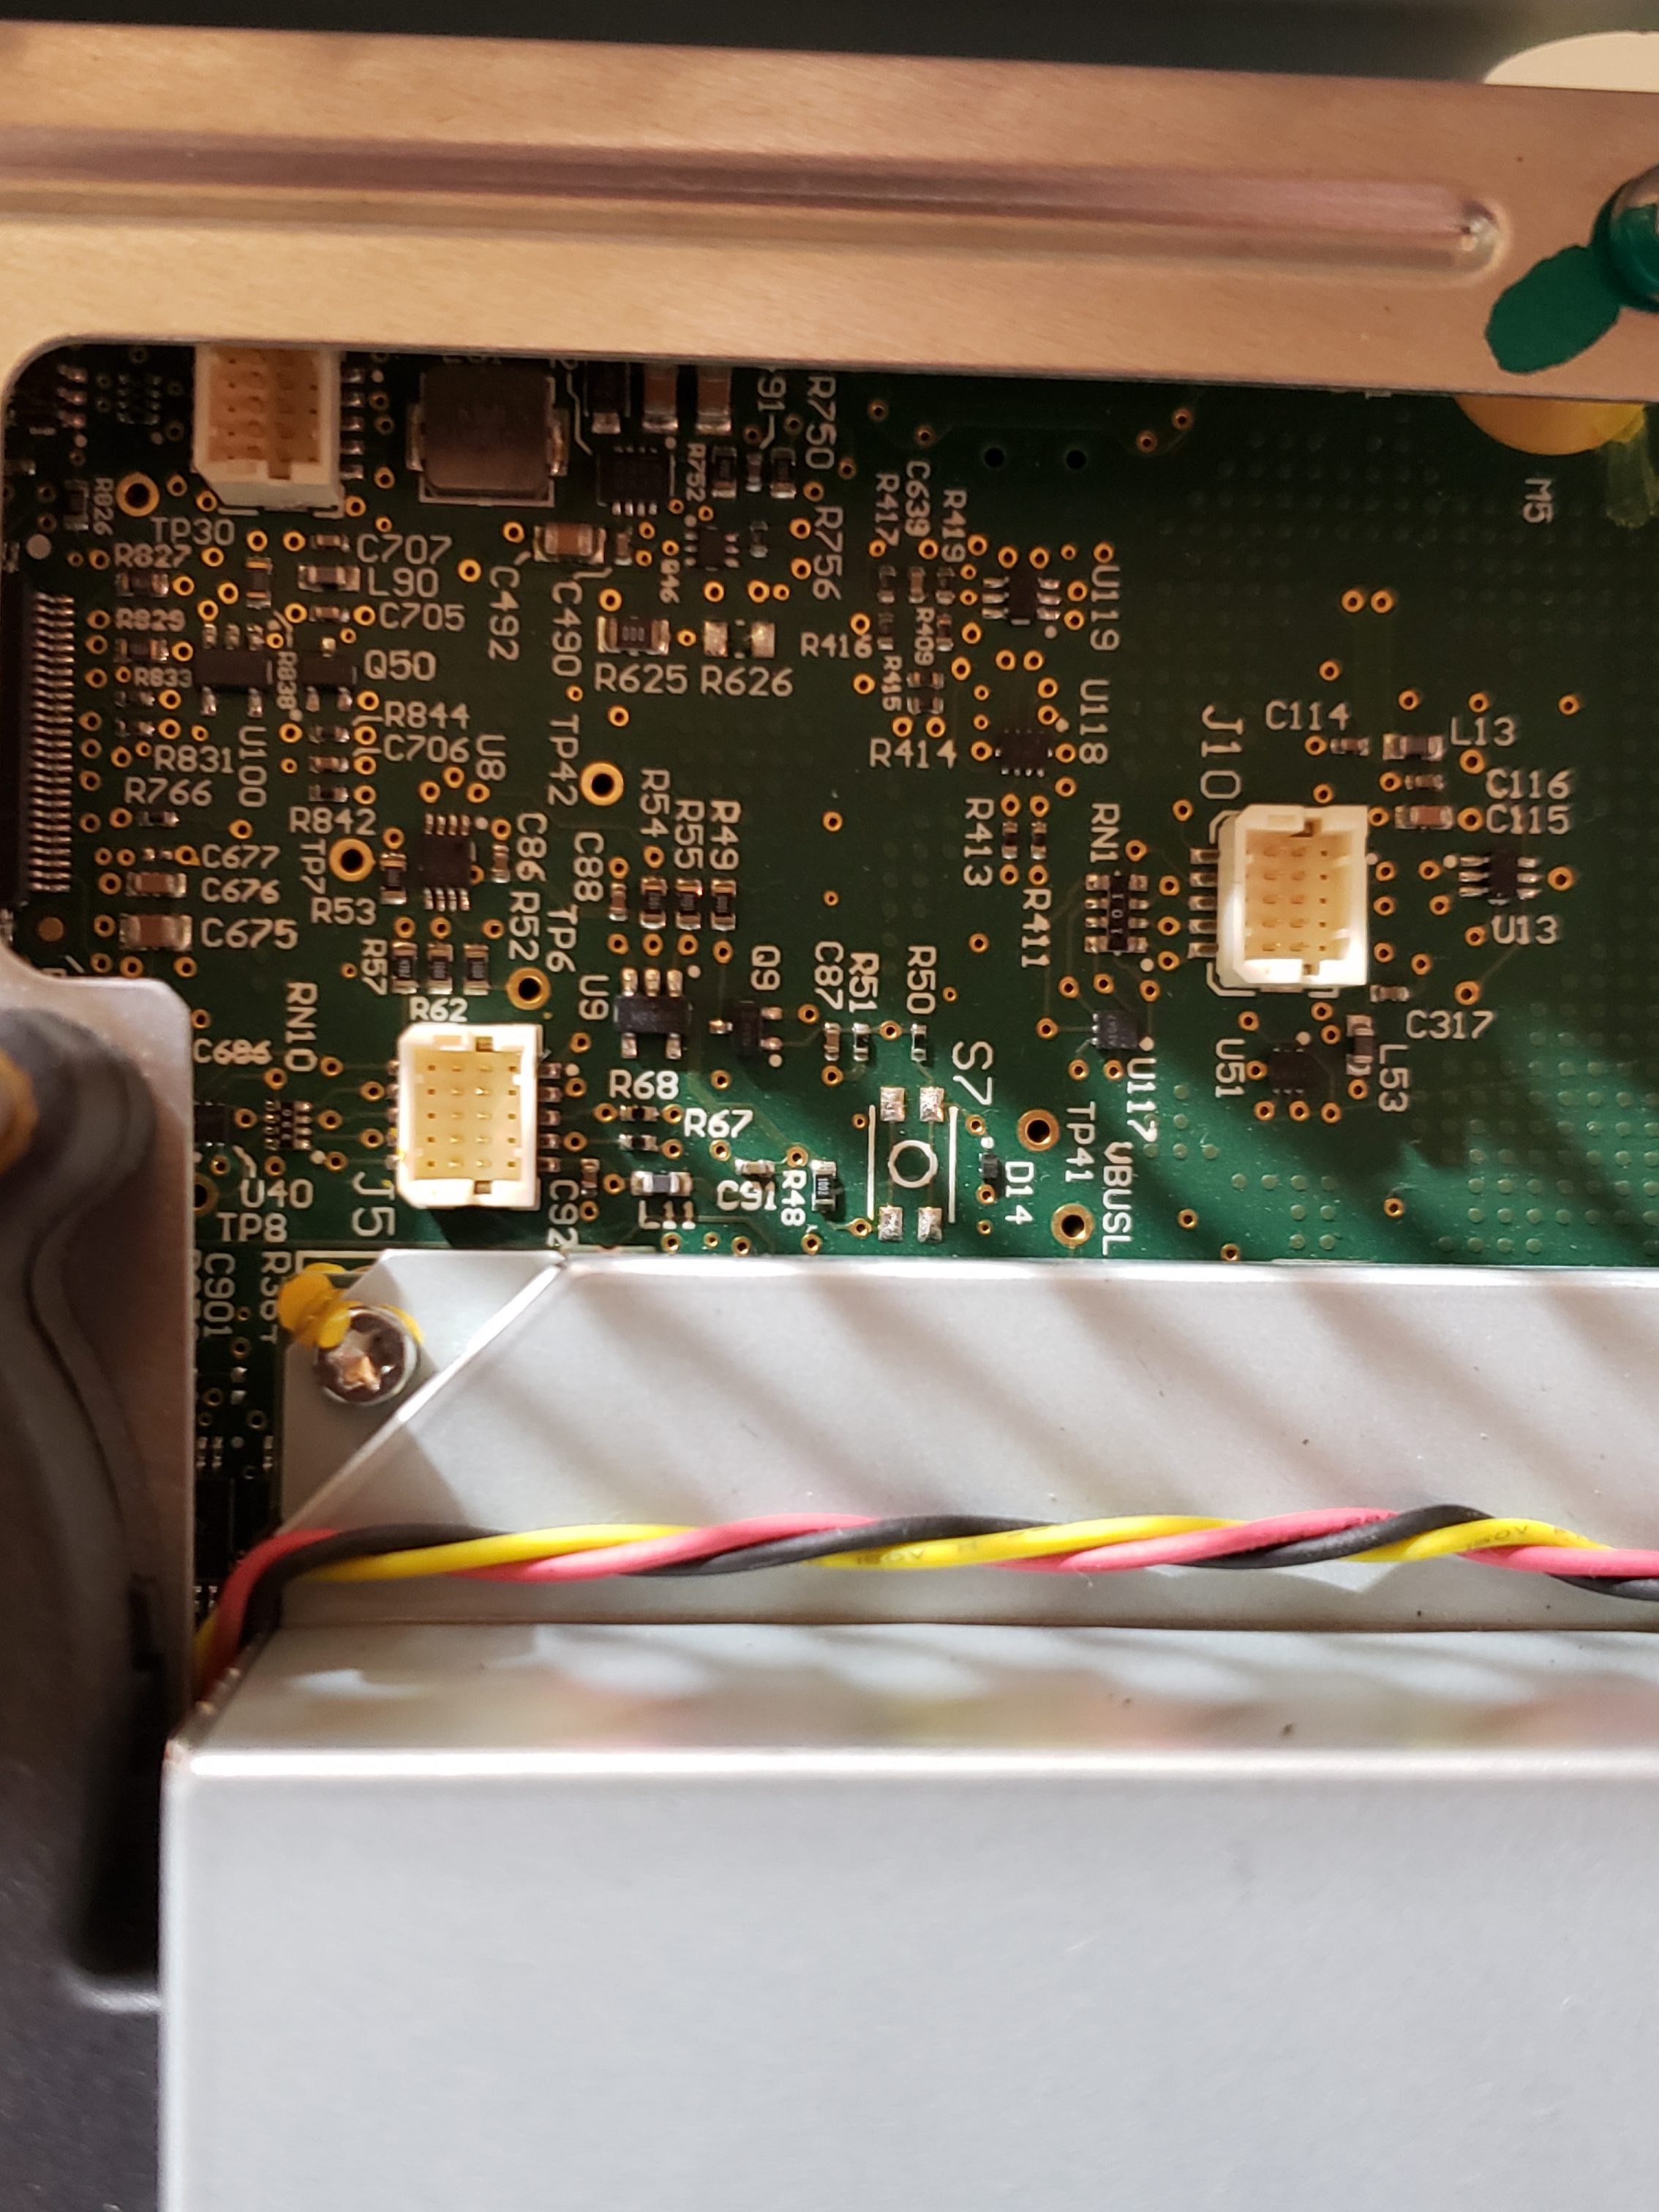
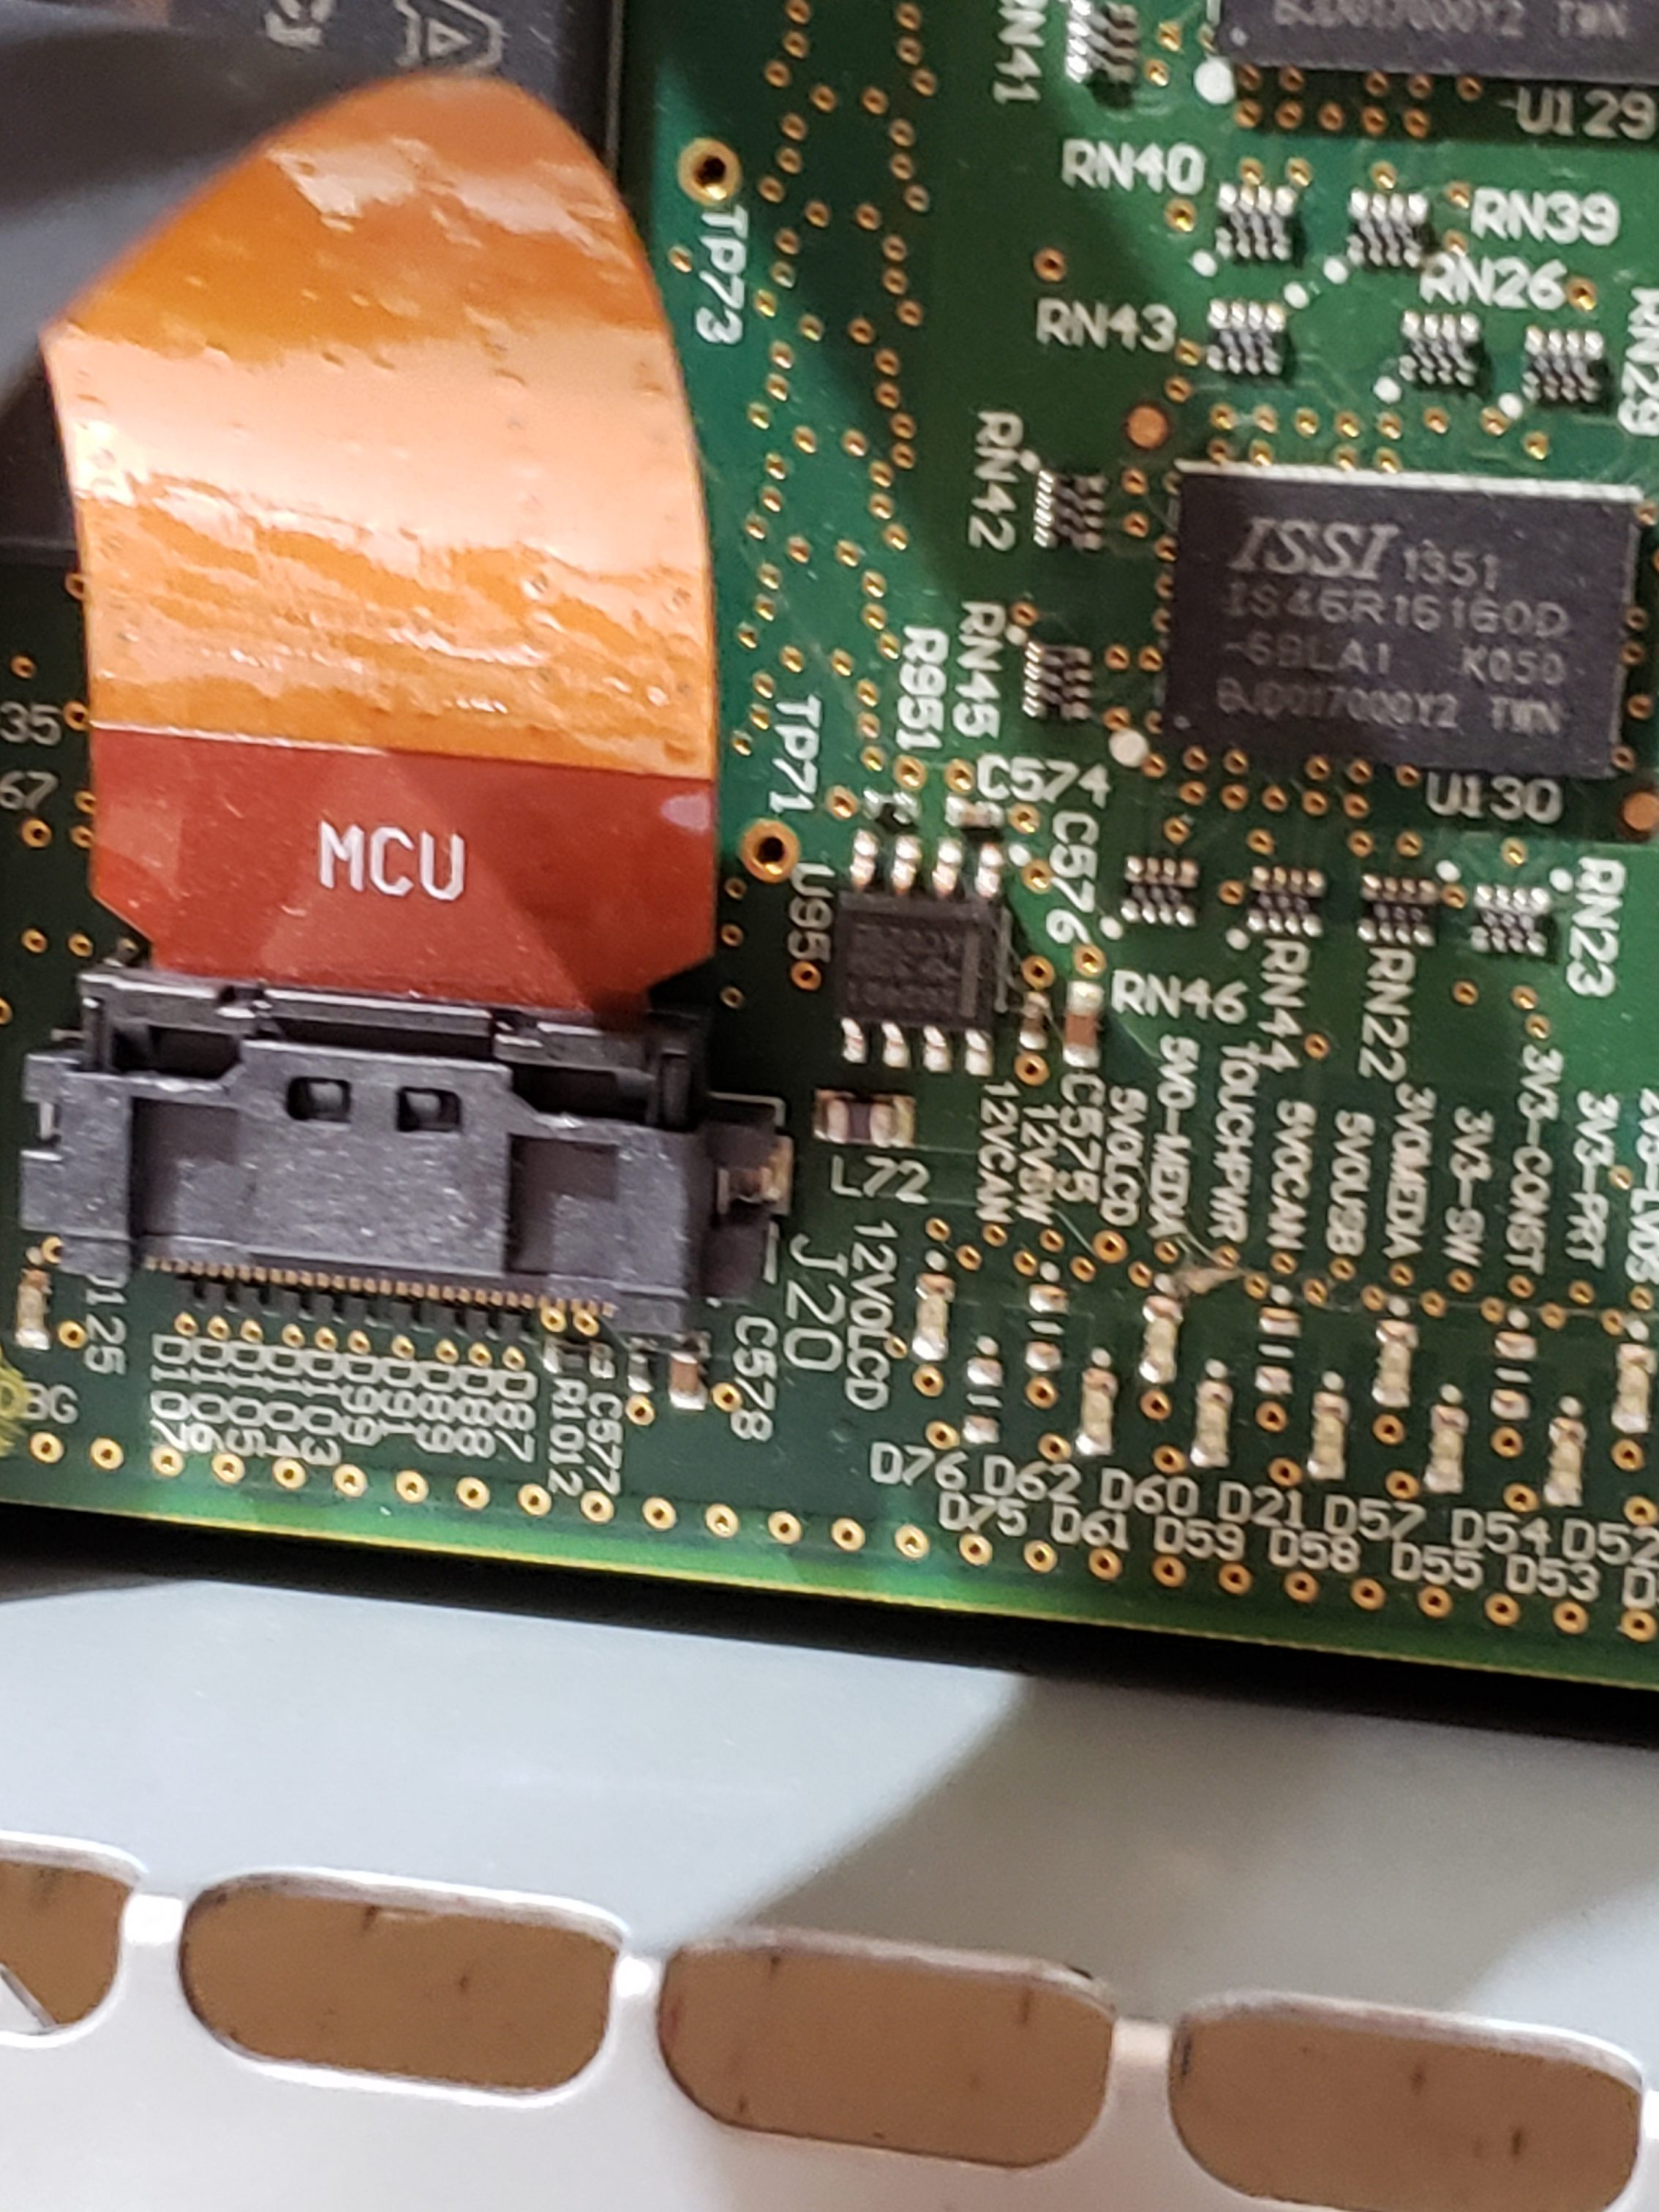
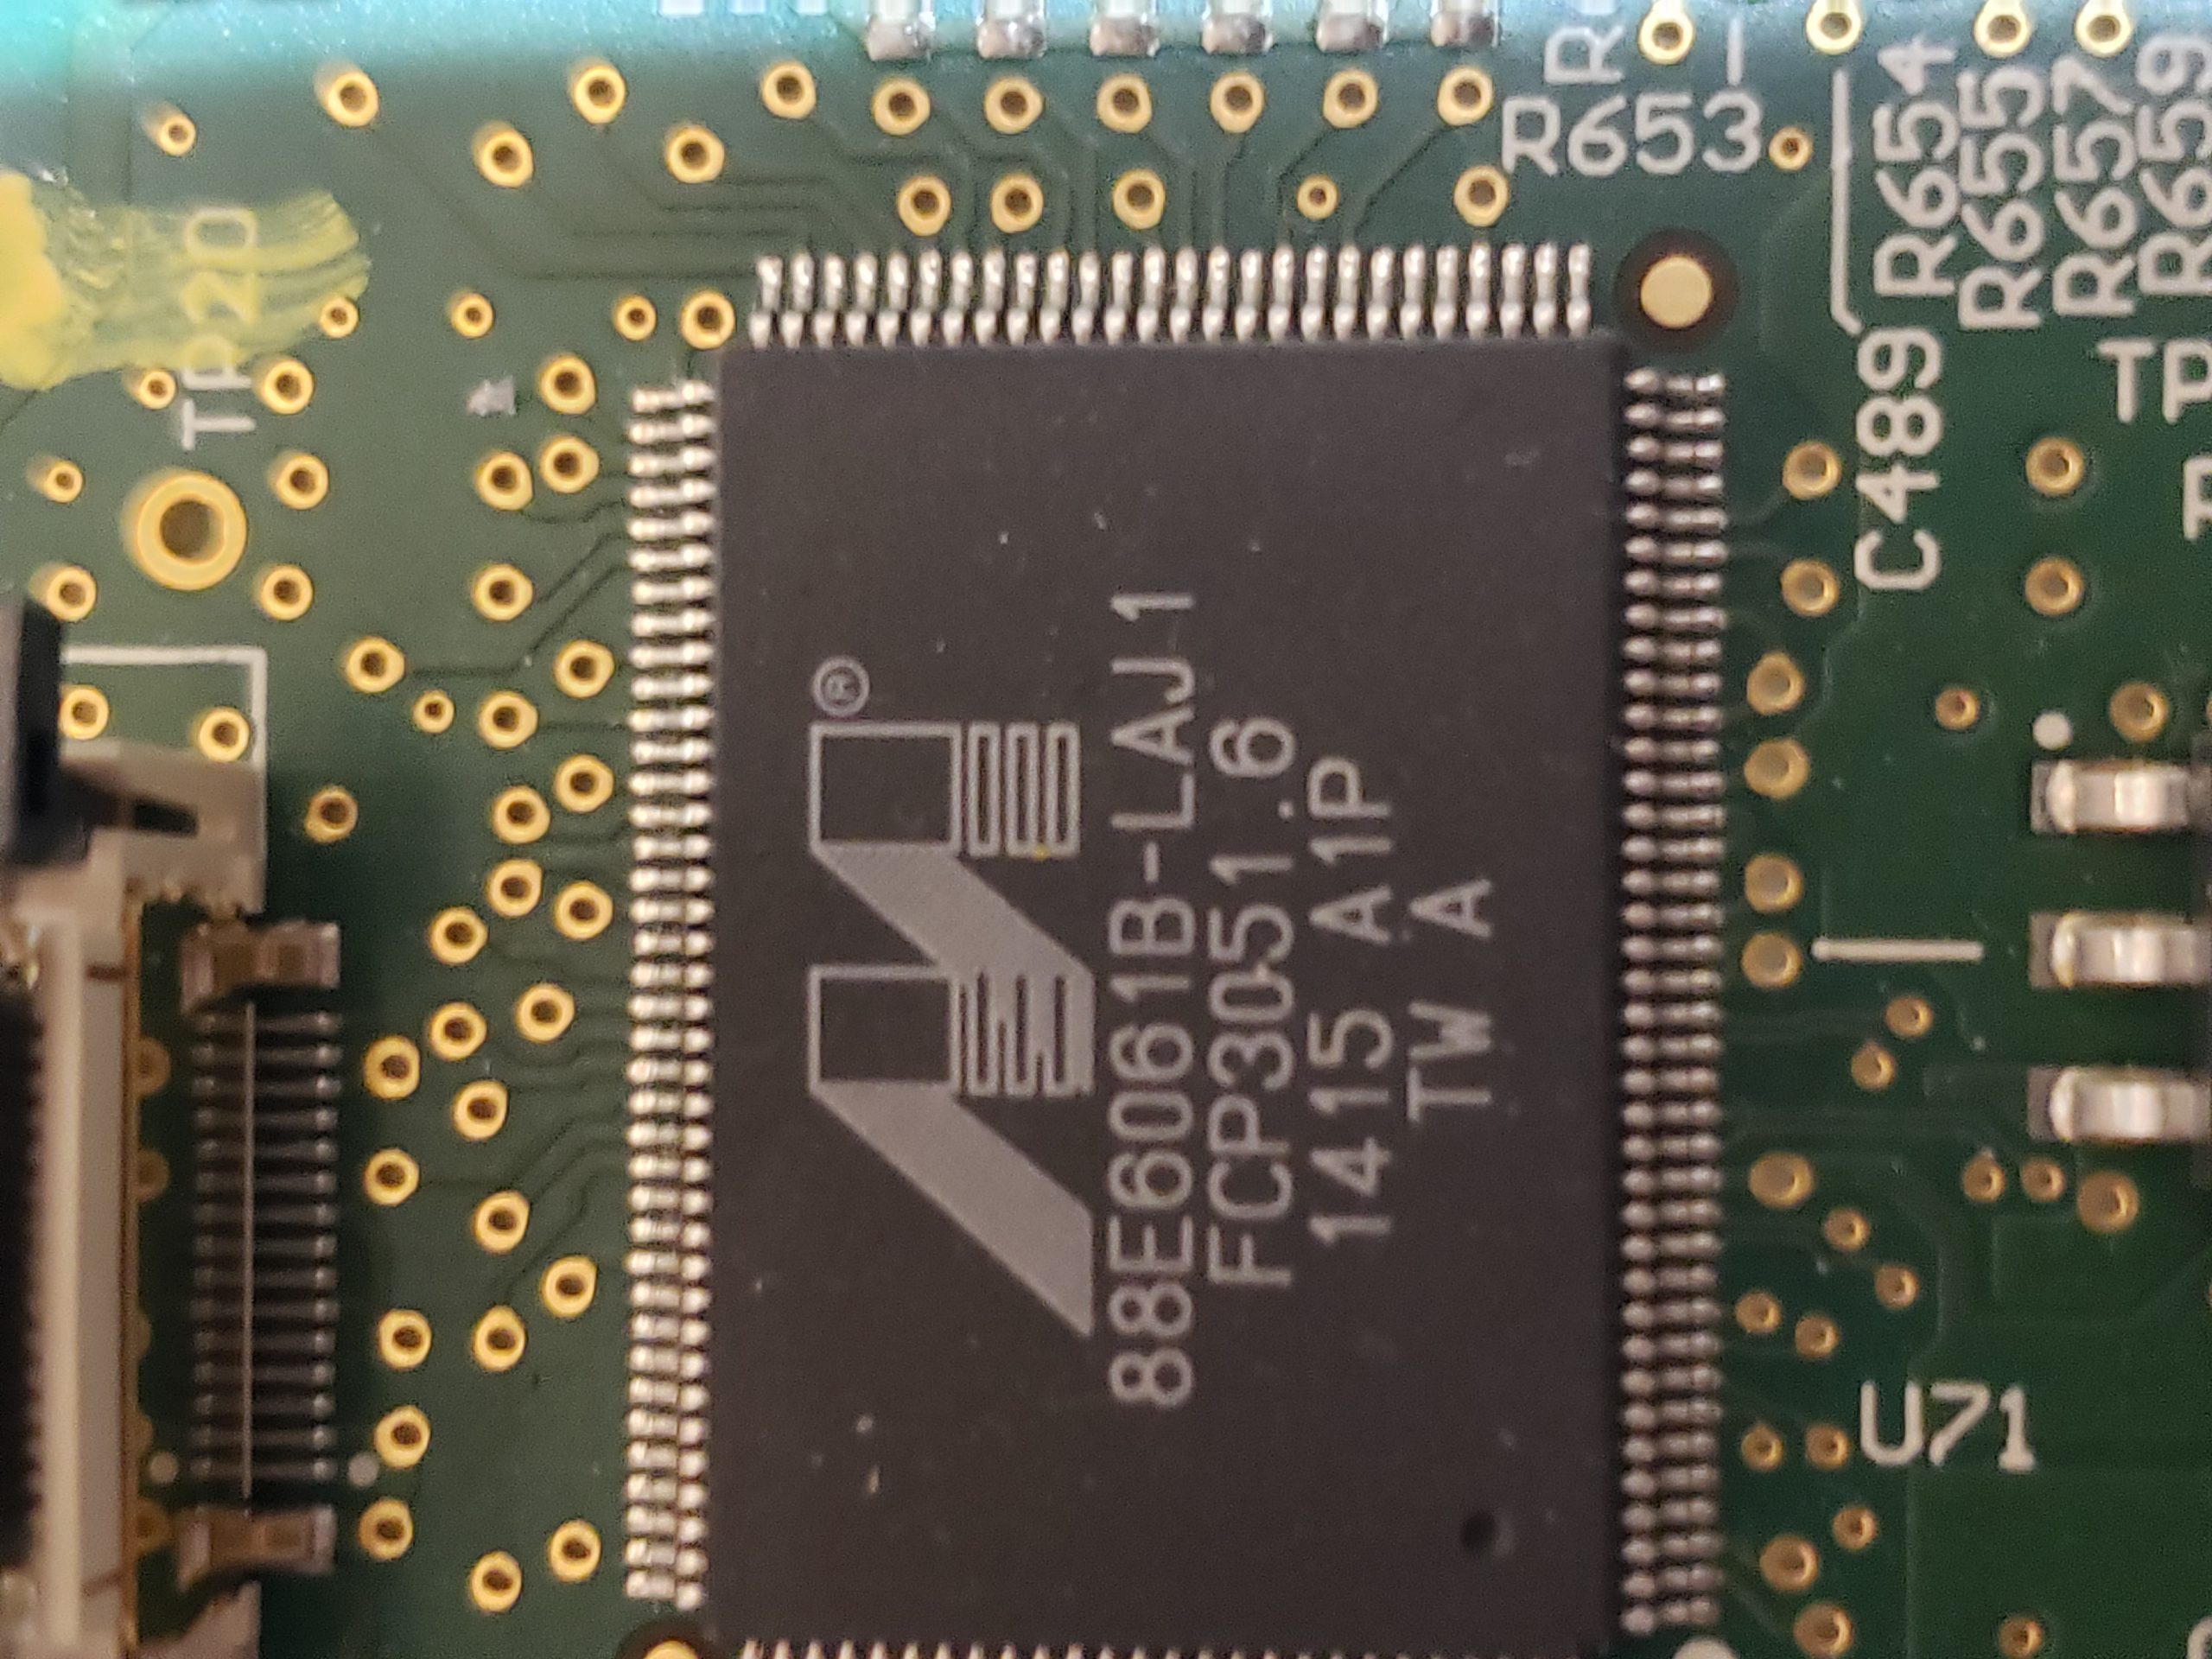
Given the size of the main board, it shouldn’t be surprising that there are many components of interest here. On this board, there are numerous communications chips: Switched gigabit Ethernet, multi-media serial links, CAN, and LIN. As I know the MCU plays “gatekeeper” for both Ethernet and CAN communications, reviewing these components for weaknesses will be a high priority.

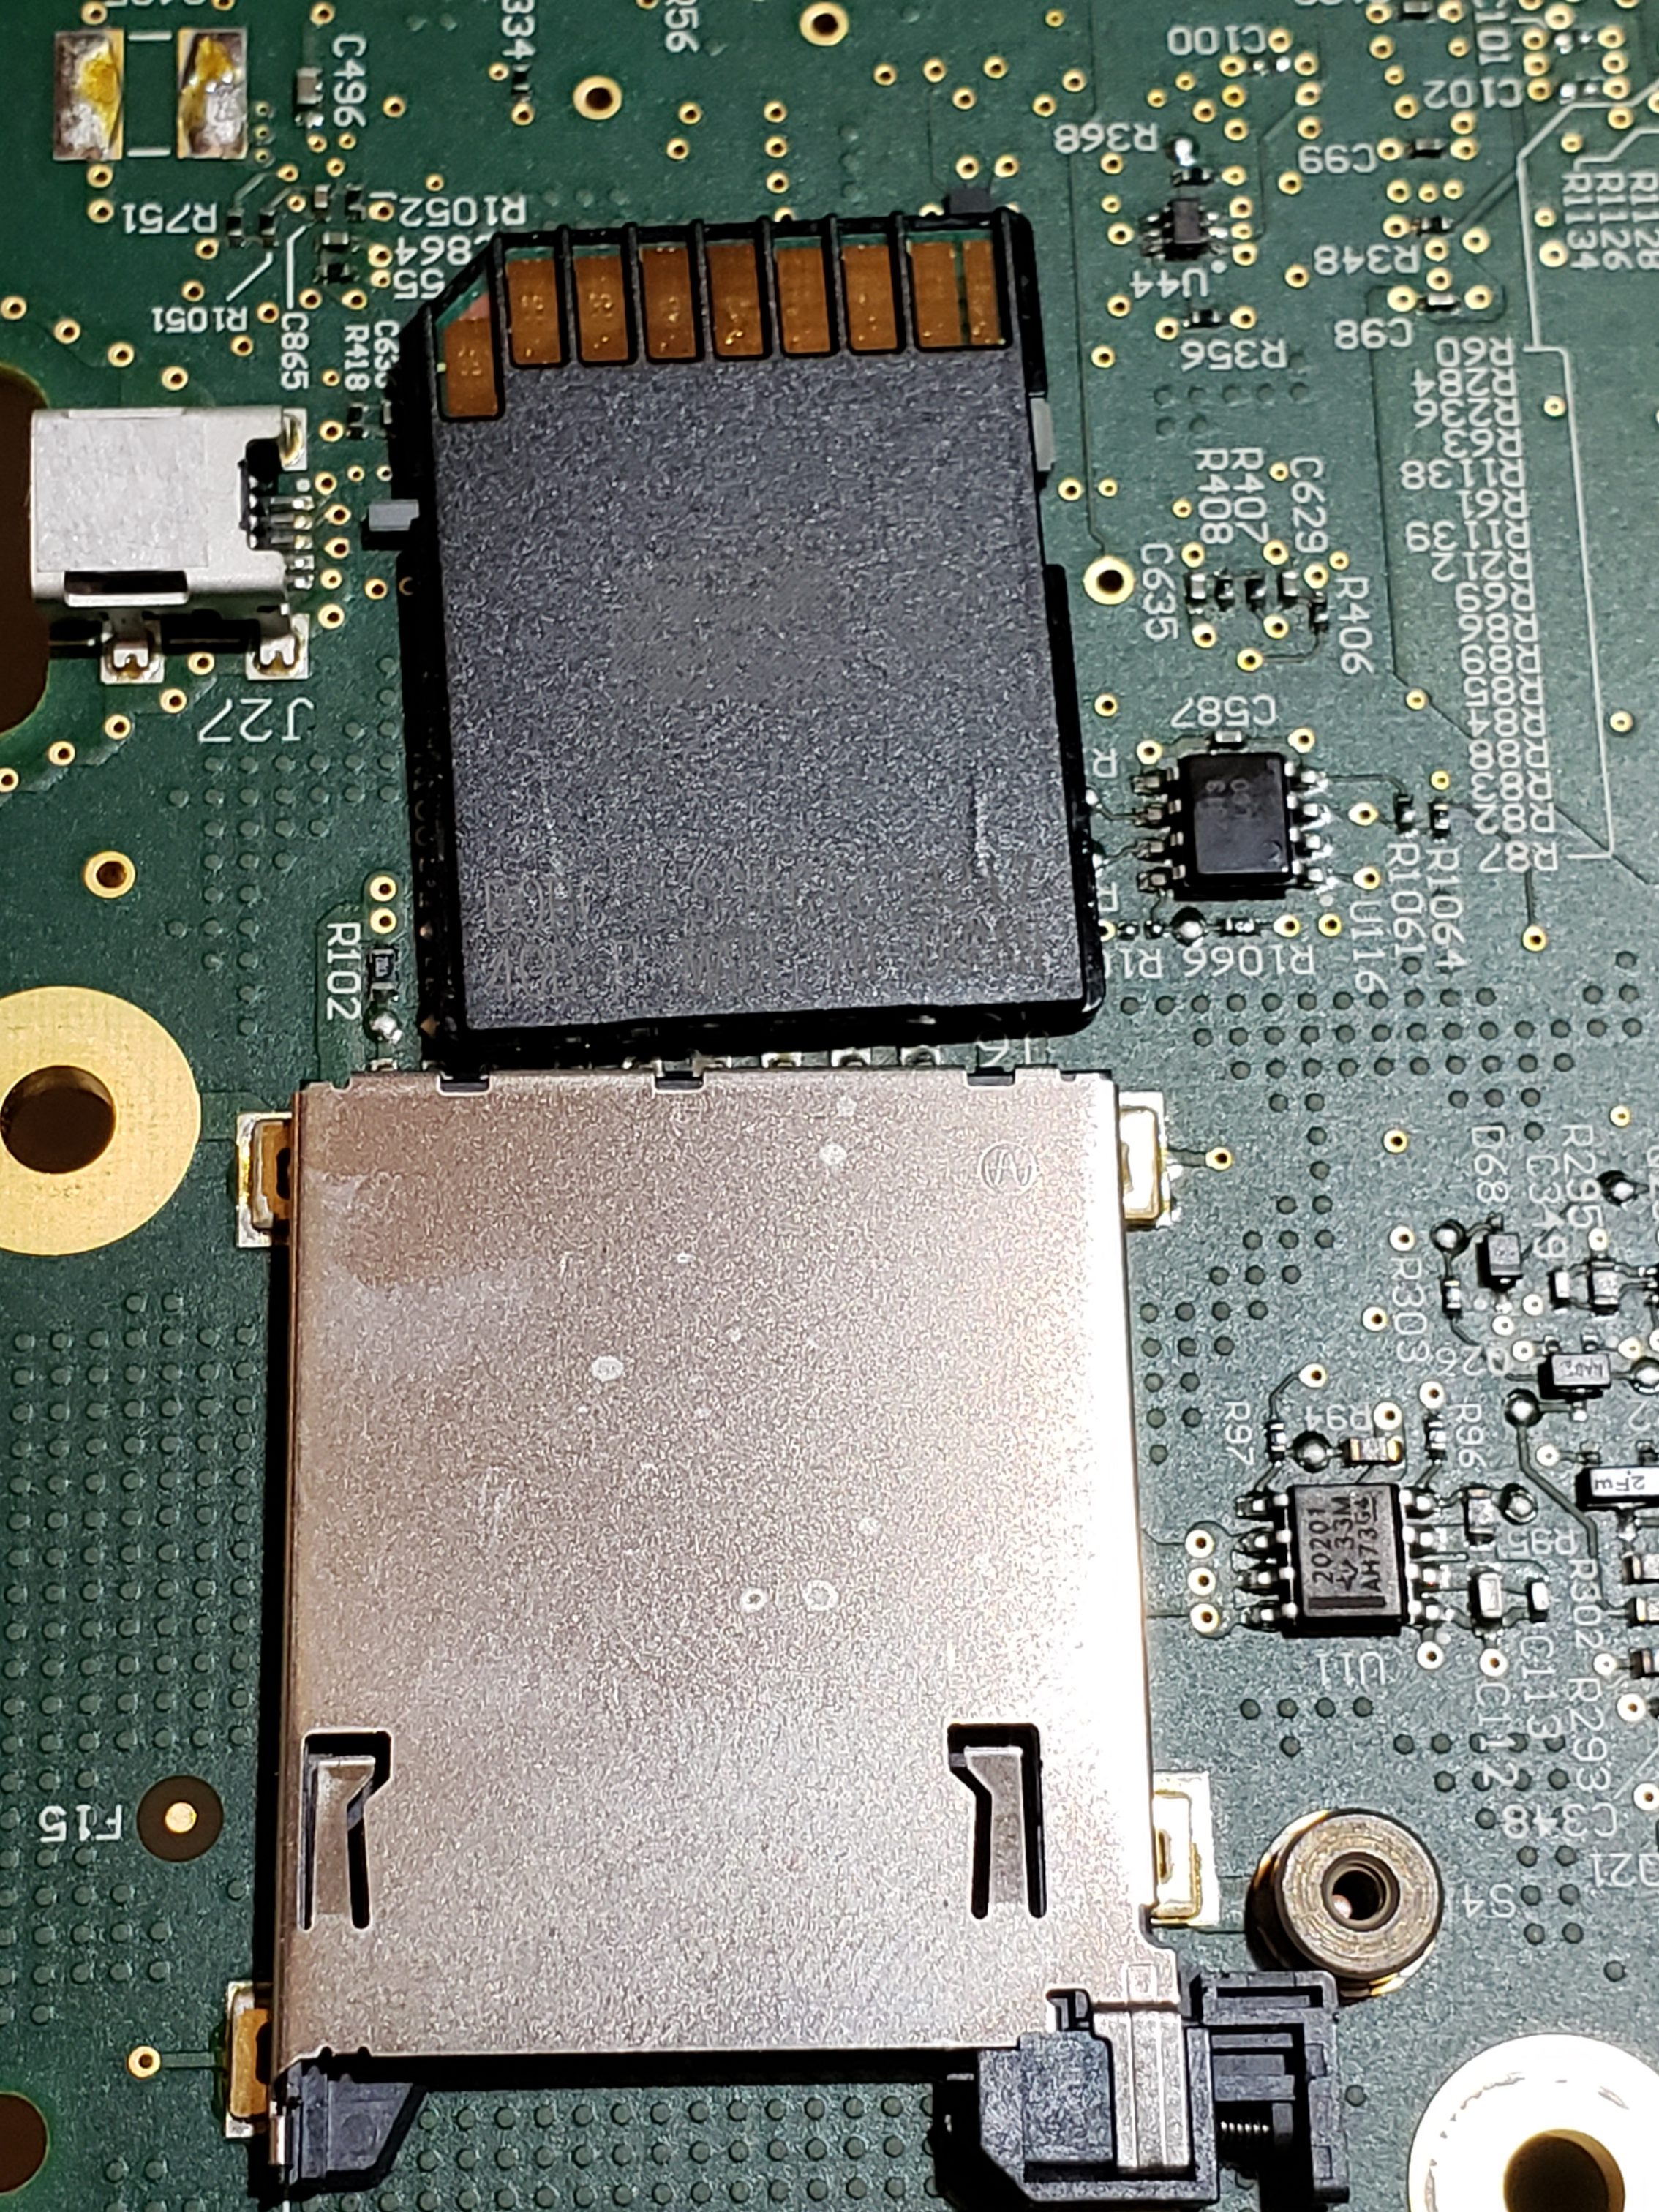
Aside from the communication ICs, this board also contains Micro SD & SD data cards, a hidden USB port, and multiple JTAG/TI diagnostic connectors. While I’m not going to “spill the beans” (yet) on the contents of the data cards, I will say there are both very useful for reverse engineering purposes. I will point out that NEITHER card is automotive/harsh environment grade. Because of this, they will fail much sooner due to the temperature extremes in a vehicle. If either of these cards fail, you are in for a very bad time!

C:\Users\317FX6~1\AppData\Local\Temp\SNAGHTMLa00f8bd0.PNG

“Ports of Interest”

As noted in the sections above, there are some connection points of interest. The following tables is a consolidated list for reference.

Next Post: Navigation Repair

In the next installment, we’ll dig into my Navigation Issue and how the information learned during this disassembly allowed me to ultimately resolve the issue.

Natural Language Processing (NLP) Overview Sentiment Analysis Demo – Twitter / Stock

[NOTE – This post covers NLP & Sentiment Analysis at a very high level and is not intended to be an ‘all-inclusive’ deep dive in the subject. There are many nuances and details that will not be discussed in this post. Subsequent posts will dive into additional details]

NLP Overview

While modern computers can easily outperform humans in many areas, natural language processing is one area which still poses significant challenges to even the most advanced computer systems. For instance, while people are able to read Twitter posts about a given company to infer a general sentiment about the company’s performance, this type of interpretation is challenging to computers for a multitude of reasons:

  • Lexical Ambiguity – A word may have more than one meaning
    • I went to the bank to get a loan / I went to the bank of the river to go fishing
  • Part of Speech (POS) Ambiguity – The same word can be used as a very / noun / adjective / etc. / in different sentences
    • I received a small loan (noun) from the bank / Please could you loan (verb) me some money
  • Syntactic ambiguity – A sentence / word sequence which could be interpreted differently.
    • The company said on Tuesday it would issue its financial report
      • Is the company issuing the report on Tuesday or did they talk about the report on Tuesday?
  • Anaphora resolution – Confusion about how to resolve references to items in a sentence (e.g. pronoun resolution)
    • Bob asked Tom to buy lunch for himself
      • Does “himself” refer to Bob or Tom?
  • Presupposition – Sentence which can be used to infer prior state information not explicitly disclosed
    • Charles’ Tesla lowers his carbon footprint while driving
      • Implies Charles used to drive internal combustion vehicles

For reasons, such as those shown above, NLP can typically be automated quite well at a “shallow” level but typically needs manual assistance for “deep” understanding. More specifically automation of Part of Speech tagging, can be very accurate. (e.g. >90%) Other activities, such as full-sentence semantic analysis, are nearly impossible to accurately achieve in a fully automated fashion.

Sentiment Analysis

One area where NLP can, and is, successfully leveraged is sentiment analysis. In this specific use case of NLP, text/audio/visual data is fed into an analysis engine to determine whether positive / negative / neutral sentiment exists for a product/service/brand/etc. While companies would historically employ directed surveys to gather this type of information, this is relatively manual, occurs infrequently, and incurs expense. As sites like Twitter / Facebook / LinkedIn provide continuous real-time streams of information, using NLP against these sources can yield relevant sentiment based information in a far more useful way.

Figure 1 – Twitter Sample Data (Peloton)

In the screenshot shown above, Twitter posts have been extracted via their API for analysis on the company Peloton. A few relevant comments have been highlighted to indicate posts that might indicate positive and negative sentiment. While it is easy for people to differentiate the positive / negative posts, how do we accomplish automated analysis via NLP?

While there are numerous ways to accomplish this task, this post will provide a basic example which leverages the Natural Language Tool Kit (NLTK) and Python to perform the analysis.

The process will consist of the following key steps:

  • Acquire/Create Training Data (Positive / Negative / Neutral)
  • Acquire Analysis Data (from Twitter)
  • Data Cleansing (Training & Analysis)
  • Training Data Classification (via NLTK Naive Bayes Classifier)
  • Classify Analysis (Twitter) data based on training data
  • Generate Output
  • Review Output / Make process adjustments / “Rinse and Repeat” prior steps to refine analysis

Training Data

As previously discussed, it is very difficult for a computer to perform semantic analysis of natural language. One method of assisting the computer in performing this task is to provide training data which will provide hints as to what should apply to each of our classification “buckets”. With this information, the NLP classifier can make categorization decisions based on probability. In this example, we will leverage NLTK’s Naïve Bayes classifier to perform the probabilistic classifications.

As we will primarily be focused on Positive / Negative / Neutral sentiment, we need to provide three different training sets. Samples are shown below.

Figure 2 – Training Data

Figure 3 – Sample Neutral Training Data

NOTES:

  • The accuracy of the analysis is heavily reliant on relevant training data. If the training data is of low quality, the classification process will not be accurate. (e.g. “Garbage In / Garbage Out”)
  • While the examples above a pretty “easy”, not all training data is simple to determine and multiple testing iterations may be required to improve results
  • Training data will most likely vary based on the specific categorization tasks even for the same source data
  • Cleaning of training data is typically required (this is covered somewhat in a following section)

Acquire Analysis Data

This step will be heavily dependent on what you are analyzing and how you will process it. In our example, we are working with data source from Twitter (via API) and we will be loading it into the NLTK framework via Python. As the training data was also based on Twitter posts, we used the same process to acquire the initial data for the training data sets.

Acquiring Twitter feed data is relatively straight forward in Python courtesy of the Tweepy library. You will need to register with Twitter to receive a consumer key and access token. Additionally, you may want to configure other settings, such as how many posts to read per query, maximum number of posts, and how far back to retrieve.

Figure 4 – Twitter API relevant variables

Once you have the correct information, you can query Twitter data with a few calls:

Figure 5 – Import tweepy Library

Figure 6 – Twitter Authentication

Figure 7 – Query Tweets

As NLTK can easily handle Comma Separated Value (CSV) files, the Twitter output is written out to file in this format. While Twitter returns the User ID, as well as other information related to the post, we only write the contents of the post in this example.

Figure 8 – Sample Twitter CSV export

Once you have a process for acquiring the training / analysis data, you will need to “clean” the data.

Data Cleansing

As you can imagine, if you start with “garbage” data, your classification program will not be very accurate. (e.g. Garbage In = Garbage Out) To minimize the impact of poor quality information, there are a variety of steps that we can take to clean up the training & analysis data:

  • Country/Language specific – Remove any data that doesn’t conform with the language being analyzed. (fortunately the Twitter API provides a language filter which simplifies this)
  • Remove Non-Words / Special Characters – Whitespace, Control Characters, URLs, numeric values, non-alphanumeric characters may all need to be removed from your data. This may vary depending on the exact situation; however. (e.g. Hashtags may be useful)
  • Remove Stop Words” – There are many words that you will find in sentences which are quite common and will not provide any useful context from an analysis perspective. As the probabilistic categorization routines will look at word frequency to help categorize the training / analysis data, it is critical that common words, such as the/he/she/and/it, are removed. The NLTK framework includes functionality for handling common stop words.Sample Stop words are shown below for reference:

  • Word Stemming – In order to simplify analysis, related words are “stemmed” so that a common word is used in all instances. For example buy / buys / buying will all be converted to “buy”. Fortunately, the NLTK framework also includes functionality for accomplishing this task
  • Word Length Trimming – Typically speaking, very small words, 3 characters or less, are not going to have any meaningful weight on a sentence; therefore, they can be eliminated.

Once the data has been cleansed, training categorization can occur.

Training Data Categorization

As referenced previously, the sentiment analysis is performed by providing the NLP process training data for each of the desired categories. After stripping away the stop words and other unnecessary information, each training data set should contain word / word groupings which are distinct enough from each other that the categorization algorithm (Naïve Bayes) will be able to best match each data row to one of the desired categories.

In the example provided, the process is essentially implementing a unigram based “bag of words” approach where each training data set is boiled down into an array of key words which represent each category. As there are many details to this process, I will not dive into a deeper explanation in this post; however, the general idea is that we will use the “bag of words” to calculate probabilities to fit the incoming analysis data.

For example:

  • Training Data “Bag of Words”
    • Positive: “buy”, “value”, “high”, “bull”, “awesome”, “undervalued”, “soared”
    • Negative: “sell”, “poor”, “depressed”, “overvalued”, “drop”
    • Neutral: “mediocre”, “hold”, “modest”
  • Twitter Analysis Sample Data (Tesla & Peloton)
    • Tesla : “Tesla stock is soaring after CyberTruck release” = Positive
    • Peloton: “Peloton shares have dropped after commercial backlash” = Negative

The unigram “bag of words” approach described above can run into issues, especially when the same word may be used in different contexts in different training data sets. Consider the following examples:

  • Positive Training – Shares are at their highest point and will go higher
  • Negative/Neutral Training – Shares will not go higher, they are at their highest point

As the unigram (one) word approach looks at words individually, this approach will not be able to accurately differentiate the positive/negative use of “high”. (There are further approaches to refine the process, but we’ll save that for another post!)

IMPORTANT – The output of this process must be reviewed to ensure that the model works as expected. It is highly likely that many iterations of tweaking training data / algorithm tuning parameters will be required to improve the accuracy of your process.

Analysis Data Categorization

Once the training data has been processed and the estimated accuracy is acceptable, you can use iterate through the analysis data to create your sentiment analysis. In our example, we step through each Twitter post and attempt to determine if the post was Positive / Negative / Neutral. Depending on the classification of the post, the corresponding counter is incremented. After all posts have been processed, the category with the highest total is our sentiment indicator.

Generate Analysis

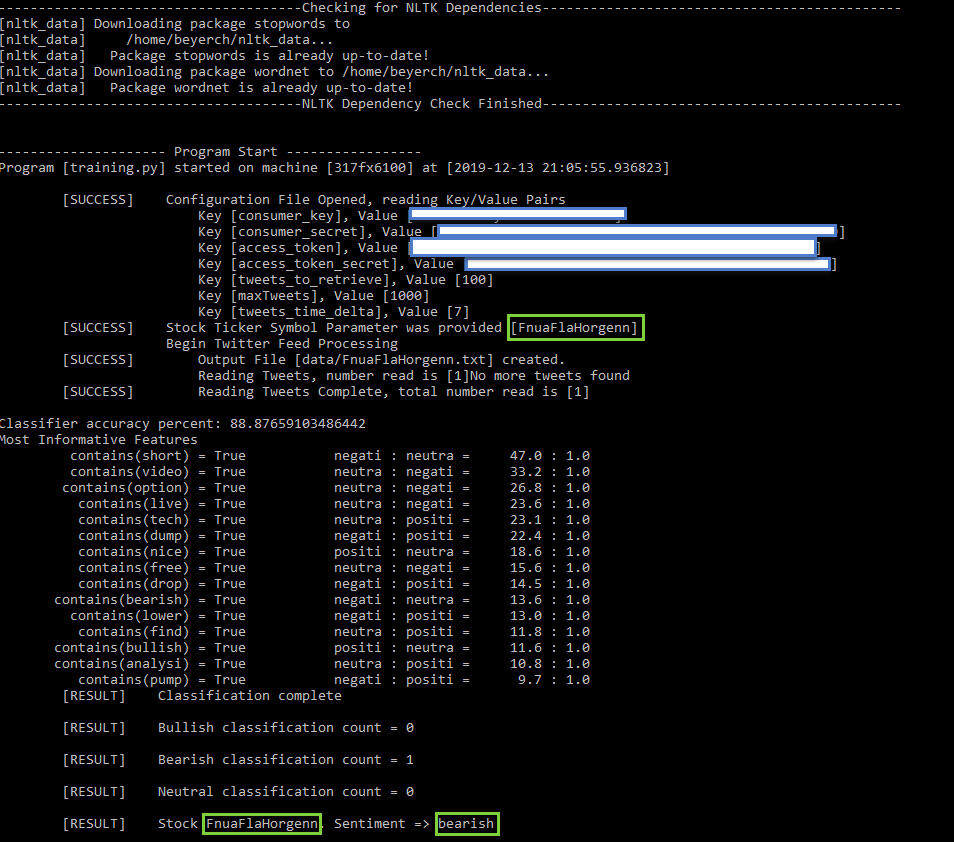
Once all of the pieces are in-place, you can run your process and review the output to validate your model. To simplify the testing, I created a fictitious phrase [FnuaFlaHorgenn] and created a handful of Twitter posts referencing it. I then ran the program to verify that it correctly classified the Twitter post(s)

H:\OneDrive\Illinois-Masters\CS410\410_Sentiment_Analysis - Copy\doc\images\FnuaFlaHorgenn_BadTweet.png

Figure 9 – Sample Twitter Post

Figure 10 – Twitter API Extract

H:\OneDrive\Illinois-Masters\CS410\410_Sentiment_Analysis - Copy\doc\images\FnuaFlaHorgenn_Bearish_Results.png

Figure 11 – Program Output (Bearish)

Conclusion

While NLP is not perfect and has limits, there are a wide variety of use cases where it can be applied with success. The availability of frameworks, such as NLTK, make implementation relatively easy; however, great care must be taken to ensure that you get meaningful results.

Maximizing Excel / VBA Automation Performance

Overview

When automating Excel operations with VBA, there are many ‘tricks’ which can be implemented to significantly improve performance. As the automations run in a non-interactive fashion, features that primarily exist for the benefit of an end user can be temporarily disabled resulting in performance gains. The following Excel settings fall into this category:

Excel Application Properties

  • Calculation
  • EnableEvents
  • ScreenUpdating
  • EnableAnimations
  • DisplayStatusBar

Calculation

One of the best features of a spreadsheet is its magical ability to instantly update data contained in the worksheet cells. While these real-time updates are useful when users are interactively working in the Excel document, this feature robs performance and isn’t necessary when executing automation processes. By changing the Application.Calculation property, we can toggle the calculation logic between Automatic, Manual, and SemiAutomatic.

Toggling between Manual and Automatic during your VBA code execution will typically result in significant performance gains.

Figure 1 – Disable Automatic Calculations in Excel

Figure 2 – Enable Automatic Calculations

To illustrate the potential performance difference, I created a simple VBA routine to generate a 22×22 grid of numbers. Formulas are contained on the bottom of the sheet which sum up the numbers in the grid. The numbers on the grid are updated multiple times based on a user supplied value. When this grid is generated with / without automatic calculations enabled / disabled, there is a significant performance impact. *

Figure 3 – Calculation Manual vs Automatic

As the size of the grid/number of calculations required increases, the performance will continue to decline. Temporarily disabling the calculation method will significantly boost performance on sheets that make use of formulas. (e.g. just about every spreadsheet on the planet)

*IMPORTANT NOTE – Performance metrics are going to vary on a machine by machine basis depending on the system’s hardware. As a general rule, these settings will almost always improve performance. The amount of improvement will be inversely proportional to the machine’s hardware. (e.g. the slower the machine, the larger the improvement) Even if the improvement isn’t the greatest on your machine, you should still consider implementing these steps if other users will work with the excel files.

EnableEvents

In Excel, events can trigger actions and/or programming logic to be executed. For instance, when you change a value in a cell, a “changed” event triggers. Events are one of the ways in which Excel “automagically” knows to update formula based cells when the underlying data is altered. Disabling events is just as easy as adjusting the calculation mode:

Figure 4 – Disable / Enable Excel Events

Using the same 22×22 grid of numbers from the previous example, testing was performed contrasting the difference between enabling / disabling events. Disabling events resulted in a 50% improvement in processing time on a modern quad core i7 machine!

ScreenUpdating

The ScreenUpdating setting in Excel is relatively self-explanatory. When this is enabled, the worksheet display area will be refreshed after any cell values are altered. When users are directly interfacing with Excel, this absolutely needs to be enabled; however, when executing scripts, this is not needed. Updating this setting is also straight forward:

Figure 5 – Disable / Enable ScreenUpdating

Using the same 22×22 grid of numbers from the previous example, testing was performed contrasting the difference between enabling / disabling screen updating. Disabling ScreenUpdating resulted in a modest 10% improvement in processing time on a modern quad core i7 machine with a high end graphics card.

EnableAnimations / DisplayStatusBar

The final two items, EnableAnimations and DisplayStatusBar, typically do not result in significant gains; however, they can help if you need to squeeze every possible ounce of performance out of your Excel/VBA.

EnableAnimations is another user interface related performance setting. This setting only disables certain visual elements as opposed to all screen updates. (e.g. user interface animations for certain actions) Typically, this setting will not make a significant impact; however, it is better than nothing in situations where you cannot leverage the ScreenUpdating setting. Like many of the previously discussed settings, this is another On/Off (True/False) setting:

Figure 6 – Disabled / Enable Application Animations

The DisplayStatusBar is yet another user interface setting that may result in minimal gains. Unless your Excel application relies heavily on the status bar, it is not likely this is worth the effort. This is also an On / Off (True / False) setting:

Figure 7 – Disable / Enable Status Bar


Additional Tips / Suggestions

When leveraging these settings, keep the following in mind:

  • Cumulative Effects –The performance settings can be combined for cumulative improvements! In the previously discussed grid test, enabling all performance settings results in an amazing improvement. On a modern quad core i7 computer, the test went from 4 seconds to less than 1 second!
  • Global Scope – Be cognizant that these settings are global settings and will persist across workbooks, instances of Excel, and will even persist after you close and restart Excel! Be sure to consider this when designing your solutions.
  • Restoring original settings – While these settings are great for performance, they are not great for end users! If your code fails to restore the original values, end users will be negatively impacted! (End users and IT teams alike may remove you from their Christmas mailing lists!)

As some of the settings, such as Calculation State, are more than an On/Off setting, it is recommended that you read the current setting and store it in a variable to ensure that you can correctly reset the application setting to its original state.

  • Code Robustness – To ensure that the settings are consistently reset, it is imperative that you follow good coding practice and account for errors/exceptions in your code. If you do not implement proper error handling in your code, an end user will eventually run into an unhandled exception resulting in the code ending in an incomplete state. (e.g. your VBA code tries to delete a file and encounters an error, such as ‘permission denied’) The ‘On Error’ statement should be utilized in your code to provide a way for your code to handle errors gracefully.

The attached Excel workbook contains sample code as well as the Sample Grid test which has been referenced in this write-up:

Figure 8 – Excel Performance Demo Application

http://www.charlescbeyer.com/SampleCode/2_PerformanceOptimizations.xlsm

Security Devices, only as good as their implementation…

Security Devices, only as good as their implementation…

Recently, I needed to use an old program that is protected by a security device. The device, an M Activator hardware key, connects to your computer’s parallel port.

C:\Users\beyerch\AppData\Local\Microsoft\Windows\Temporary Internet Files\Content.Outlook\K9R4HEY5\IMG_9355.JPG C:\Users\beyerch\AppData\Local\Microsoft\Windows\Temporary Internet Files\Content.Outlook\K9R4HEY5\IMG_9356.JPG

Figure 1 – M Activator Security Key

If the security device is not attached to the PC, the application program will restrict your access to certain application functions or prevent you from using an application altogether.

C:\Users\beyerch\AppData\Local\Temp\SNAGHTML1dd2ee31.PNG

Figure 2 – Application Rejection due to no hardware key

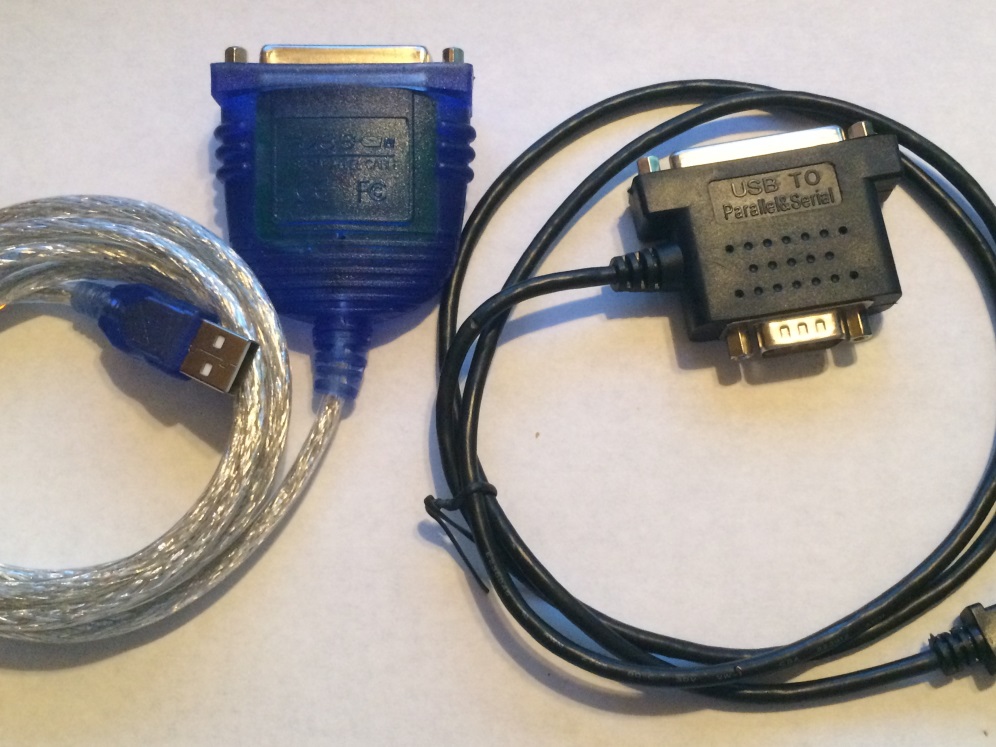
Since I own the software and still have the security key, none of this should be a problem. Unfortunately, modern computers no longer have parallel ports! As the software isn’t maintained, I can’t call the original provider for an alternative leaving me with few choices. The first, and preferred, choice was to purchase a parallel port to USB adapter on-line. I purchased two highly rated units; however, the software failed to recognize the dongle when connected through either of the units.

C:\Users\beyerch\AppData\Local\Microsoft\Windows\Temporary Internet Files\Content.Outlook\K9R4HEY5\IMG_9358.JPG

Figure 3 – Parallel to USB Adapters (that didn’t work..)

As the USB adapter routed was unsuccessful, my remaining option is to …. hack the security key or its implementation in the application program..

A Ridiculously Brief Discussion on Security/Hacking

The first rule of hacking is that you don’t talk about hacking. Wait, or is that the first rule of Fight Club? The first rule of hacking is to accept the fact that nothing will be 100% secure.

When a product is developed, the security implementation is typically driven many factors such as:

  • What is the risk/damage of being compromised?
  • How likely is it that the product will be attacked?
  • What impacts to the development process will occur due to security?
  • How will the timeline be impacted?
  • How will users of the product be impacted?
  • Does the development team understand and have security experience?
  • How much will can we afford????

Because of all of the competing considerations, product security typically looks more like the Griswold family truckster than the shiny red Ferrari.

Figure 4 – Typical Security vs Assumed Security

From the hacker’s perspective, product security really boils down to how badly they want it. Do they have the time, resources, team/skills, and money to dedicate to their mission.

In the case of my ancient dongle security application, I’m willing to invest about 60 minutes into seeing if I can get anywhere. After that, I dig out one of my older computers and use it with this program. (and hope it doesn’t ever die…..)

With that said, let’s see just how secure this old dongle application is…

Hacking 101

Now that we’ve decided that we’re going to take a stab at working around the security device, the first thing we need to do is gather information about our target. Before we can formulate a plan, we need to know what we’re up against. After about 5 minutes of research, we know the following about our target application/security device:

  • Application Program
    • Windows 32 bit executable
    • Written in C++
    • Program appears to leverage multiple external libraries, some of which are known/some are not
      • ZIP/PKZIP – File Compression
      • W32SSI.dll/.lib – ? Not sure. (yet)
  • M Activator Green Key
    • Made by Sentinel
    • The W32SSI files are related to this dongle

NOTE: Researching this scenario finds a lot of “hits” to people with similar scenarios. There are emulators and other products made to solve this problem; however, I’d rather try to figure it out myself first.

Given what has been found, it seems likely that the application program is going to use the W32SSI files to talk to the dongle. Depending on how this is done in the application, we may be able to update the application program and simply bypass the dongle. All we need to do is take a peek at the application software to see what is going on, no biggie.

Source Code, Assembly Code, Machine Code, Oh My!

If this were our application program, we could simply open it in our editor, make our desired changes to the source code, recompile the code, and be on our way. Since we didn’t write this program and the original company is no longer in existence, this isn’t an option. While we could look at the executable binary (e.g. Machine Code) unless you have a photographic memory, know low-level Windows modules by heart, and Intel OpCodes like the back of your hand, it’s going to be impossible to directly analyze the chain of files.

Figure 5 – Machine Code, no problem…..

While it might be cool to rattle off machine code instructions on trivia night, it would take us forever to try and analyze an application in this manner. Fortunately, there are many programs that we can leverage which will translate the machine code into something slightly easier to deal with, assembly code.

Figure 6 – Assembly Code

While assembly code is not nearly as friendly as actual source code, it is a 1 to 1 representation of the machine code in a somewhat human readable format. If you have an appropriate tool, such as the IDA Pro disassembler, you can convert the machine code into the assembly. This tool also allows us to map out the program flow and find text and object file references.

Using the IDA Interactive Disassembler

As mentioned previously, we can use IDA to do a quick search to see if our security device program is called. Since we know that the program uses the security key, we should be able to find one or more references to the W32SSI library files. Depending on how many and what type of references we find, we may be able to easily alter the program so that we can bypass the security hardware.

After opening the program in IDA, we can easily see that the W32SSI libraries are being used by checking the Imports section of IDA.

Figure 7- IDA Imports

In addition to verifying the presence of the libraries via the Imports screen, we can use the Functions / IDA view to find the code references:

Figure 8 – Locating code references to W32SSI

Somewhat surprisingly, the only two functions imported from the security program are referenced once!

Figure 9 – Code section using W32SSI functions

While we do not know what those routines do entirely, since they are only called once, it is safe to assume that they attempt to validate that a security key, of the right type, is connected. To help understand what we’re seeing, we can use the Graph View feature to get a visual representation of the code:

Figure 10 – Graph View of W32SSI logic

Looking at the Graph View of the code leveraging the W32SSI routines, we see that there are two main code branches. The branch on the left performs secondary checks and ultimate ends up with failure messages relating to a security key not being found. The code branch on the right simply returns a value of 1, which presumably is a “TRUE” response.

The Quick and Easy Fix

Looking at the code structure, it appears that the second W32SSI call is performing a check as to whether the security dongle is present or not. If the security dongle is found, a “TRUE” (1) is returned; otherwise, secondary tests are performed. (e.g. serial port instead of LPT, etc.)

Because of this, there appears to be a very easy way to “fix” the program. If we force the initial check to always return TRUE (or flip flop the PASS / FAIL check) then the application program will behave as if the key was present.

The following logic needs to be tweaked from:

call wSSIMIni
cmp eax, 0FFFFFFFFh
jz loc_409FBA

to:

call wSSIMIni
cmp eax, 0FFFFFFFFh
jnz loc_409FBA

JZ and JNZ are machine code instructions that are used in conjunction with comparison checks. If the result of a compare (CMP) instruction is ZERO, a Jump if Zero (JZ) instruction will result in a jump to another portion of the application. Jump if Not Zero (JNZ), on the other hand, results in a jump if the compare (CMP) instruction is non-zero.

To make the change, switch to the Hex View, right click on the highlight value and change the 84 to 85.

Figure 11 – Switching JZ to JNZ

After committing the change, you will see the code switch from

to

After starting the program, we no longer receive an error about the missing security key and the program operates as expected.

Well That Easy…..

While it may be hard to believe that changing one byte of data, by one digit, entirely bypassed an application’s security, this is a surprisingly common scenario. The security dongle used by this application could have been utilized much differently preventing this type of scenario, though. (e.g. the dongle could have stored a required piece of information that the application would need to operated properly)

Oracle Hyperion EPM Environment Branding Made Easy!

Oracle EPM Branding Made Easy

For IIS and OHS

Overview

A common pain point when working in multiple EPM environments is ensuring that you are working in the right one.  “Out of the box”, each environment visually looks exactly the same.  As no one wants to be the person that accidentally makes a change in the wrong environment, people have tried all sorts of ways to remedy this issue.

Typically, people physically swap out image files for the individual web applications; however, the solutions are problematic for multiple reasons:

  • require manual file system changes
  • require rework since patching / reinstallation / reconfiguration will wipe out the changes
  • updating requires modification to Java WAR/EAR files which could lead to unintended issues
  • does not work properly in all versions of EPM due to content-length limitations
  • does not scale well if branding multiple products

The solution below resolves all of these issues by intercepting image requests at the webserver level via URL Rewriting.   Utilizing URL Rewriting allows us to:

  • use a small number of images, in one central location, for multiple products
  • easily scale and allow for multiple branding options
  • significantly reduces the likelihood of our branding changes being lost due to patching, redeployment, installation, configuration
  • avoids manual manipulation of EPM application files..

The following walk-through will show you have to use URL rewriting to replace the Oracle logo contained in the upper corner of most EPM applications with one shared image.

NOTE: URL Rewriting could also be leveraged for other uses cases such as globally redirecting all EPM users to a maintenance page while allowing admins to access the system via a special URL.

Oracle logo swapping

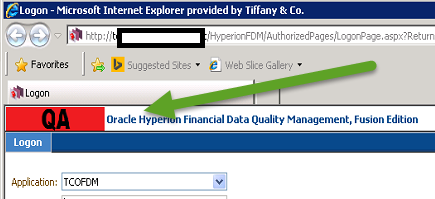
There are a few images that lend themselves nicely to branding replacement as the images are used globally among all the EPM products. The red Oracle logo (oracleLogo.png) is one such example. The oracleLogo.png file appears in the title bar on many of the pages, such as the initial log on page:

A quick search for this file, on a webserver running most EPM products, reveals how common it is:

As the same file is virtually used in every EPM product, the best way to replace this image is through URL Rewriting. URL Rewriting instructs the web server to replace requests for a given URL with a different URL of our choosing.

For instance, if a user requests http://EPM.COM/EPMA/oracleLogo.png, we can tell the webserver to re-reroute that request to http://EPM.COM/MyCentralLocation/myCoolerLogo.png. Since this functionality supports regular expressions, we can create one rule to replace requests for almost all of the EPM products. (DRM & FDM need additional rules)

Implementing URL Rewriting on IIS

To implement URL Rewriting for the oracleLogo.png file, perform the following steps:
[NOTE: The screen shots below depict IIS 7/7.5; however, this process works for all currently supported versions of IIS]

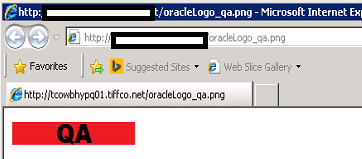
  1. Create a replacement oracleLogo.png file. As the original file has a height of 25 pixels and a width of 119 pixels, it is imperative that your image is the same size. If you attempt to use an image with a different size, it will be scaled to fit and it may not look how you want it to.Sample images are shown below.

    (NOTE: We will use the QA file for the rest of the IIS walkthrough)
  2. Copy your replacement logo to a location accessible by the web server and the end users. (HINT: The IIS WWWROOT folder is typically available to all users and is a good common spot)
  3. Confirm that you can access this file via Web Browser
  4. Confirm that IIS Rewrite is installed on the Web Server.
    (If it is not, follow the steps in Appendix A)
  5. Start Internet Information Services (IIS) Manager
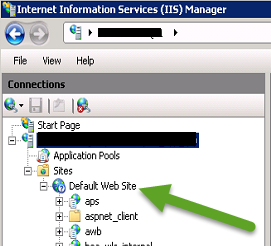
  6. In the connections panel (on the left), expand the Server, Sites, and then Default Web Site.
  7. In the right window, click on Features View and then double click on the URL Rewrite button.
  8. In the Actions panel (on the right), click on Add Rule(s)
  9. Click on Blank rule
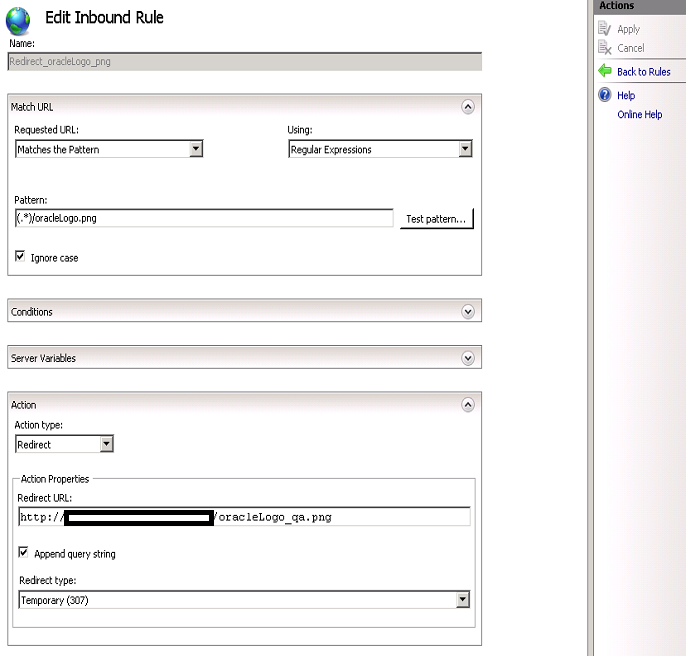
  10. Complete the Inbound Rule Screen as follows
    1. Name: oracleLogo Replace
    2. Match URL
      1. Requested URL: Matches Pattern
      2. Using: Regular Expressions
      3. Pattern: (.*)/oracleLogo.png
      4. Ignore Case: [Checked]
    3. ConditionsSkip, No changes required.
    4. Server Variables Skip, No changes required.
    5. Action
      1. Action Type: Redirect
      2. Redirect URL: http://<Web Server Name Here>/oracleLogo_qa.png
      3. Append query string: Checked
      4. Redirect type: 302 Found

  1. Click Apply
  2. Confirm changes were saved successfully
  3. Test a page
  4. For FDM add a rule as follows:
    1. Name: FDM Logo
    2. Match URL
      1. Requested URL: Matches Pattern
      2. Using: Regular Expressions
      3. Pattern: (.*)/logo.gif
      4. Ignore Case: [Checked]
    3. ConditionsSkip, No changes required.
    4. Server Variables Skip, No changes required.
    5. Action
      1. Action Type: Redirect
      2. Redirect URL: http://<Web Server Name Here>/logo_qa.gif
      3. Append query string: Checked
      4. Redirect type: 302 Found


Implementing URL Rewriting on OHS

URL Rewriting in OHS is relatively simple as the capability is activated out of the box in the version that is installed with EPM products. To redirect oracleLogo.png in OHS, perform the following steps:

  1. Copy your replace image to the OHS Root folder.
    cp /oracleLogo-TRN.png /Oracle/Middleware/user_projects/epmsystem1/httpConfig/ohs/config/OHS/ohs_component/htdocs/
  2. Update the epm_rewrite_rules.conf configuration file for the redirect actions
    NOTE: For each file above, create a RedirectMatch entry similar to below:RedirectMatch (.*)\oracleLogo.png$ https://<ServerNameHere>/oracleLogo-TRN.png

  1. Restart OHS
    cid:image004.png@01CFB70C.BCE74F40
    cid:image005.png@01CFB70C.BCE74F40
  2. Open a Web Browser (after clearing all caches / temporary files) to confirm update has taken place

Appendix A – Install URL Rewrite on IIS

If your IIS server does not already have URL Rewrite installed, perform the following steps to acquire / install it from Microsoft.

  • Download URL Rewrite


  • 1
  • 2