Overview
The Oracle Inventory is a series of registry entries and files that keep track of all Oracle products / patches that are installed on a machine. As certain portions of Oracle Inventory are stored in a user specific manner, product and patching problems can occur if multiple user accounts are utilized for product installation and/or patching operations. (e.g. User 1 installs Product A, and User 2 attempts to patch Product A)
Common Oracle Inventory / User related scenarios / solutions are:
- A user account is used to install software / apply patches and this account is disabled / deleted at a later date – Assuming no additional Oracle software has been installed, this is easy to fix via a combination of file copy / registry updates.
- Multiple user accounts have been used to install Oracle Software – In this scenario, the inventory needs to be recreated under one user regardless as to whether the accounts exist or not.
[IMPORTANT – It is strongly recommended to install/patch all software with a non-user specific account, where possible. While certain security policies may not allow this, using a global account will ensure you do not have to perform the steps in this document. ]
Prior install account has been disabled / deleted
In this scenario, an account used to install the Oracle EPM Software has been disabled / deleted and we are unable to patch the environment as the Oracle Inventory for the current user does not have knowledge of the prior installed products. The recommended fix is to reassign the previous user account’s Oracle Inventory to the new user account.
To move the Oracle Inventory, perform the following steps:
- Identify service account and setup with local administrator access on all Hyperion machines
- Copy .oracle.instances file from the user account which was used previously to the new account. In the example below, the user was epm_admin making the path to the file C:\Users\epm_admin\.oracle.instances.
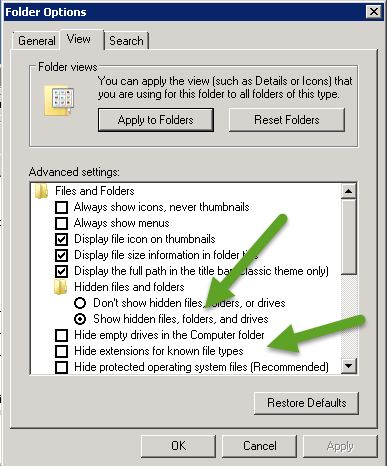
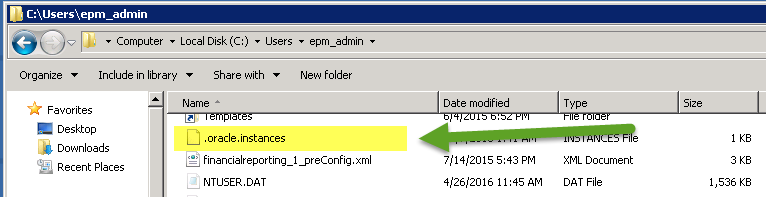 NOTE: This file may not be visible depending on your file folder view settings.
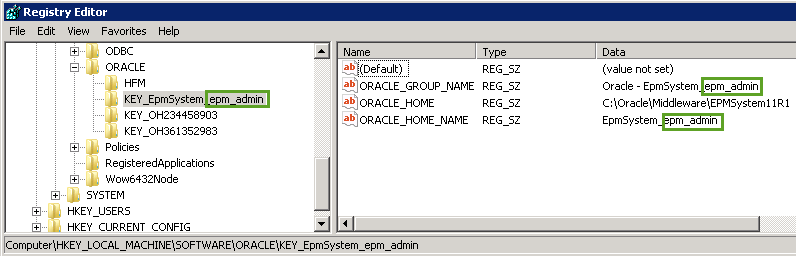
- Modify Windows Registry Hive & Key values – Replace the old install user with the new one
- Rename Computer\HKEY_LOCAL_MACHINE\SOFTWARE\ORACLE\KEY_EpmSystem_<old user>
- Update the values for ORACLE_GROUP_NAME & ORACLE_HOME_NAME keys so that they refer to the new user account.
- Modify file C:\Program Files\Oracle\Inventory\ContentsXML\inventory.xml
Replace any reference to the old install account with the new account

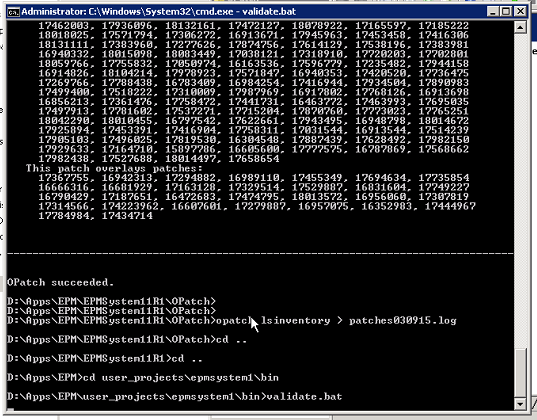
- Confirm OPatch software shows inventory properly by:
- Opening a Windows Administrator Command Prompt
- Navigate to the Oracle\Middleware\EPMSystem11R1\OPatch folder
- Execute the Opatch utility:Opatch lsinventory –oh <Install Drive>:\Oracle\Middleware\EPMSystem11R1 –jdk <Install Drive>:\Oracle\Middleware\jdk160_21
- Visually verify that the installed patch list corresponds with what has been installed
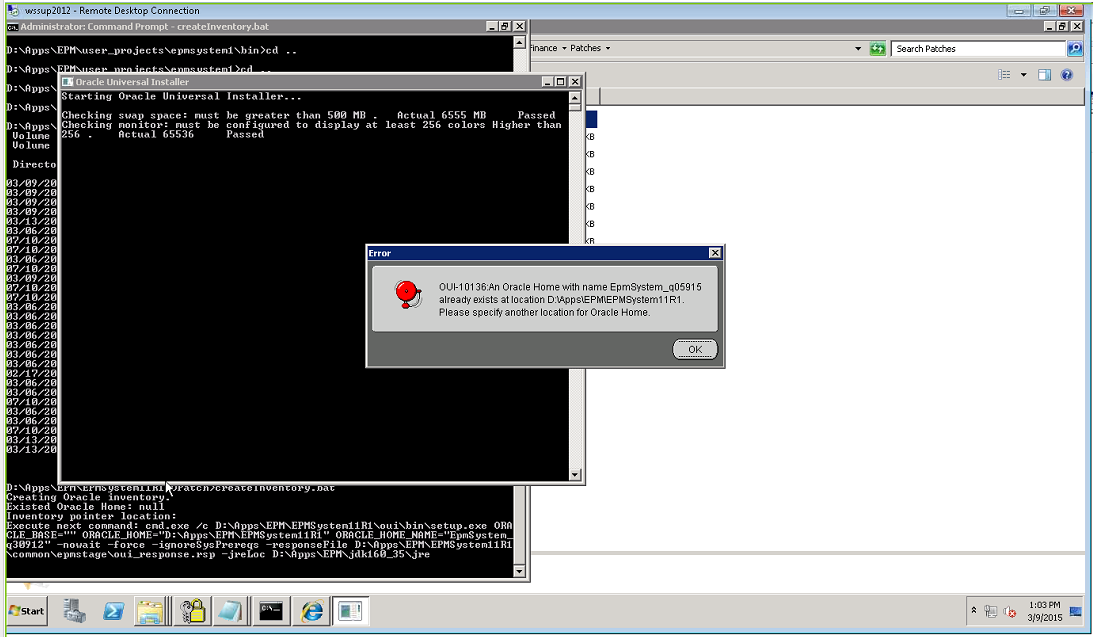
Oracle products have been installed to multiple accounts
In this scenario, multiple accounts have been used to install Oracle software. Patching attempts may fail or appear to operate successfully, though not all products are truly updated. To resolve this issue, the Oracle Inventory will need to be rebuilt targeting one user account.
NOTE: It is strongly recommended that a generic/service account is used for Oracle installation / patching to prevent these issues.
To rebuild the Oracle Inventory, perform the following steps:
- Log onto the server as the account which will contain the Oracle Inventory
- Execute the createInventory.bat script located in the <Install Drive>:\Oracle\Middleware\EPMSystem11R1\Opatch
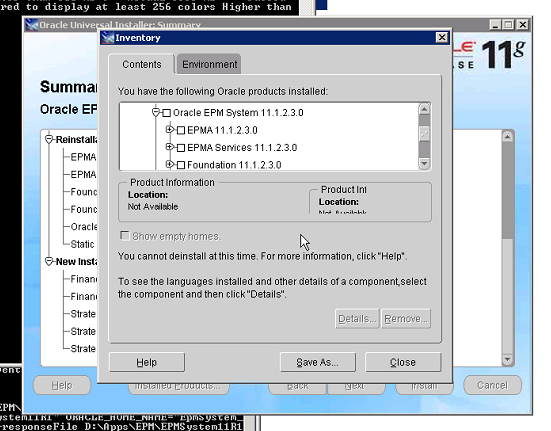
- From the main menu, click on the Install menu
- Scroll through the contents list to confirm that all installed products are reflected
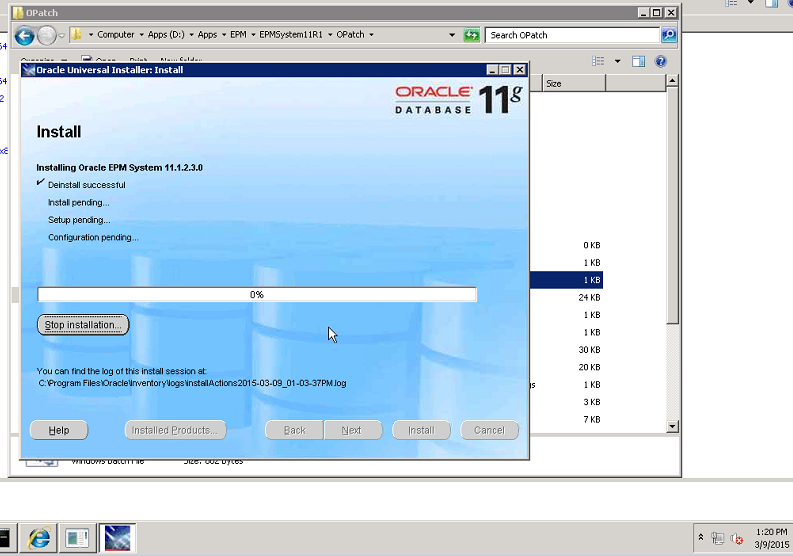
- Monitor the Installation progress.NOTE: This may run for a while, > 10 minutes
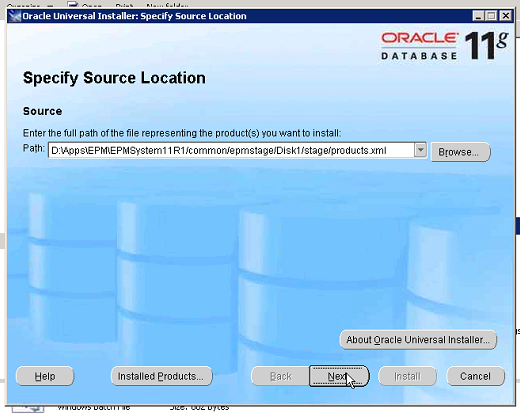
- On the Specify Source Location screen, provide the location of the products.xml file.NOTE: Should be <Install Drive>:\Oracle\Middleware\EPMSystem11R1\common\epmstage\Disk1\stage\products.xml
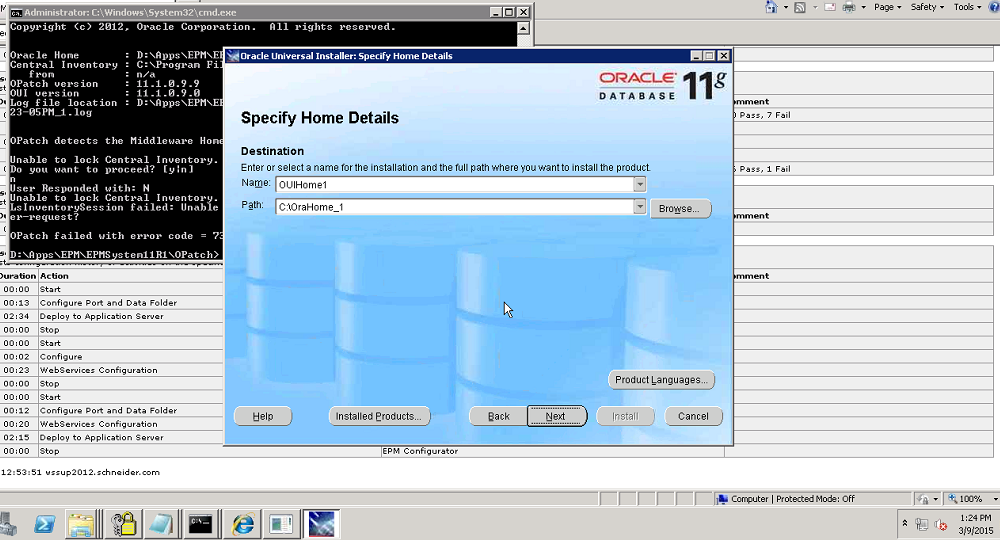
- Specify the Oracle Inventory Home DetailsNOTE: By default this is OUIHome / C:\OraHome, use OUIHome1 & C:\OraHome1
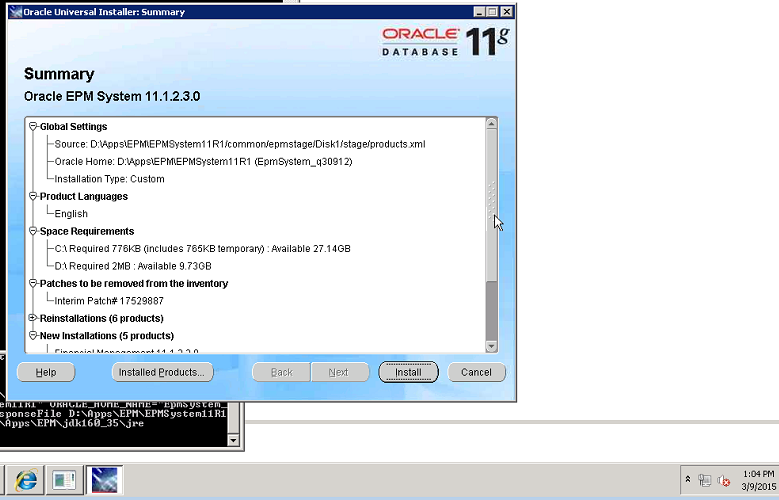
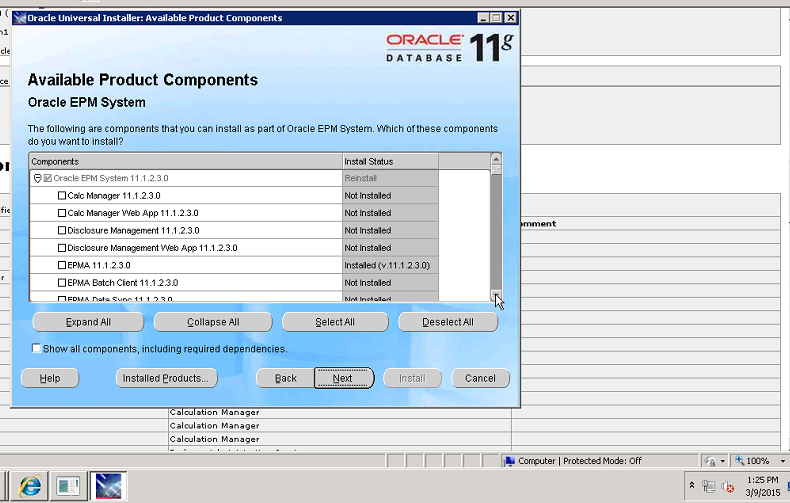
- Scroll through the provided list and ensure your products are shown and then click Next
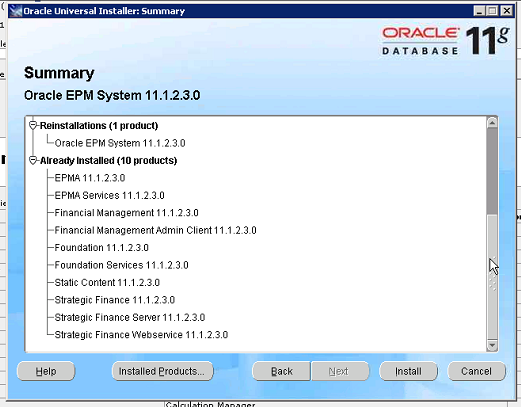
- Review items on the summary screen and click Install
- Upon completion of steps above, re-run the Opatch utility to confirm installed products now appear